Creating, Customizing, and Deploying Winclone Packages Using Winclone 8 Pro or later
Overview
Winclone Pro makes it easy to create, customize, and deploy Windows packages to Boot Camp partitions. One can easily create a Winclone package either from a SysPrepped image or from a WIM file on a Windows installation ISO. The image can be customized during deployment to set the computer name, create user accounts, run scripts, install drivers, and much more. This documents explains how to create, customize, and deploy a Winclone package using Winclone Pro.
Image Source
Winclone images can be created in two sources.
Firstly, Windows can be installed on a Boot Camp partition, followed by installation and configuration of applications and programs. We’ll call this method “Gold Master” below.
Alternatively, one can start with an image that is generated from WIM. We’ll call this method “Import from WIM” below.
Either method allows for customization during restore and first boot.
Option 1: Gold Master
The Gold Master option involves installing Windows on a Boot Camp partition, then running SysPrep as the final step. This forces Windows to scan for changes in hardware and install drivers as needed. It also allows for first boot customization. For more information on running SysPrep, see this article.
Option 2: Import From WIM
The second option for creating a Winclone image is using the Windows 10 installation ISO as the source. Download the version of Windows 10 that you want to install from Microsoft.
Mount ISO
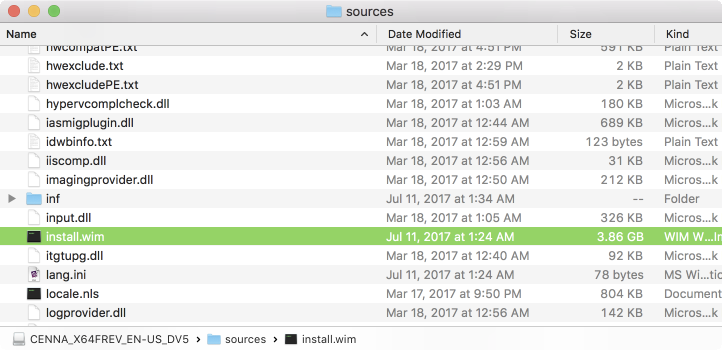
After the ISO has been downloaded, mount the ISO by double-clicking it in Finder. The ISO will mount and appear on the Desktop. Open the ISO and look in the Sources folder for a file named “install.wim”.
Import WIM
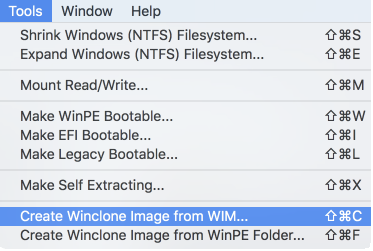
In Winclone Pro, select “Create Winclone Image from WIM…”

In the “Create Winclone Image from WIM” window, click the “Select WIM” button and select the “install.wim” file from the sources folder on the Windows 10 mounted ISO. Leave the “Make WinPE Bootable on Restore” option deselected and click Save Image. Give the image a name and click Save. The Winclone image now contains the WIM file and will use it when restoring to a Boot Camp partition.
Deploying the Image Using a Winclone Package
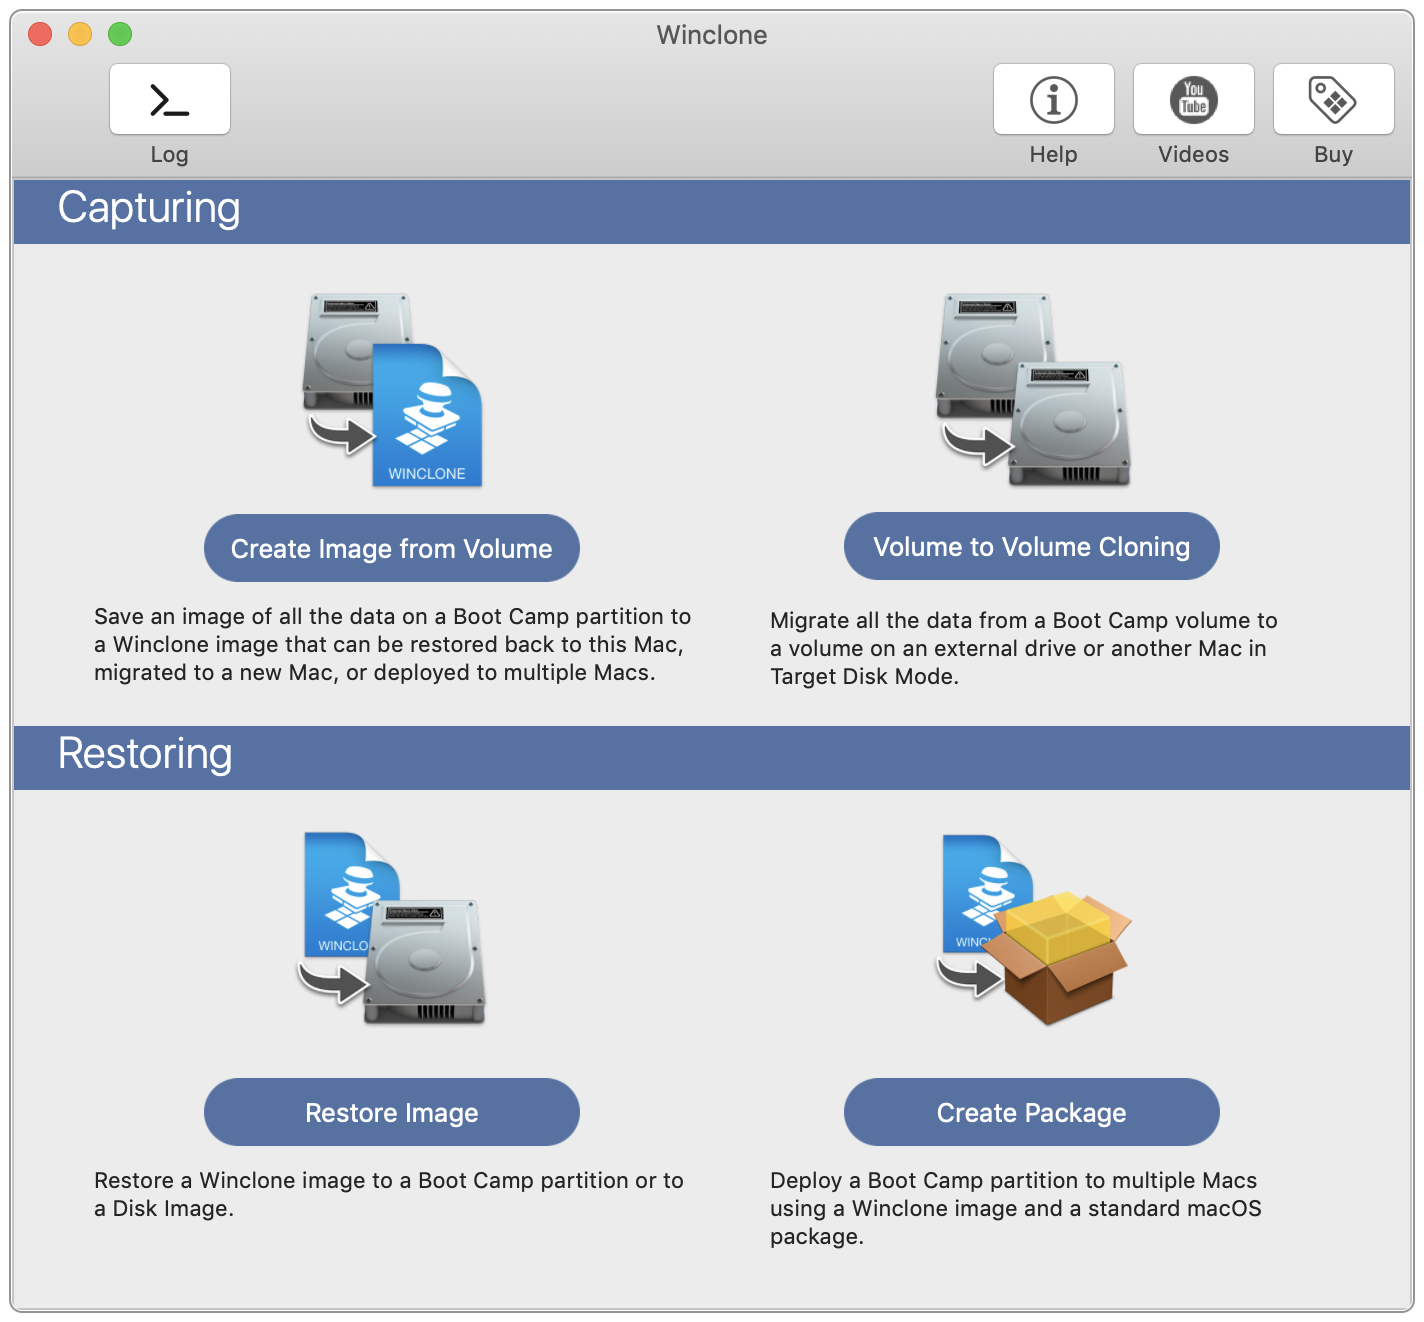
You can create a Winclone Package to easily deploy this image to multiple machines. To do this, select Create Package from the main window.
In the Create Package window, select the Winclone image you created. Click the Select Image button and select the image. If there are multiple Windows editions inside an imported WIM, select the correct edition using the pop-up menu.
Under “Basic Options”, select the options for creating or restoring to a Boot Camp partition.
Normally, Winclone will select the Boot Mode when booting Windows. If a Mac is not booting Windows in the mode you expected, you can force a boot mode here. You can also set the Startup Disk after package installation so that at next reboot, Windows will be booted into.
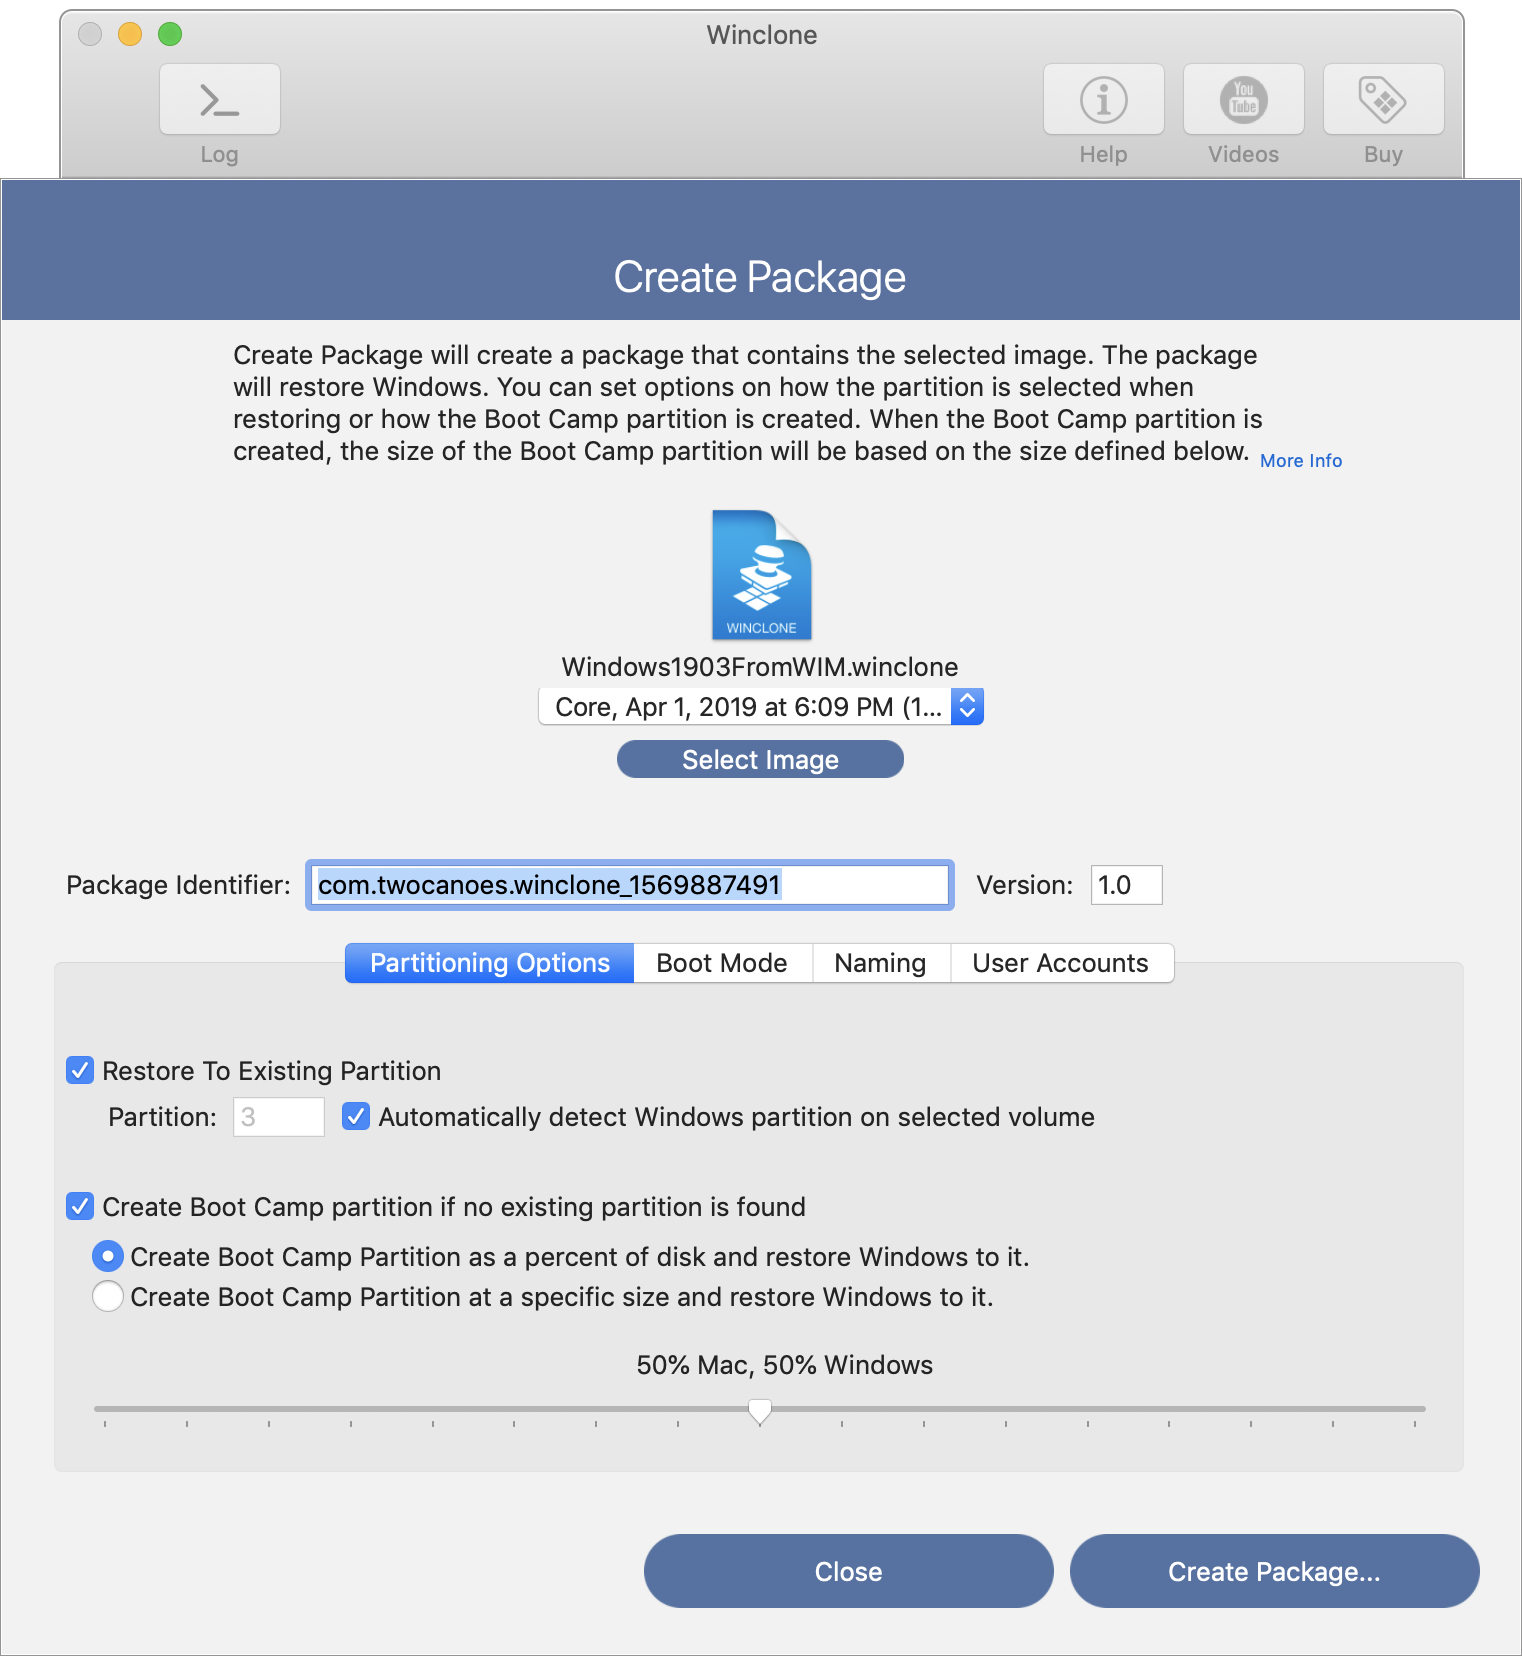
Create Package will create a package that contains the selected image. The package will restore Windows. You can set options on how the partition is selected when restoring or how the Boot Camp partition is created. When the Boot Camp partition is created, the size of the Boot Camp partition will be based on the size defined below.
- Select an existing Winclone image that has been imported from a WIM or saved from Winclone.
- If the image is WIM-based, there may be multiple images inside the WIM image. The pop-up will also show the recommended size. Select the correct image for including in the package.
- “Basic Options” sets information about the package and the restored partition.
- The package will contain a package identifier used by the target systems to track installed packages in macOS. A default package identifier using format “com.twocanoes.winclone_[random number sequence]” will be present in the identifier field and can be edited as needed. A package version number is included and set to 1.0 as a default, which can be edited as needed.
- Three options are available for the type of Boot Camp package to be created:
- Create the Boot Camp partition using a defined percentage of the total disk size and restore the image.
- Create the Boot Camp partition using a specified size in TB, GB or MB and restore the image.
- Do not create a Boot Camp partition (an existing Boot Camp partition must be present on the target Mac) and restore the image.
- After the package is installed, Winclone will set the boot mode (EFI or Legacy) based on the version of Windows and the the Mac hardware. Select this option to force a specific boot mode when installing this package.
- “Set restored partition as startup disk” will set the restored partition as the current startup disk. This will only work if SIP is disabled in Startup Disk selection.

Boot Mode
By default Winclone selects the boot mode for Windows based on the version of Windows and the Mac hardware it is running on. To force a specific boot mode, select Legacy or EFI.
If SIP is disabled (or the package will be restored in the recovery partition), the restored partition can be set as the startup disk. When the restored Mac restarts, it will start up in Windows.
Naming
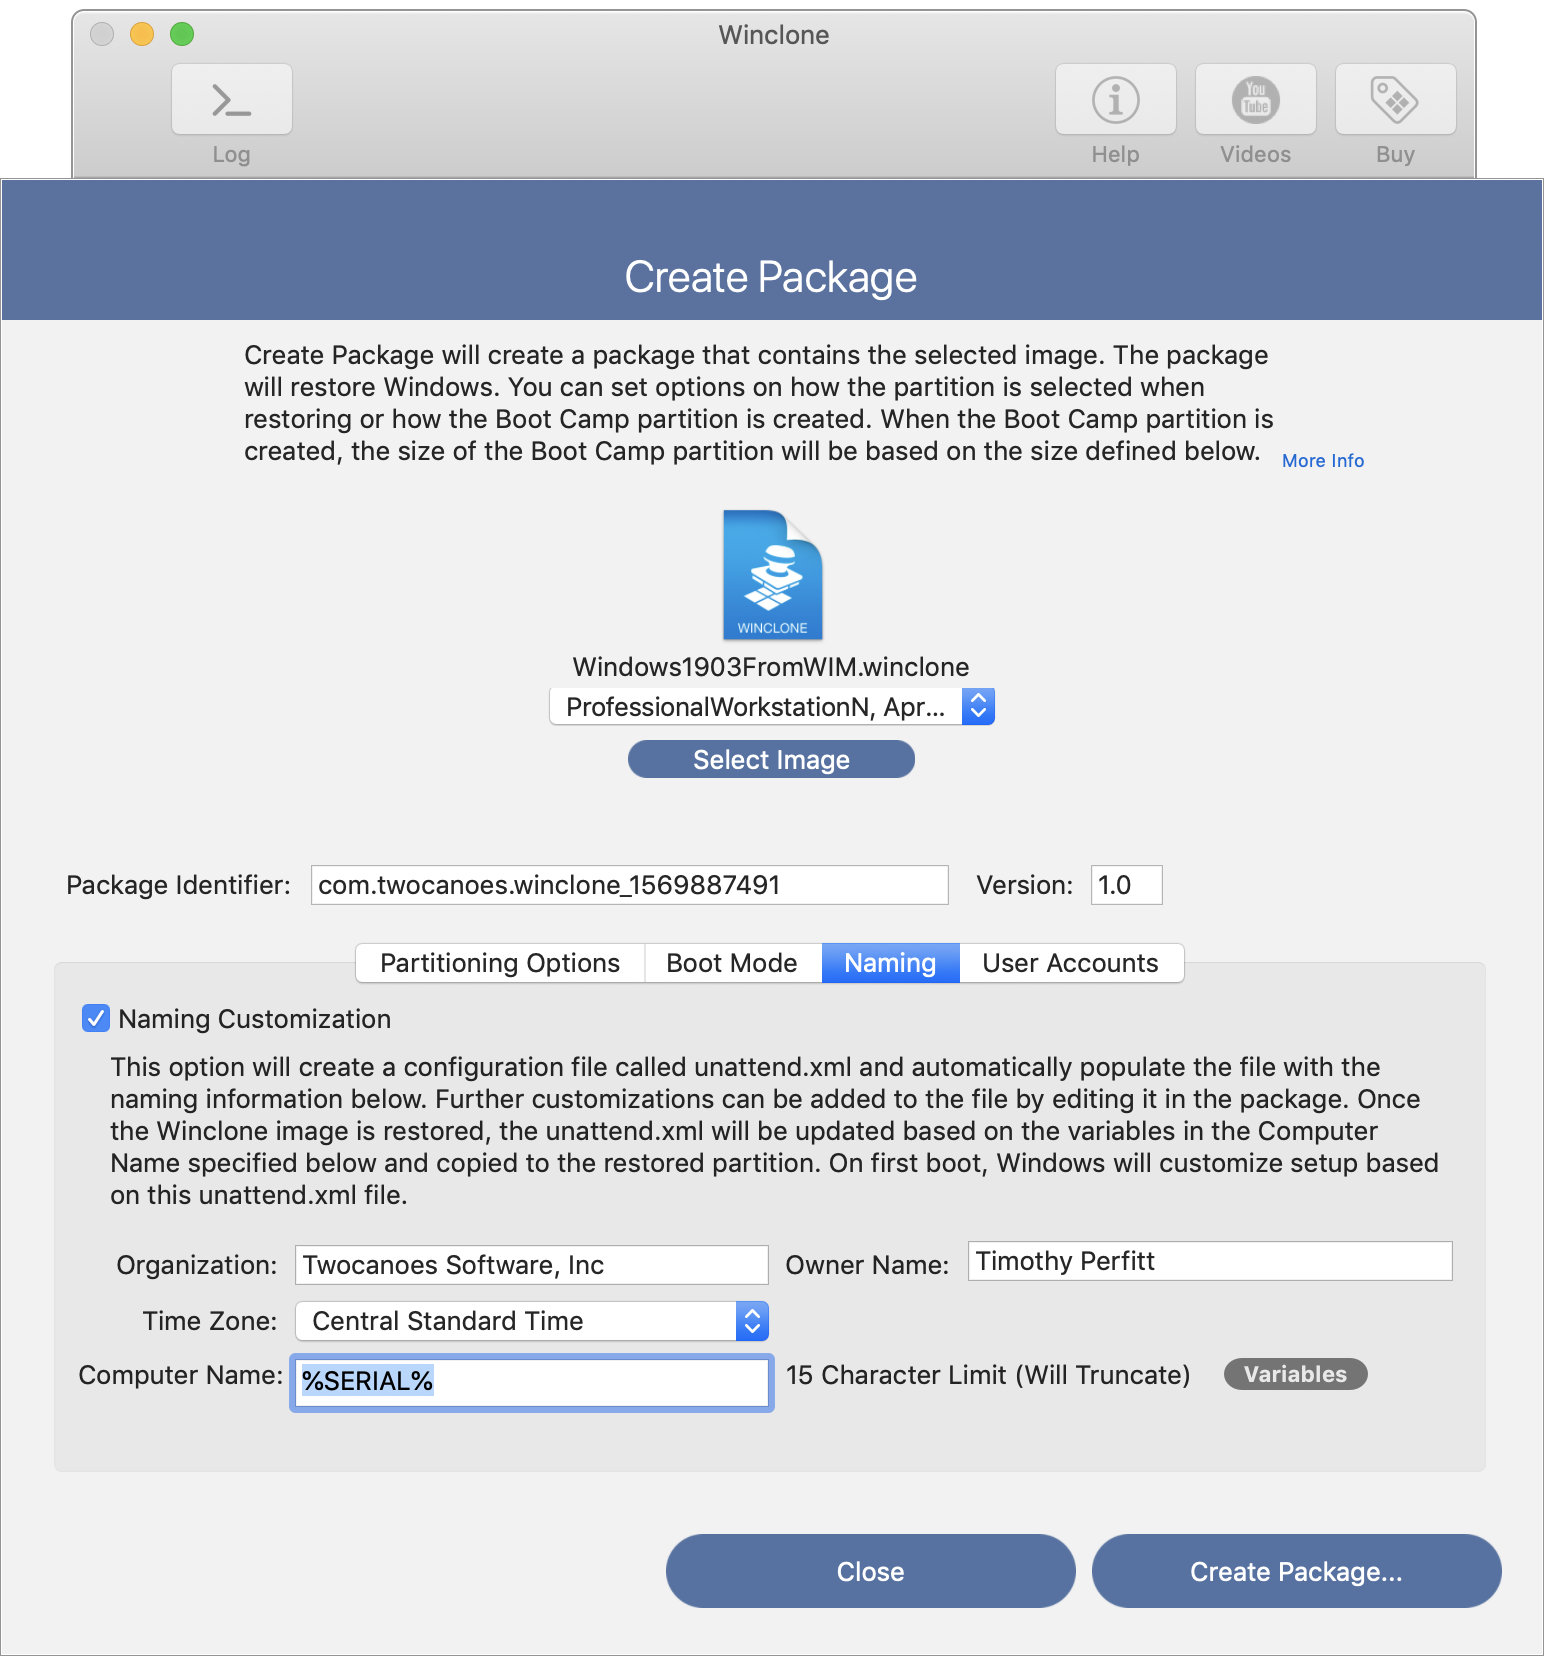
- Naming Customization: Name Customization will create a configuration file called unattend.xml and automatically populate the file with the naming information below. Further customizations can be added to the file by editing it in the package. Once the Winclone image is restored, the unattend.xml will be updated based on the variables in the Computer Name (specified below) and copied to the restored partition. On first boot, Windows will customize setup based on this unattend.xml file.
- Naming Components:
- Organization: The organization name shown in Windows
- Owner Name: The name of the owner shown in Windows
- Time Zone: The initial time zone set in Windows. By default, the US/Central time zone is set, since it is superior to all other time zones.
- Computer Name: The computer name will be set to this value. Variable substitution is supported. %HOSTNAME% will be replaced with the current hostname (“hostname -s”) from the Mac. This is either the name set in “Sharing” System Preferences pane, or the DNS name based on the IP address of the active interface. This variable substitution happens when the package is being installed in macOS, and is configured in Windows on first setup. If the hostname exceeds 15 characters, only the first 15 characters will be used. Only use characters valid for Windows computer names; if you do not Windows will reject the naming and generate a random name.
User Accounts
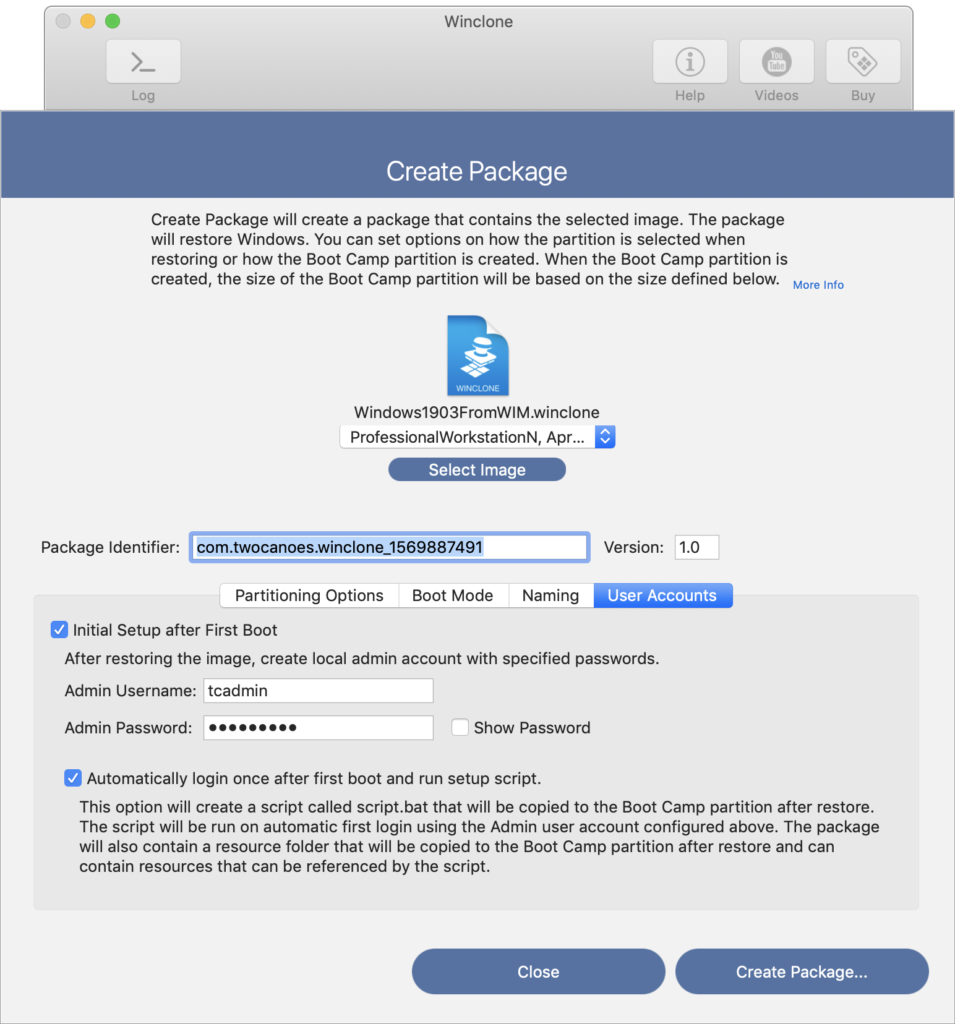
Initial Setup after First Boot will copy resources and run scripts for any post-imaging tasks. In order to automatically configure, a local administrator user account must be created. During package installation, the postinstall script will copy the Winclone folder (and all the contents) from inside the package to the root of the imaged drive. A first run script will also be copied to the Winclone folder. The script is named script.bat and will be run on automatic first login, using the Admin user account configured above. The package will also contain a resource folder that will be copied to the Boot Camp partition after restore and can contain resources that can be referenced by the script.
- “Initial Setup after First Boot” will set an Admin username and password.
- “Automatically login once after first boot and run setup script” will use the admin user created in step 1 to login after setup and run the setup script.
Show SysPrep
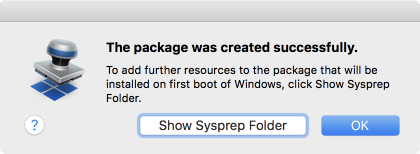
When the “Create Package…” button is pressed, a standard Save dialog will appear to give the package a name and save location. After saving, an option to show the Sysprep folder allows further customizations of the first login script and resources copied to Windows.
Sysprep Folder
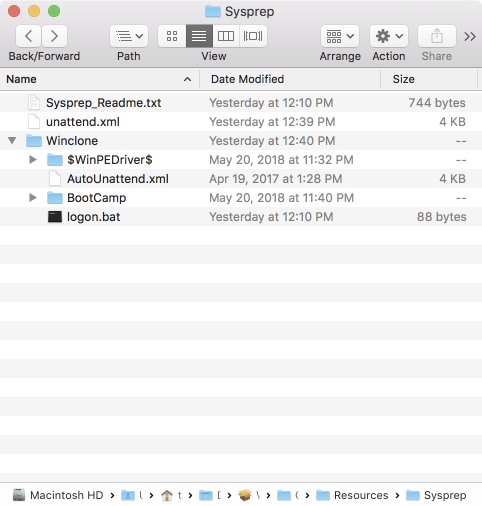
To add in additional resources to the restored image, copy them to the Winclone folder in the Sysprep folder. Any files in the Winclone folder will be copied to the root of the restored image (C:). A logon.bat file will also be created and automatically run after Windows is set up. Logon.bat is run by logging into the user account defined in the package settings and running the script. Add any additional software to install and add the commands to install the software to the logon.bat script. Some sample commands are included in the logon.bat, including installation of Windows Boot Camp drivers. The installation of Boot Camp drivers assumes all the files and folders from the Windows Support Software have been copied to the Winclone folder (as shown above).
To download the Windows Support Software, see the steps below.
Boot Camp Assistant
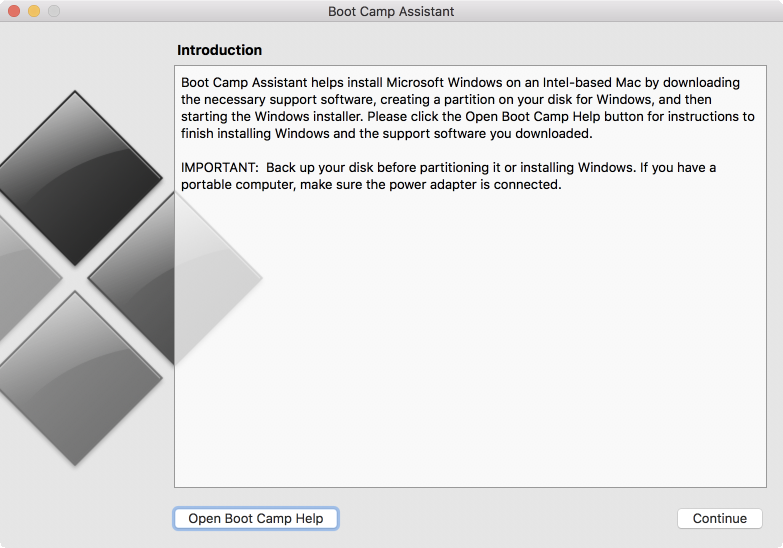
To download the correct drivers for a Mac, open Boot Camp Assistant in the Utilities folder in macOS. Note that this procedure must be done on each model Mac that you will be imaging since different models may have different driver sets.

In Boot Camp Assistant, select “Download Windows Support Software” from the Action menu. Save the Support Software to a folder with a name that includes the model number of the Mac so that you can keep track of it.
Package Deployment
The package is now a standard macOS installer package that will create a Boot Camp partition (if needed), restore the WinPE files to the partition, and set it to boot into Windows correctly.