Install Boot Camp Drivers
Open Boot Camp Assistant
Boot Camp drivers can be downloaded to an external drive or burned to CD or DVD. This tutorial will explain how to install Boot Camp drivers by downloading to an external drive.
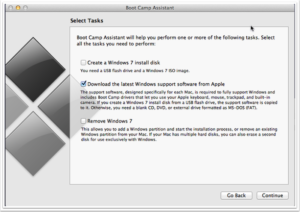
Open Utilities -> Boot Camp Assistant. Unselect all options except “Download the latest Windows support sotfware from Apple”. Click Continue.
Save Boot Camp drivers to external drive
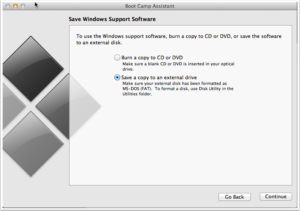
Attach a DOS (FAT32) formatted USB stick or external drive to your Mac and select “Save a copy to an external drive”. Click Continue.
Select download location for Boot Camp drivers
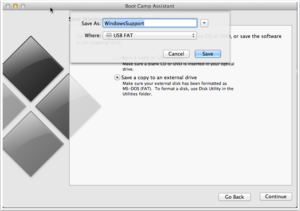
Select the DOS (FAT) drive and save. Click Continue.
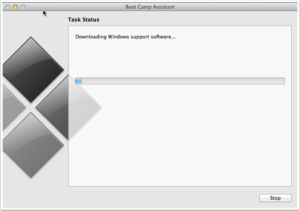
Downloading Boot Camp drivers
Boot Camp Assistant will now begin downloading the drivers to the external drive. This may take some time to complete.
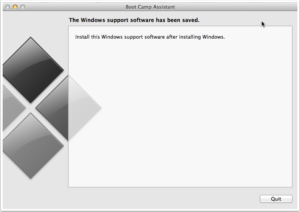
Boot Camp drivers saved
Once the Boot Camp drivers have completed download, click Quit. Leave the USB drive attached to the Mac and restart into Windows. You can do this in one of two ways:
1. Go to Apple Menu -> System Preferences, select Startup Disk and select the Boot Camp Windows partition. Click Restart.
or
2. Restart the Mac. Hold the Option key while restarting. Select the Boot Camp Windows partition.
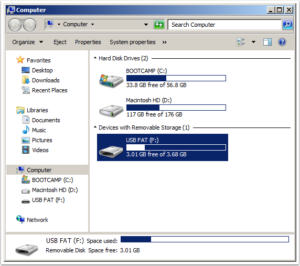
Locating Boot Camp drivers on USB drive
Once logged in to Windows, select the USB drive and locate the folder containing the Boot Camp drivers.
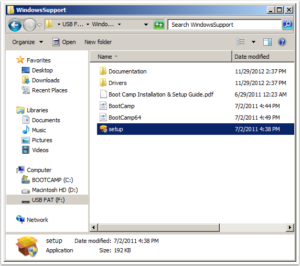
Run Setup to install Boot Camp drivers
Click setup (or setup.exe) to begin installing the device drivers.
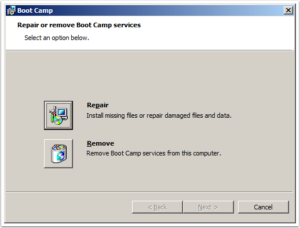
Select Repair to install drivers
Select the Repair option to install the drivers.
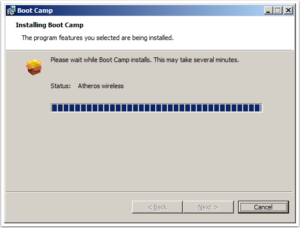
Device driver installation
During the driver installation, the display may flicker occasionally.
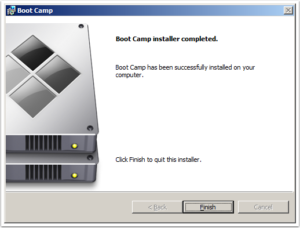
Finish and reboot for driver installation to complete
Once the drivers are installed, click Finish and reboot into Windows again. You may need to configure wireless input devices, display resolution and other settings. You will also need to re-activate your Windows license.