Signing Manager Administrator Guide
Current Version 2.0
Overview
Signing Manager is comprised of two components: Signing Manager (macOS app) and Signing Service (web app).
Signing Manager is a macOS application for code signing and package signing using remote identities. It includes a CryptoTokenKit extension for presenting X.509 certificates to the macOS Keychain for use in cryptographic signing operations, using built in commands such as codesign and productsign.
Signing Service is a web application to store and limit access to sensitive signing identities. It is deployed using Docker or a Kubernetes Helm Chart.
Together, Signing Manager and Signing Service allow users to code sign and package sign without the need for having identities on their own machines. Using these two in tandem, an administrator can provide distributed access to certificate content within their organization while keeping identities centrally managed. Administrators can easily allow or restrict certain identities to the appropriate users and quickly push new identities. At the same time, users can enjoy a simple and intuitive interface, tools that make existing workflows more efficient, and the autonomy of a reduced dependency on specific machines or administrators.
Requirements
Certificate and private keys for signing macOS, iOS, watchOS, and iPadOS code and packages. These are generally provided by Apple for code and package signing.
Signing Service
To install Signing Service, see Deploying Signing Service.
Signing In
When first using Signing Service, you must sign in with default credentials. The initial user name is “admin” and password is “change_password”.
At the login page, enter in the default credentials. You will be prompted to choose a password different from the default, then taken to the User Agreement page. Review the agreement and click Accept if you accept the agreement.
Main Page
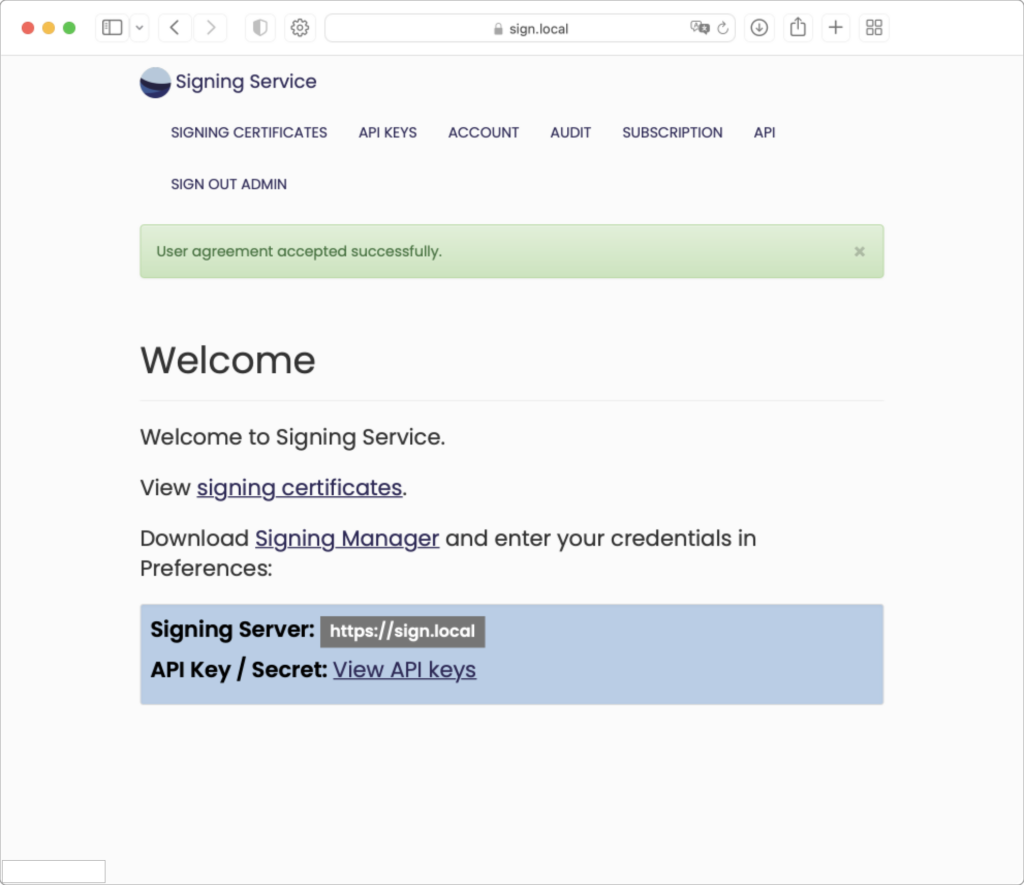
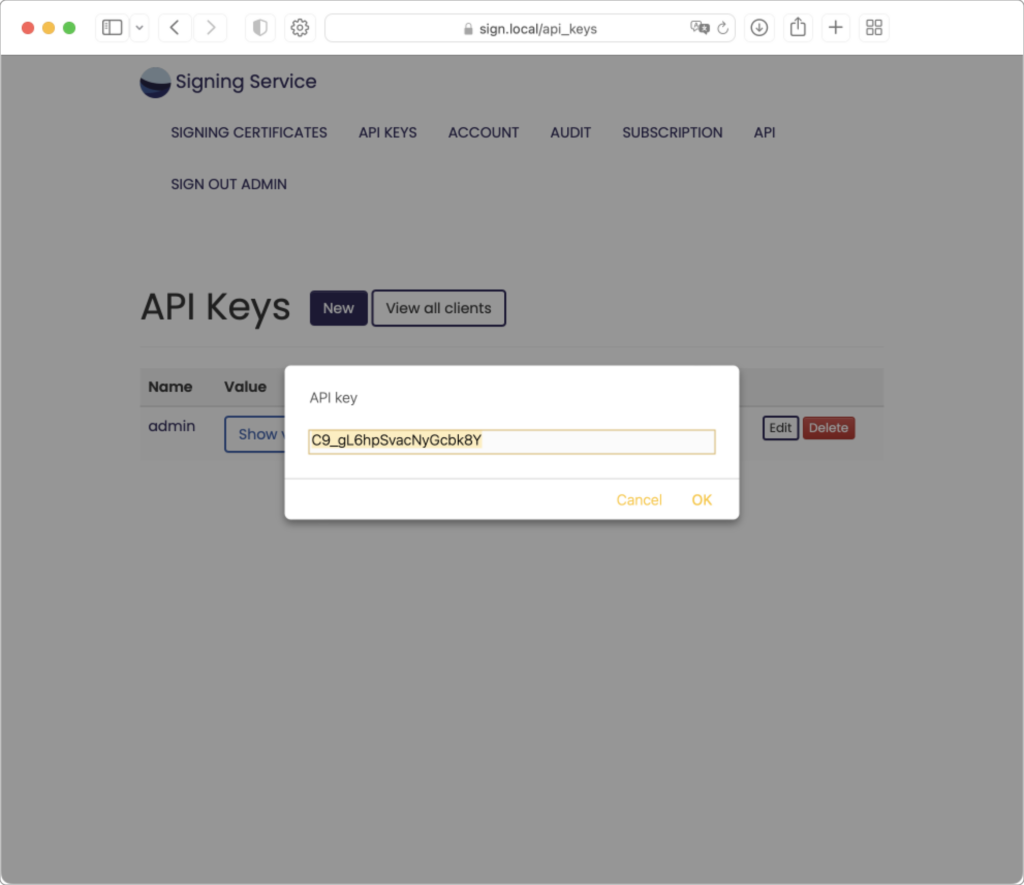
At the bottom of the main page is a link to get an API Key / Secret. An API key is needed later when installing Signing Manager. Select this link to be taken to the API Keys page. To show your API Key, click “show value” in the API key field. The API Key will appear in a pop-up:
In addition to an API key, Signing Manager will also need a URL to connect to the server running Signing Service. This can be copied from the Signing Service main page to use when setting up Signing Manager. Copy the Signing Service URL and API Key and enter in Signing Manager Preferences.

Signing Certificates Page
Initially, your Signing Certificates page will be empty:

Click the “Import Signing Certificate” button.
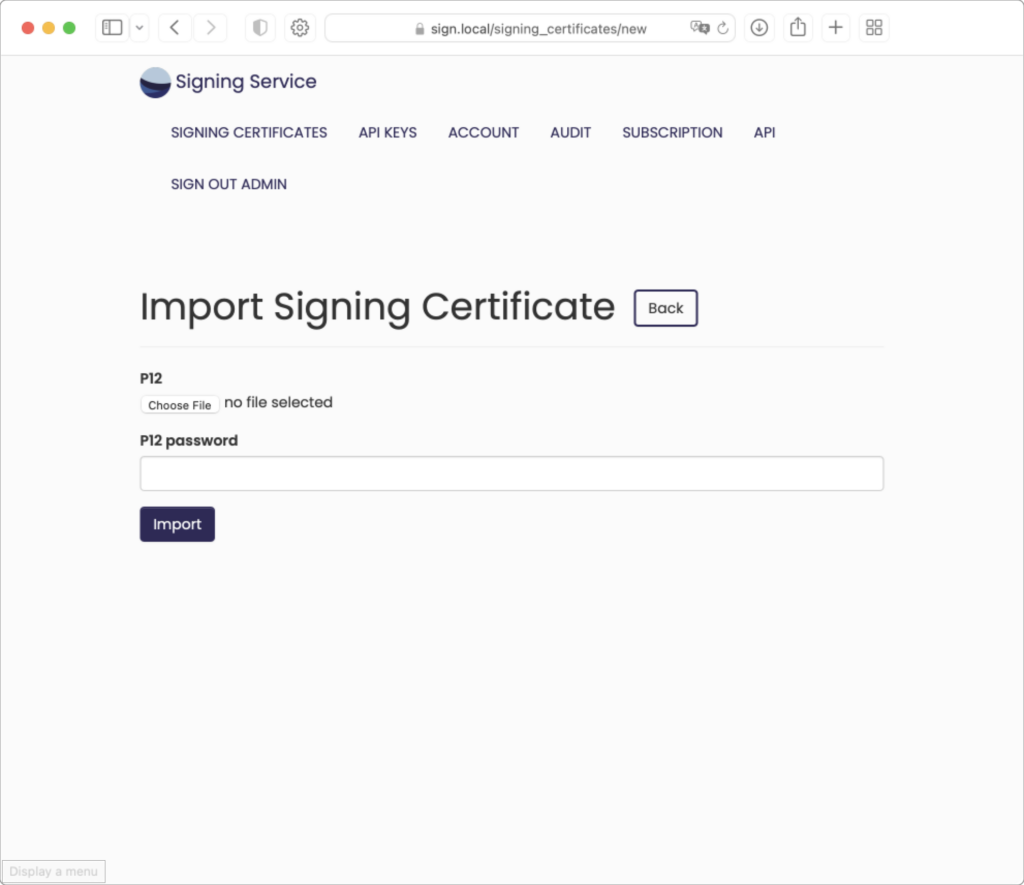
For this example, we will be using the sample certificates found here. The password for the p12 files is included in the download. Begin by clicking “Choose File” (may appear different based on your operating system and/or browser) and navigating to the downloaded Test Identities folder:

Only one certificate can be imported at a time. Choose the file “Twocanoes Test Code Signing.p12”:
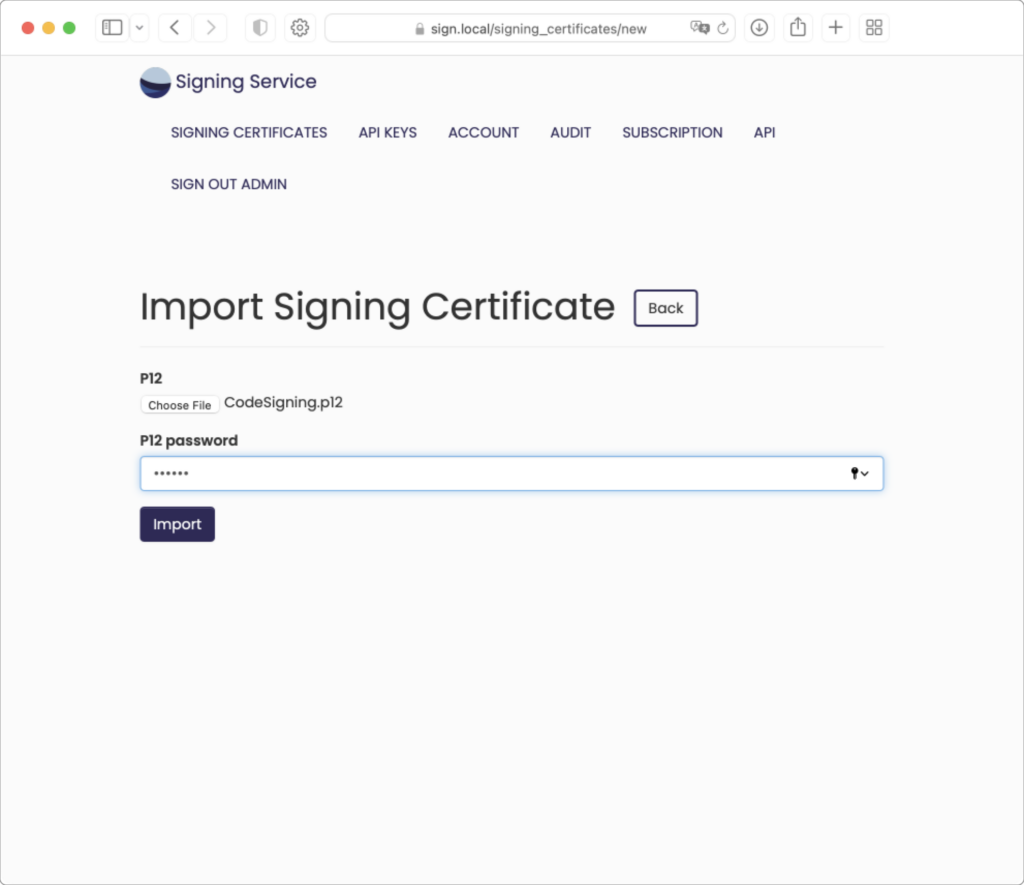
The P12 password is entered below the uploaded file. After clicking the “Import” button or pressing enter, the page is redirected to the Signing Certificate information page:
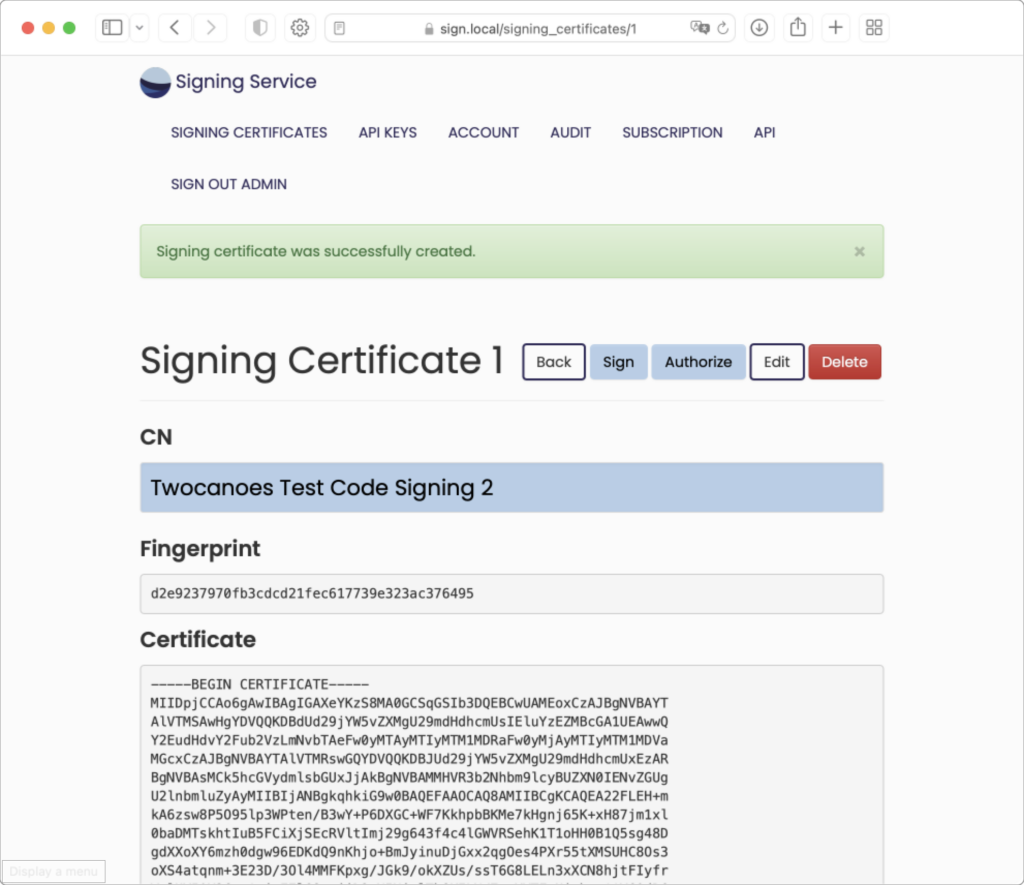
The Signing Certificate information page will show the Common Name, Fingerprint, and Certificate content.

Next to the top heading are five buttons:
- “Back” return to the Signing Certificates list page, which now includes the newly imported certificate
- “Sign” allows you to test signing using the current certificate. This is normally only used for testing.
- “Authorize” allows you to modify the API keys authorized to sign with the certificate
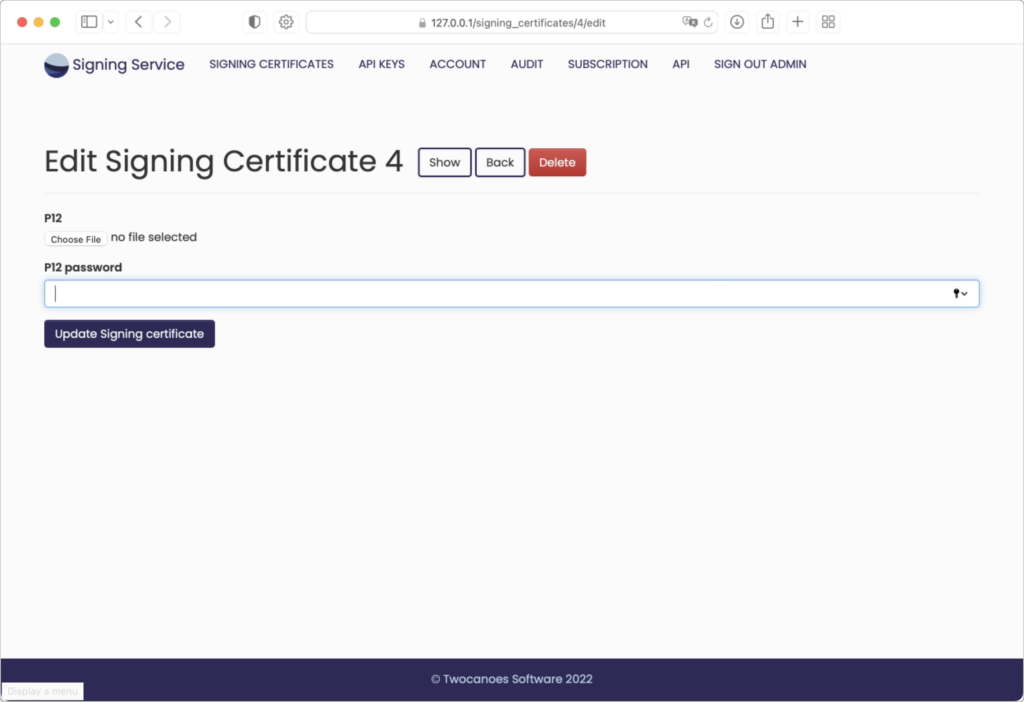
- “Edit” allows you to edit the certificate record by uploading a different .p12 file
- “Delete” allows you to delete the certificate record
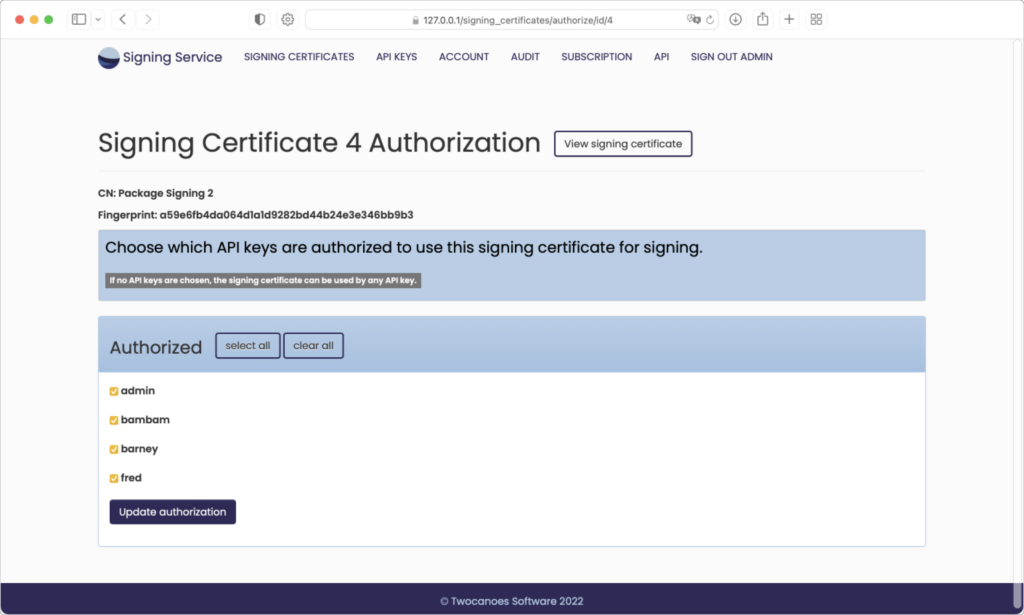
Authorize
By default, all API keys are able to view and sign with all current signing certificates. To choose a limited group of API keys to be authorized for the current certificate, click the “Choose authorized API keys” button:
Edit
Delete

API Keys Page
To access the API Keys, click the “API Keys” link in the menu bar:
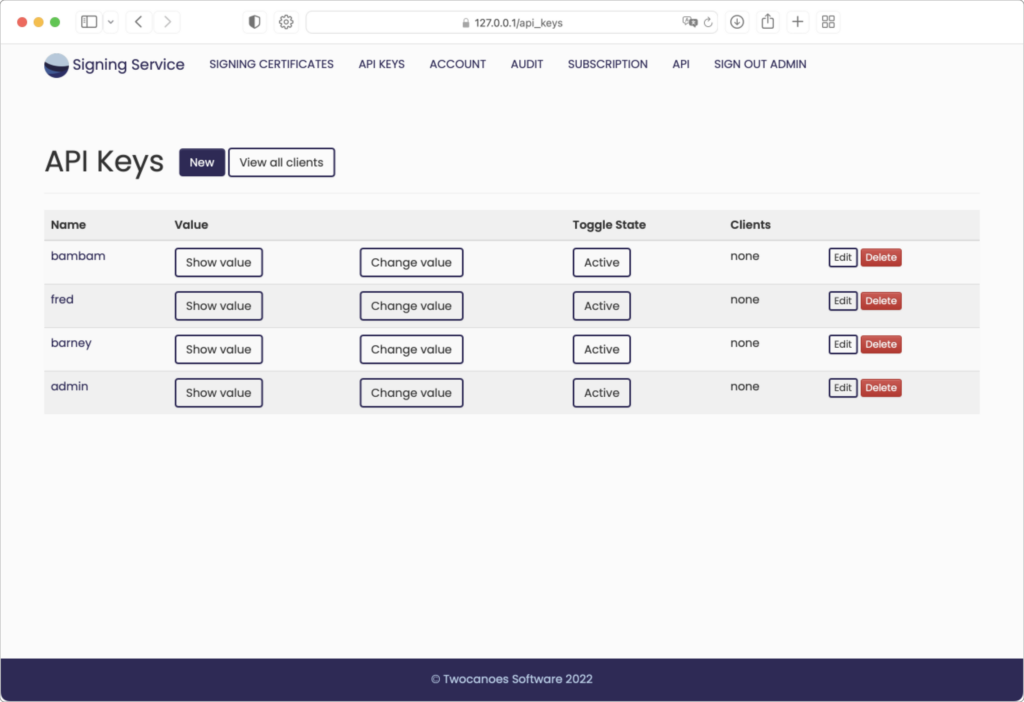
Create a new API key for each client machine or group of client machines running Signing Manager that will register to use Signing Service. All clients using a given API key can be restricted from using certain certificates by removing the API key from the certificate’s authorization list.
As each API key is used when installing Signing Manager, the API Keys page will show information for the number of client machines that have registered using each API key. More information on these registered clients can be viewed either for a single API key or for all clients using the buttons provided on the API Keys page.
Give the API key a name and the API key will automatically be generated:
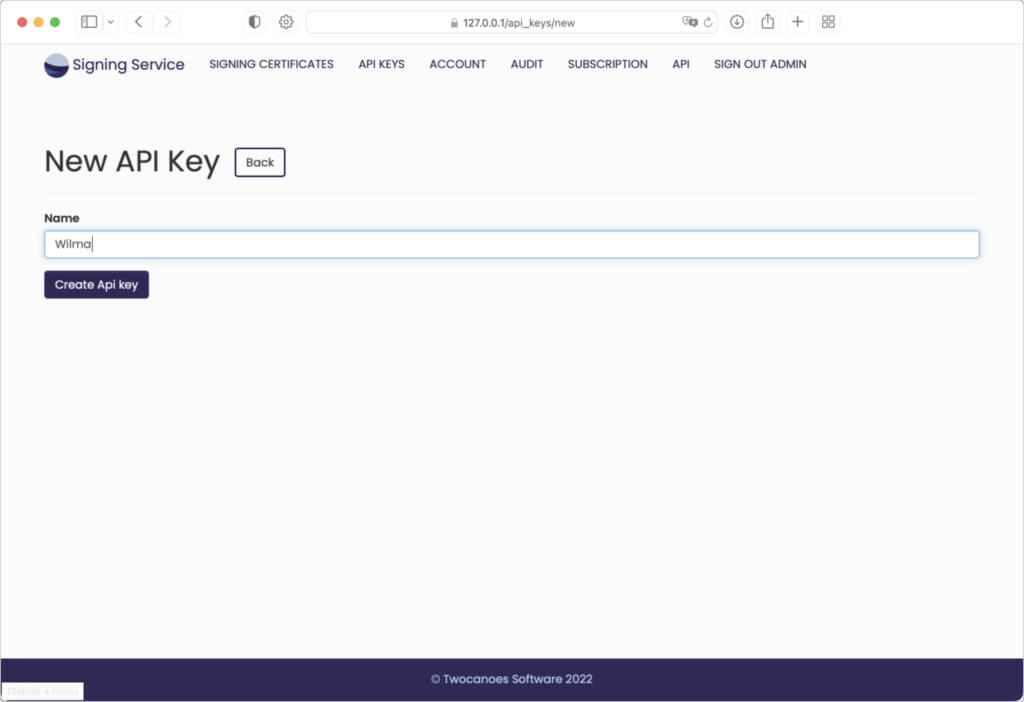
The new key is then created:

Active/Inactive
API keys and clients can be marked as either “Active” or “Inactive”. Each of these will initially be active. When clicking the button to make an API key inactive it will temporarily not be able to register new clients, nor will any current clients be allowed to do signing operations. Alternatively, a single client can be marked as inactive to prevent only that single client from doing signing operations. Once an API key or client is later marked as active again it will resume normal operation.
Active/inactive status can also be toggled for items on the Signing Certificates page. An inactive certificate will temporarily no longer be made available to all client machines running Signing Manager.
Audit Page
To view an audit of all Signing Events, click the “audit” tab in the menu bar:
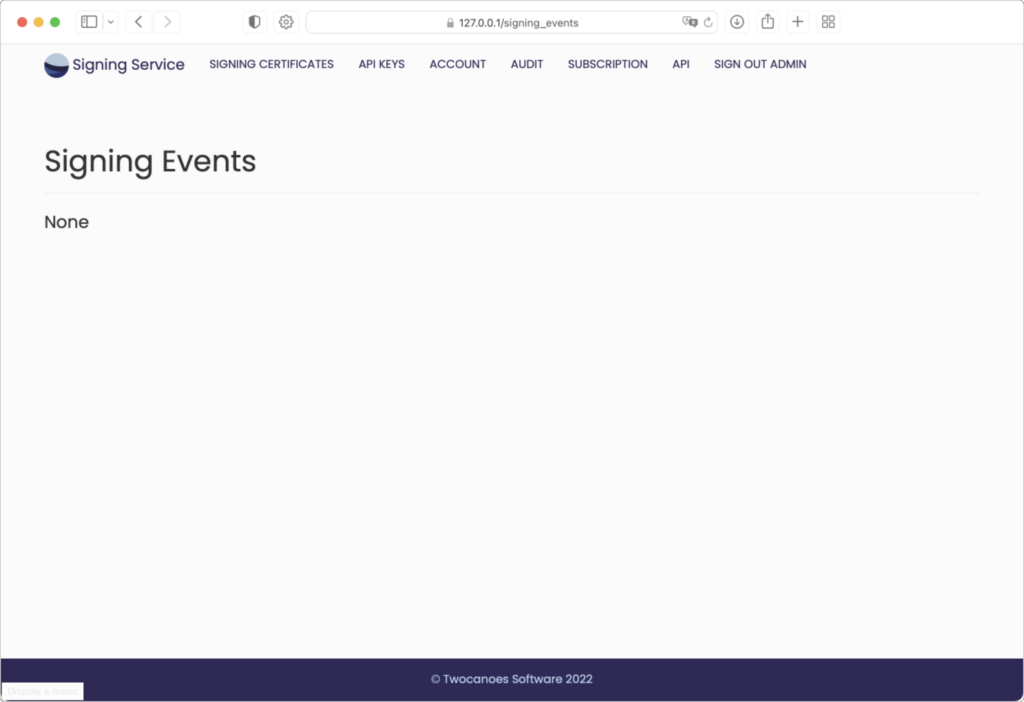
The Audit Page will show a list Signing Events. Each record will show a Request Type indicating if it was “sign” meaning a request for a signature or an “index” meaning it was a request to list available certificates. The audit record will also indicate a status showing if the request succeeded or failed, with failure indicating either an authentication or signing parameters discrepancy. When relevant the audit record will show the API key and client that made the request. Audit records can be exported if desired by using the “Manage” button and choosing a date range. Duration of audit records available may be dependent on the current subscription license file. Audit records older than a duration shown on the Audit page will be purged automatically when new audit records are recorded.
API Reference Page
To access the API Reference page, click the “api” tab in the menu bar:
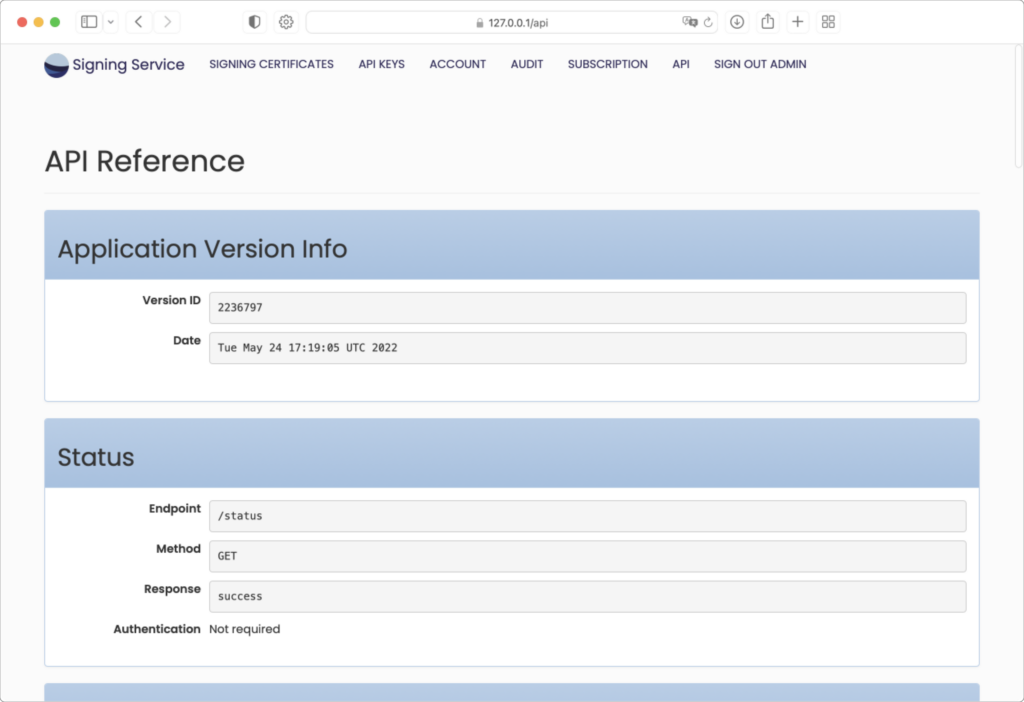
The API Reference page shows an initial section showing Application Version Info. This information can be used for any support issues to confirm the current build of web application.
The additional sections of the API Reference page can be used as needed to diagnose any connectivity issued between the server and client machines.
Users Page
Additional user accounts can be added if desired. User accounts are used to sign in to Signing Service for the purpose of managing resources made available to client machines running Signing Manager. User accounts can be given a status called “application admin” that grants the user all permissions. The initial default user account begins with this admin status enabled. When signed in as an admin user it is possible to add or manage additional user accounts. Admin users can also add or manage certificates, certificate authorizations, API keys, clients, as well as the application subscription license. Non-admin users can view the pages for certificates, API keys, and clients, and can toggle their status, but cannot add, edit, or remove them. Non-admin users cannot access pages for managing other users, the signing event audit log, or the application subscription license. All users are able to view the API reference page.
Signing Manager
Signing Manager Installation
The Signing Service Main Page provides a link to download the current version of Signing Manager.
To install the Signing Manager package in Finder:
- Double-click on the disk image to mount it in Finder.
- Double-click on the package in the mounted disk image to start installing the package.
Follow the prompts in the installer package to complete installation.
To install the package via the command line, use the installer command.
Installed Components
The macOS installer consists of two major components:
- macOS app (“Signing Manager.app”) installed in the /Applications folder
- CryptoTokenKit extension installed in the Signing Manager.app bundle
Uninstalling
To uninstall Signing Manager, use the Uninstaller .dmg included in the installation package and follow the instructions within.
Signing Manager Configuration
Once Signing Service is running and accepting network connections, you can configure the macOS clients for signing operations. Configuration can be done in the Preferences (⌘ ,) of the Signing Manager or on the command line.
App Preferences
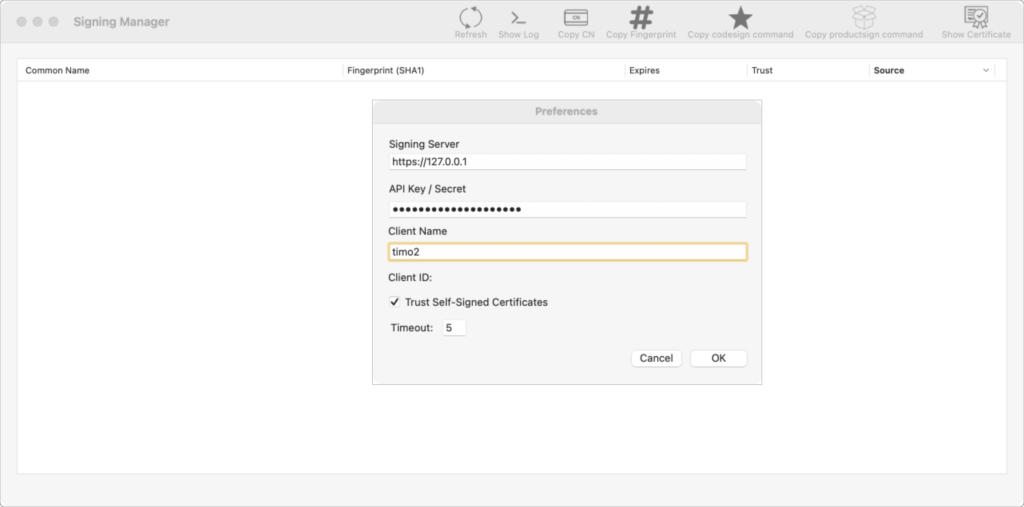
Launch Signing Manager in /Applications. If there are no preferences specified, the Preference window will automatically open. If it does not open, select Preferences from the Signing Manager menu. In the Preferences window, provide the URL to the Signing Server and API key provided by the Signing Service. If the Signing Service is using a self-signed certificate, select the Trust Self Signed Certificates checkbox.
Command Line
Preferences can also be set using the command line. The command line tool is located in the application bundle. Run it with the -h option to see the available options. Note that you must include the quotes due to the spaces in the application name.
"/Applications/Signing Manager.app/Contents/MacOS/Signing Manager" -h

-s                  Save settings.  Requires -i and -a. Optionally use -d.

-i <api host url>   Specify host for API signing operations.

-a <api_key>        Specify api key for accessing signing manager service.

-u                  trust self-signed certificates.

-d                  debug logging

-r                  refresh and display available certificates.

-p                  print configuation.

-h                  this message.
Using the -i, -a and -u options, set the preferences. For example, with a host URL of https://signingserver.local:3000, an API key of XYZ123, and trusting self-signed certificates:
"/Applications/Signing Manager.app/Contents/MacOS/Signing Manager" -s -i https://signingserver.local:3000 -a XYZ123 -u
To verify the settings, use the -p option:
"/Applications/Signing Manager.app/Contents/MacOS/Signing Manager" -p

api_host: https://signingserver.local:3000

trust self signed: true

debug: false

API key: Set
Note that the API key is not shown, but can be found in the macOS keychain under com.twocanoes.signing-manager.
Once the settings have been entered, click OK.
Using Signing Manager
Once Signing Service has been set up and the client is configured, applications and packages can then be signed. If no certificates are showing in the main interface of Signing Manager, click Refresh on the toolbar.
To refresh available certificates on the command line, run:
"/Applications/Signing Manager.app/Contents/MacOS/Signing Manager" -r
A list of available certificates and the SHA-1 fingerprints will be shown.
Menu Bar Operations
Note: These operations may also be accessed using the Keyboard Shortcuts located at the end of this User Guide.
- Refresh: After entering a new Signing Server and API Key in Preferences, clicking Refresh in Signing Manager will show the certificates stored within Signing Service; use Refresh after adding or removing certificates in Signing Service for Signing Manager to reflect those changes.
- Show Log: The Signing Manager Log opens in Console (SigningManager.log).

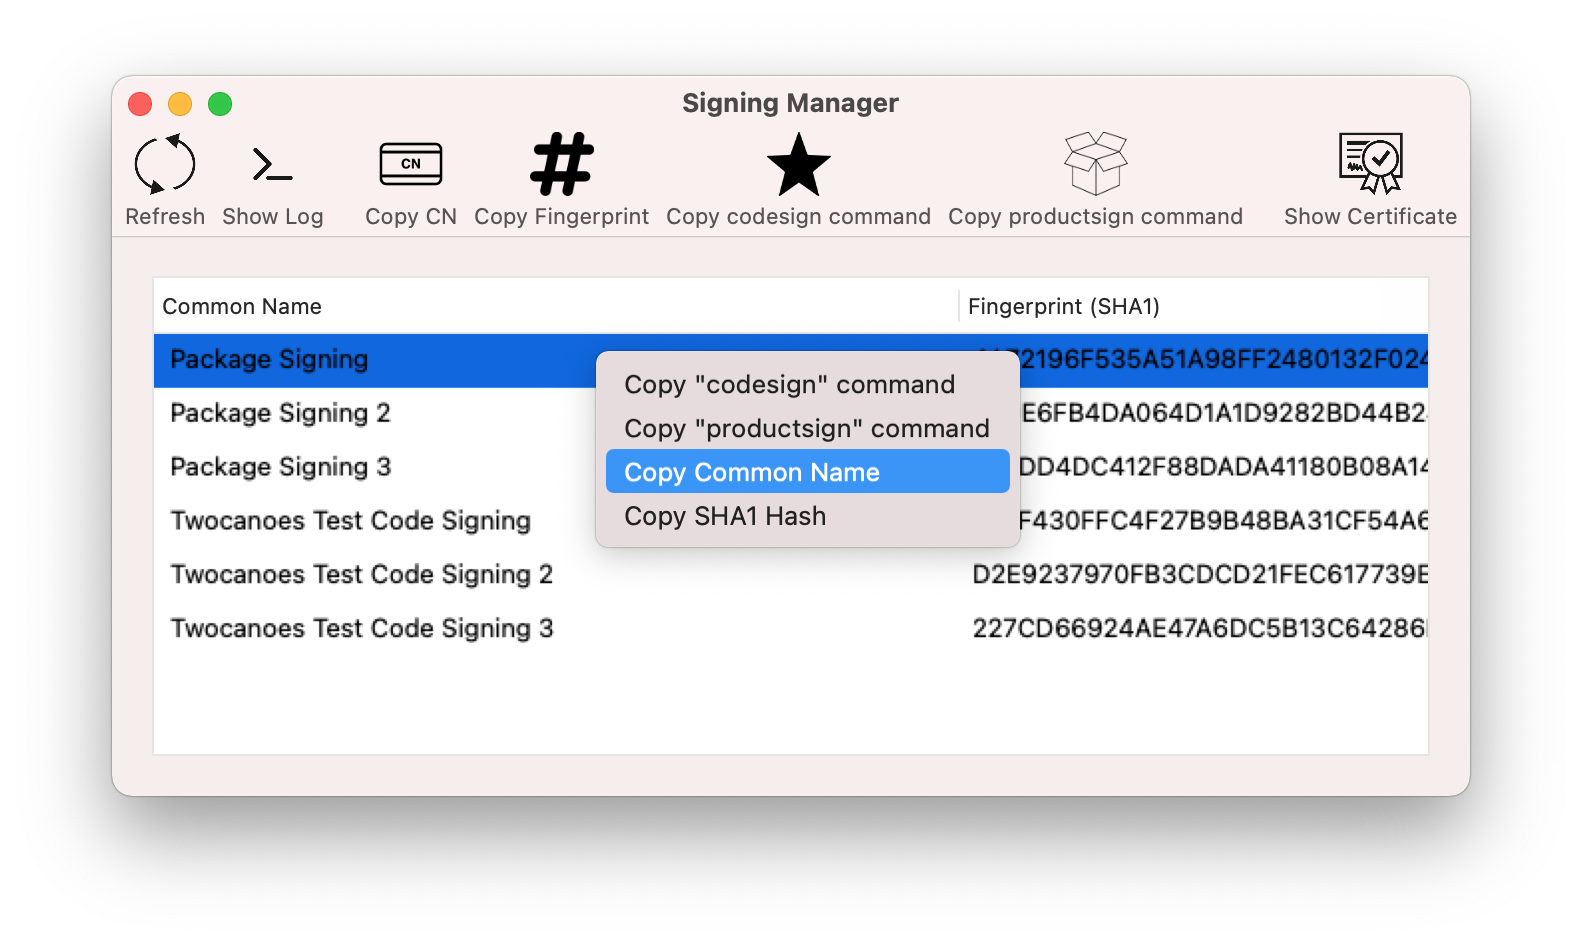
- Copy CN: Copy the Common Name of a highlighted certificate. You may also right-click the highlighted certificate and select “Copy Common Name”.
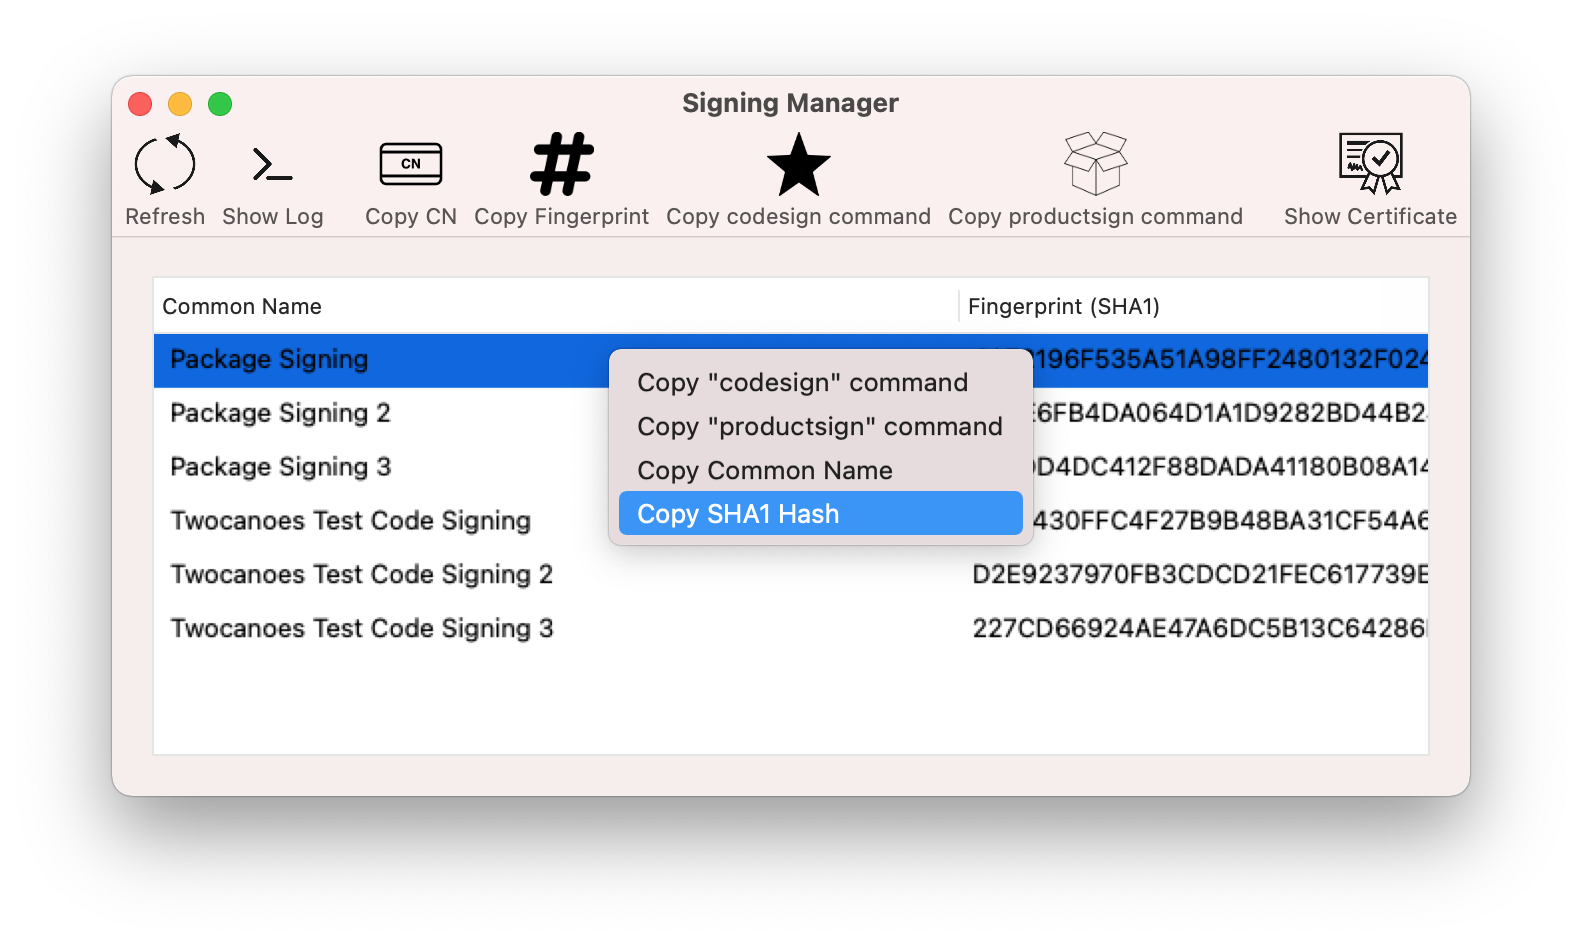
- Copy Fingerprint: Copy the SHA-1 Hash of the highlighted certificate. You may also right-click the highlighted certificate and select “Copy SHA-1 Hash”.
- Copy codesign command: Copy the codesign command for the highlighted certificate to use in Terminal. You may also right-click the highlighted certificate and select “Copy ‘codesign’ command”:

- Copy productsign command: Copy the productsign command for the highlighted certificate to use in Terminal. You may also right-click the highlighted certificate and select “Copy ‘productsign’ command”.

- Show Certificate: View the highlighted certificate
Signing Applications
To sign an application, select a certificate in the main interface and use Copy codesign command, then paste it into Terminal. Append the path to the application you want to sign and press return. For example:
codesign -fs "74FD9E670CFB7C906630B49FD26591CD66C66D79" ~/Documents/Projects/MyApp.app
Verify the signature by running codesign with the -dvvv options:
codesign -dvvv ~/Documents/Projects/MyApp.app
Signing Packages
To sign an installer package, select a certificate in the main interface and use Copy productsign command, then paste it into Terminal. Replace source.pkg and destination.pkg with a package to sign and a destination. For example:
productsign --sign "125F19515E25FA23CC1BA82E3E7A09D0A2097980" source.pkg destination.pkg
Verify the signature by double clicking on the signed package, then clicking on the certificate icon in the upper right corner of the first window of the installer.
Using with Xcode
In order to use Signing Manager with Xcode, the certificate (and not the private key of the certificate) must be imported to the local keychain. This allows Xcode to find the remote identity and use it for signing. The certificate does not need to be trusted and made available to Xcode. This is not required when using codesign directly.
Signing Manager Keyboard Shortcuts
- ⌥⌘C: Copy Common Name
- ⌥⌘S: Copy Fingerprint (SHA1 Hash)
- ⌥⌘O: Copy codesign command
- ⌥⌘P: Copy productsign command
- ⌘R: Refresh
- ⌥⌘E: Show Certificate
- ⌘1: Show Certificates Window
- ⌘L: Show Log