Creating a Boot Camp Partition For Winclone 6 or later
Previous version of this article.
If you are restoring a Winclone 6 (or later) image on a Mac that does not currently have a Boot Camp partition, or need a partition for other functions of Winclone, you can use Disk Utility on macOS to create one.
First, open Disk Utility in your Utilities folder (located in your Application Folder):

Select the Disk in the navigation menu on the left, as shown above, then click the partition button.
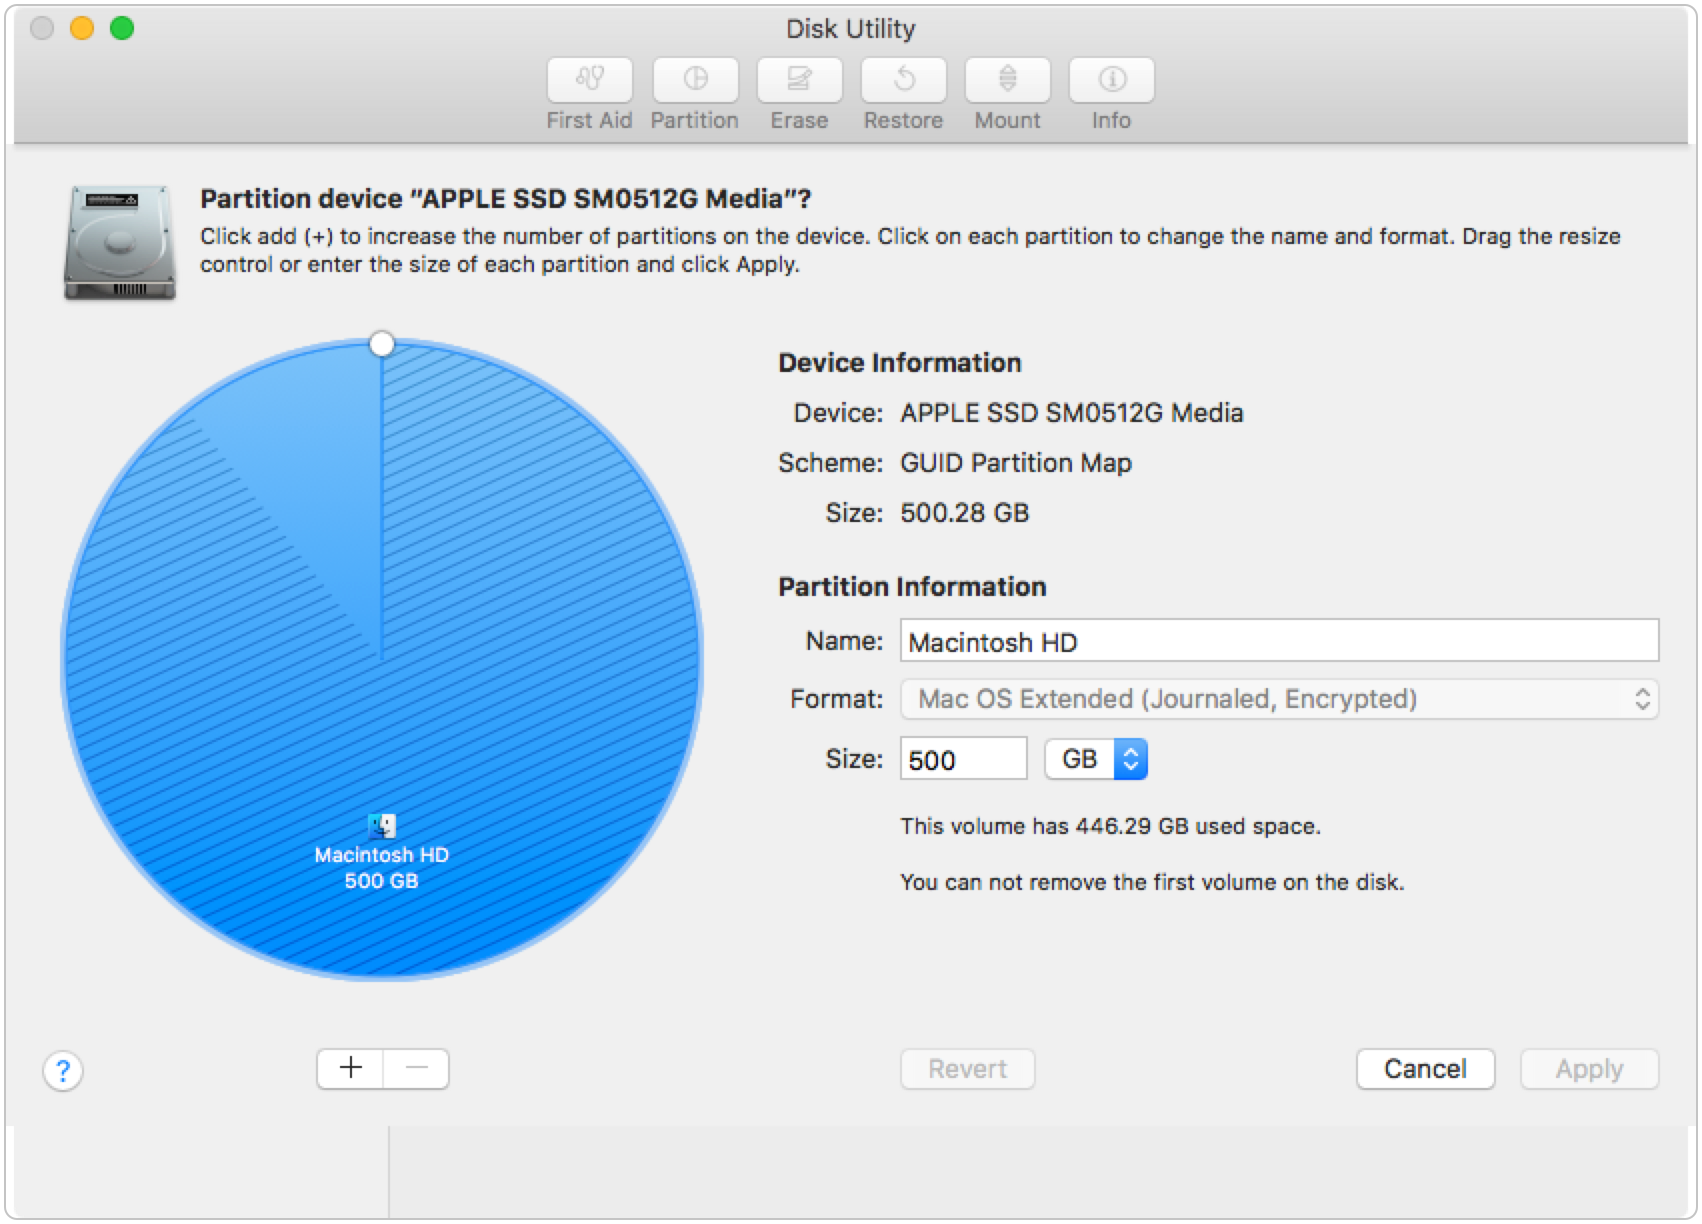
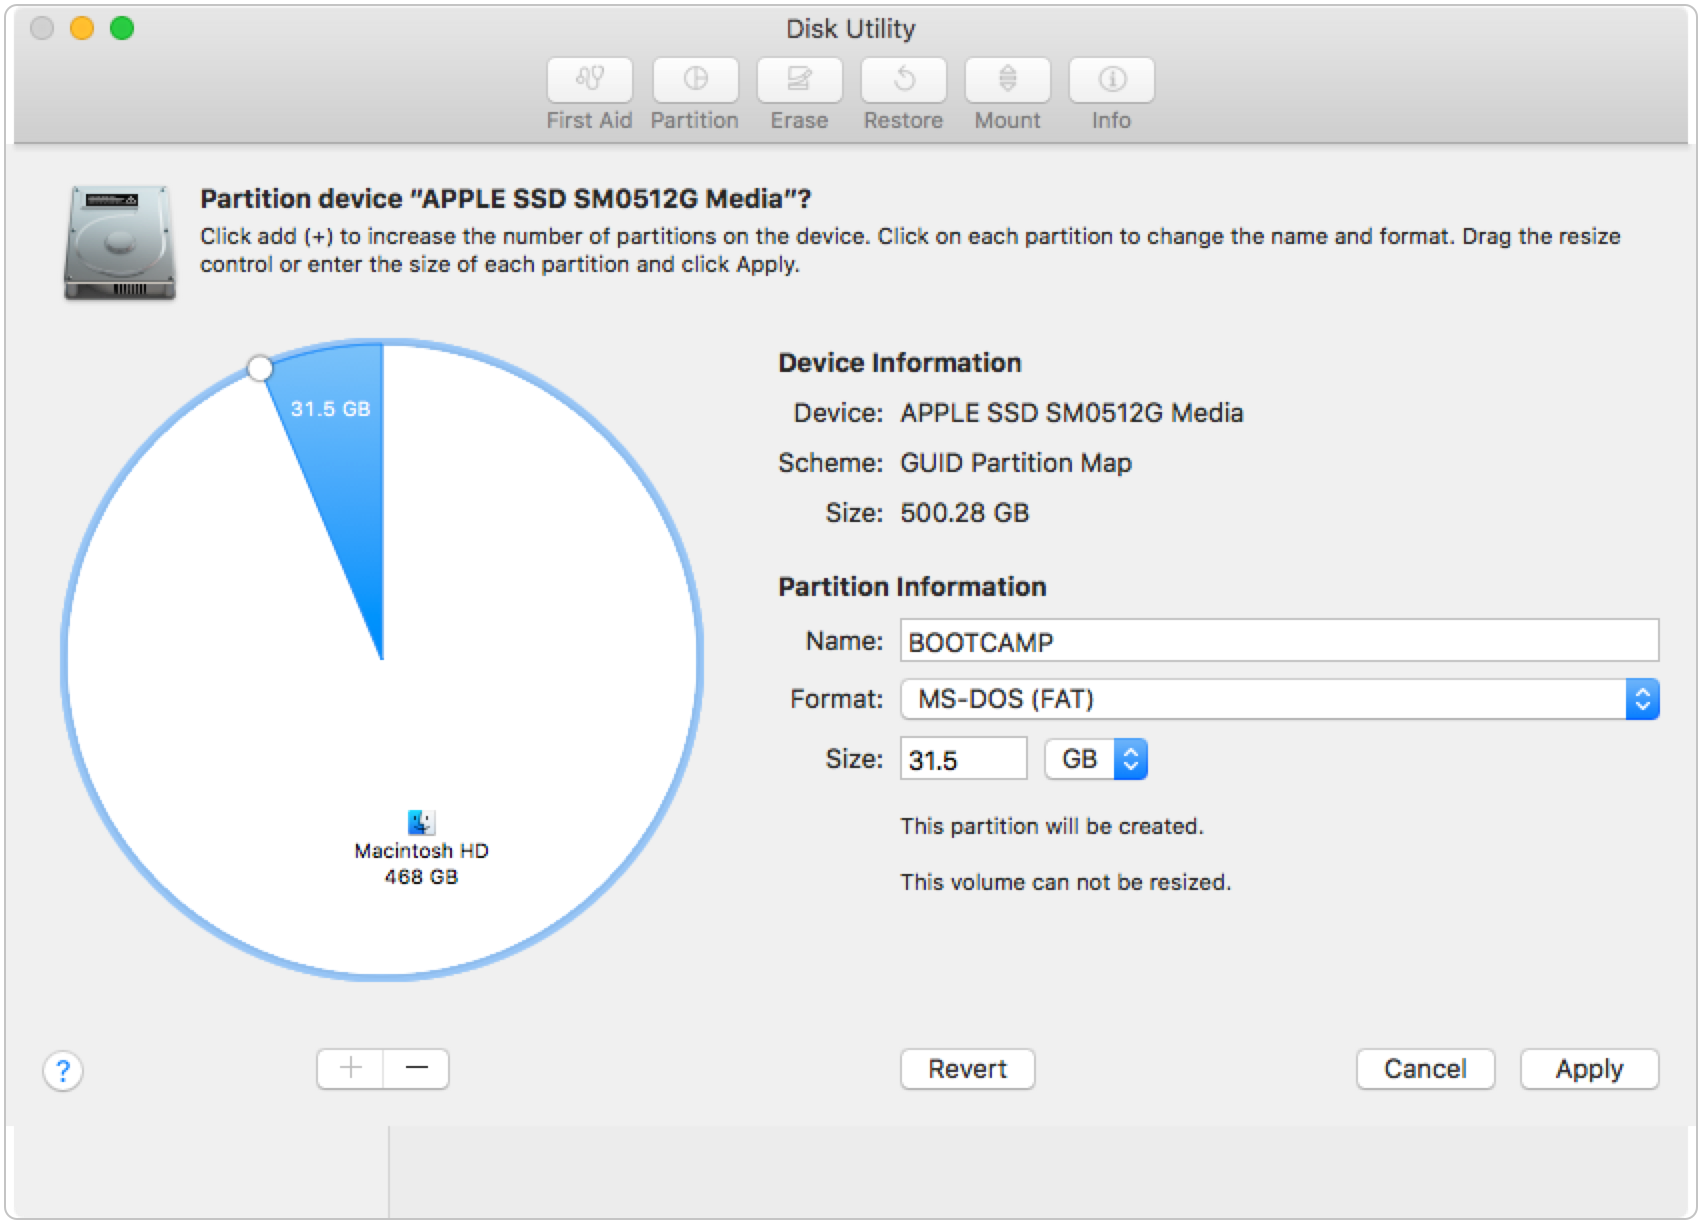
In a pie chart that represents the drive, Macintosh HD has both used space (the hashed area) and free space (the solid area). Click “+” below the pie graph, and a new partition will be created. Drag the handle on the slice (as shown below) until the new partition is the size you desire. Change the name to BOOTCAMP, the format to MS-DOS (FAT) and click “Apply”:
A confirmation sheet will appear. Carefully check which partitions will be add/removed/erase. In this case, a BOOTCAMP partition will be added, the BOOTCAMP partition will be erased, and Macintosh HD will be resized. Click Partition when satisfied that it is the correct settings:

Once completed, you can see the status:
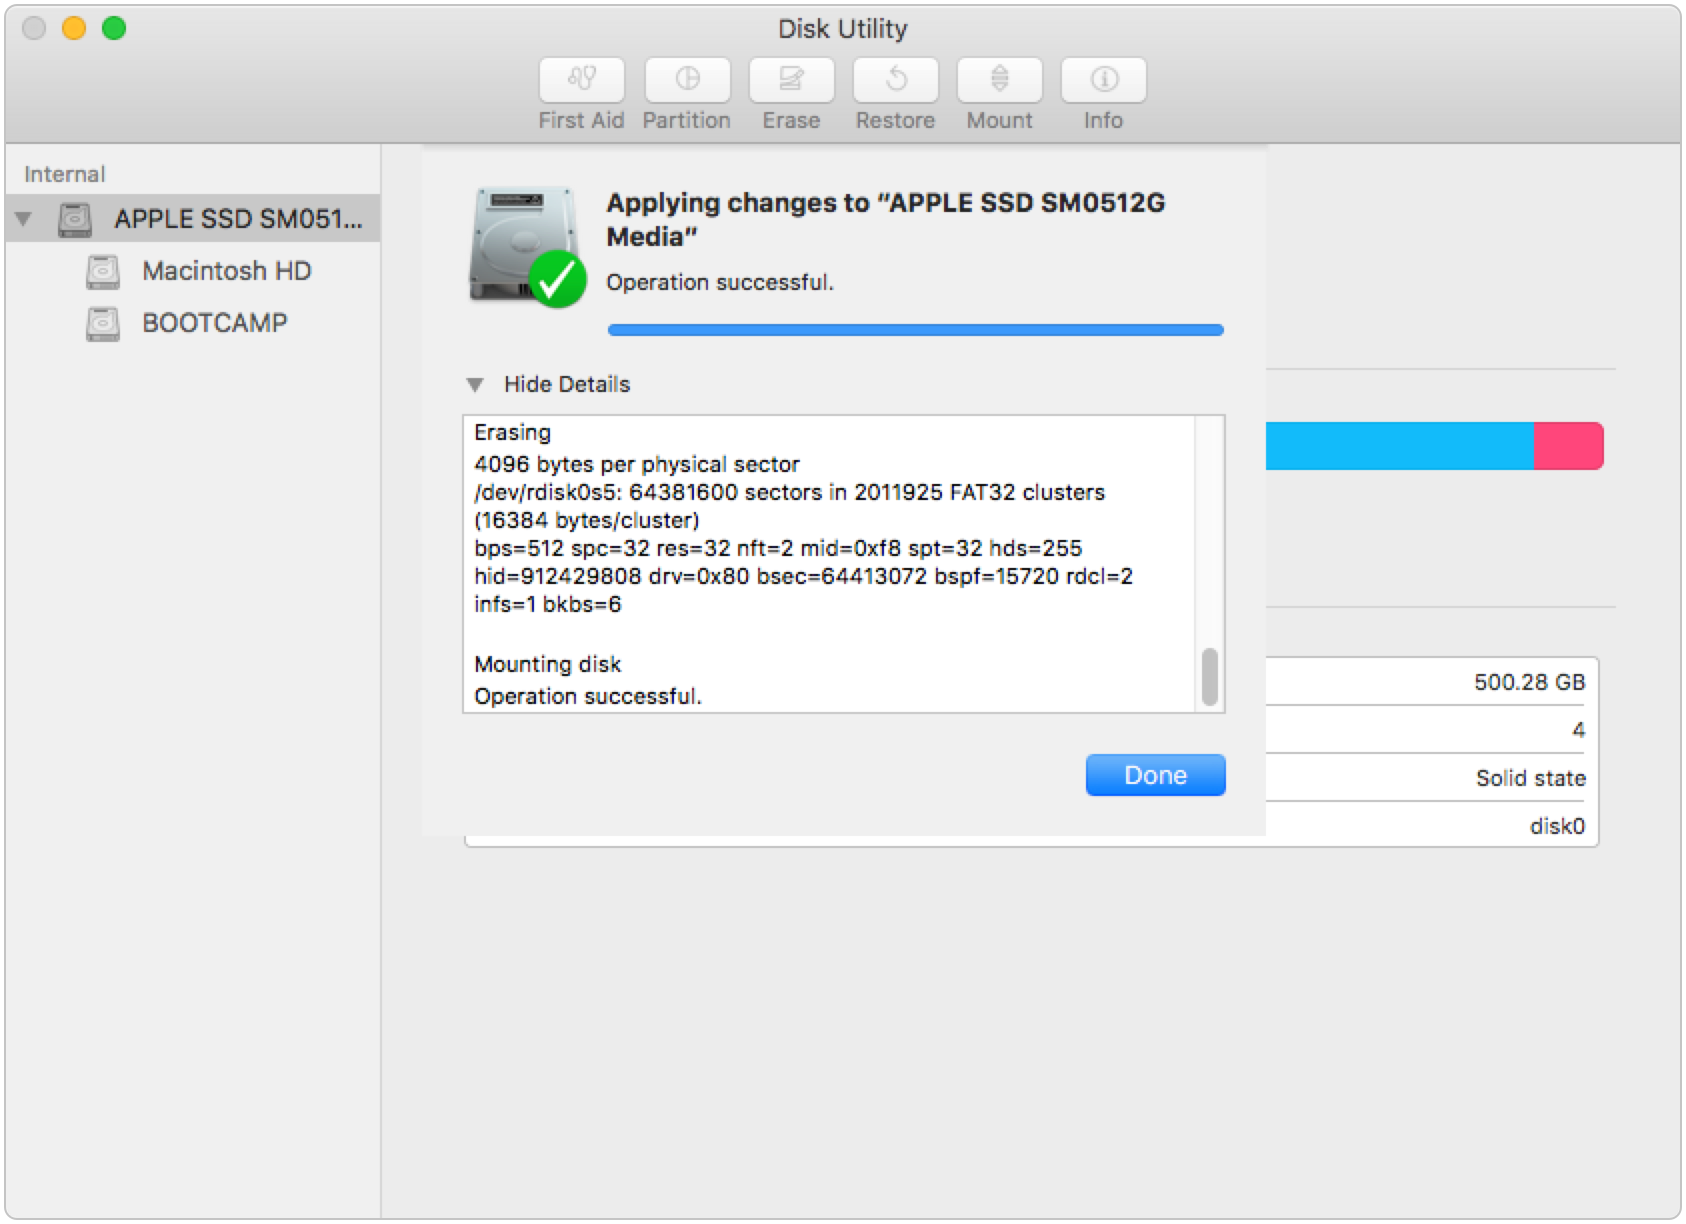
Click Done and you will now have a BOOTCAMP partition created:

The partition named BOOTCAMP is created and available for use in Winclone.
If you need additional assistance, please view Apple’s support documentation on partitioning in Disk Utility.