Using Winclone Backup
Table of Contents
- Activating Incremental Backups
- Basic Configuration
- Excluding Folders
- Setting Backup Intervals
- Restoring Files
The release of of Winclone 5 introducedour Winclone Backup feature. The combination of periodic cloning with scheduled incremental backups ensures a speedy recovery from data loss, even in the worst case scenario.
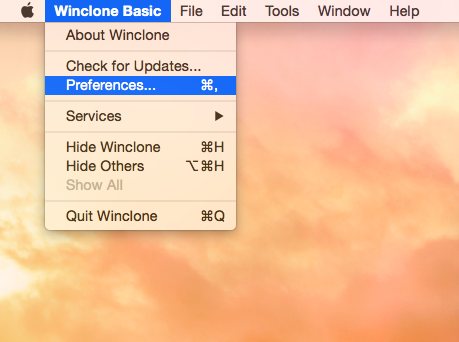
To activate Winclone Backup, open the Winclone preferences panel in your version of Winclone. For this tutorial, we are using Winclone Basic.
Checkmark “Show Backup Menu Item”

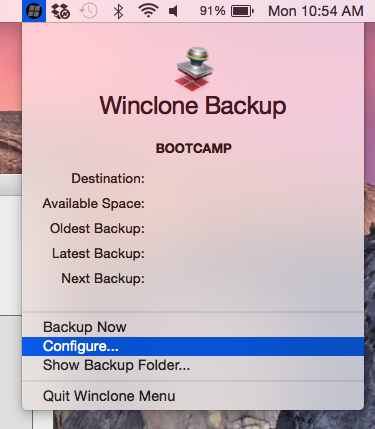
From your Mac Toolbar, select the Winclone Backup Icon.
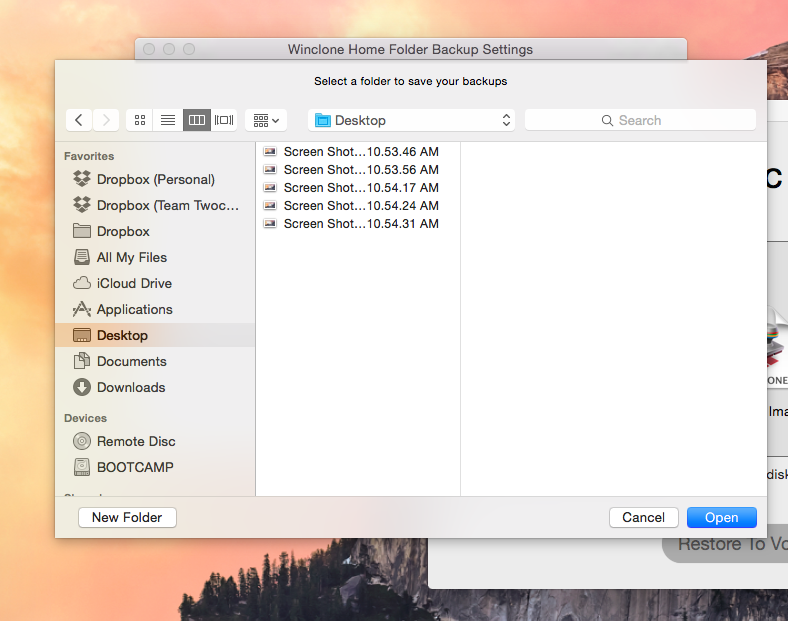
Next, select the backup location for your files.

Choose a location that is easily accessible, for example the Desktop of your Machine.
Winclone Backup offers the ability to exclude folders from your incremental backup. To adjust, select the ’+’ sign within the configuration panel.
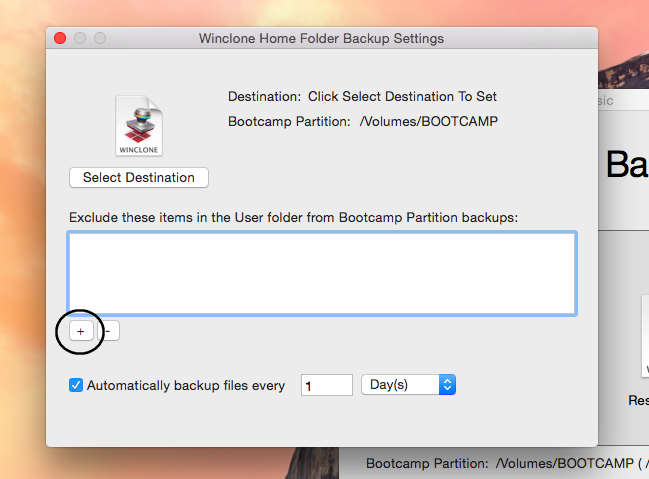
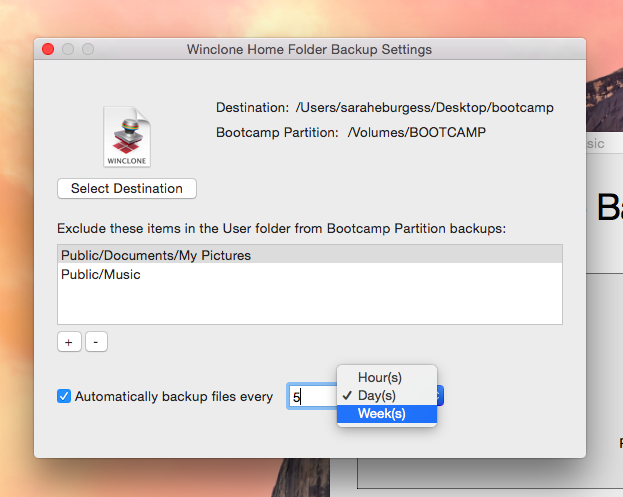
Select the folder you want to exclude.

You can easily add or remove each folder by utilizing the ’+’ and ’-’ buttons.

Easily adjust the backup interval and choose between designated hours, days, or weeks.
To restore files that are backed up with Winclone, you will need an external USB drive that is compatible with Mac OS X and Windows.
Step One:
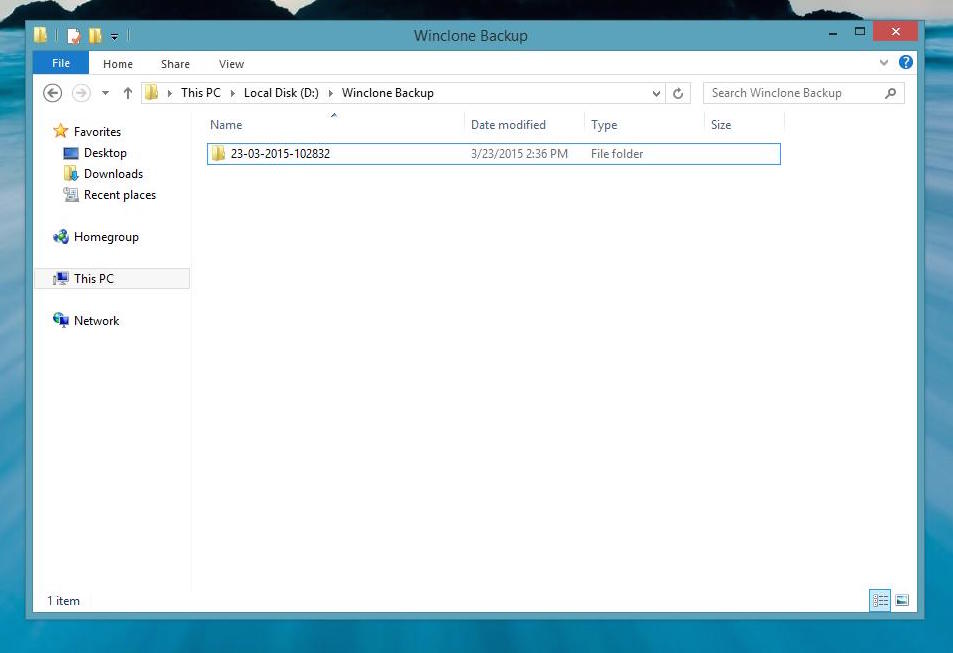
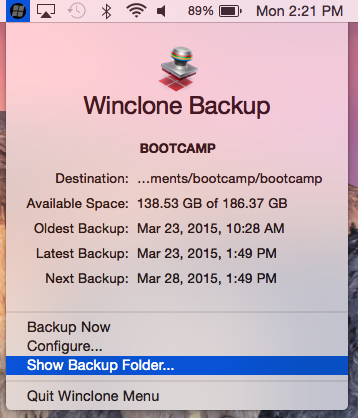
Locate your latest Winclone Backup. To find your backup folder, please open Winclone Backup and select “View Backup Folder”
Step Two:
Find your latest backup by date: Day/Month/Year. For example the backup below was created on March 23rd.

Step Three:
Insert an external drive to copy over the backup files.
Drag the backup to the external drive.


Step Four:
Log into Windows and open the Winclone Backup external USB drive that you moved your Winclone Backup folder into.You can then view these files and move them back to your user folders, for example your pictures, music, documents, etc.