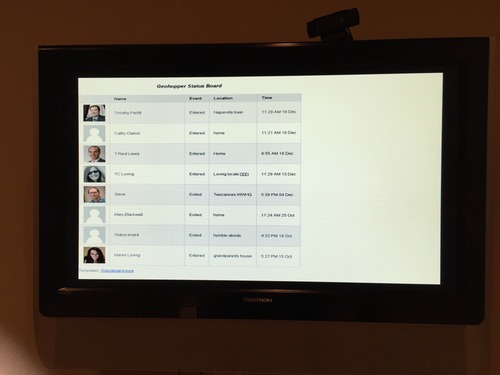
Setting up a statusboard to automatically show when people enter or exit a building or room is a great small project and is easy to do with our beacons, a Raspberry Pi, and Geohopper. It would be great for an In/Out board, Meeting or Event Attendance, Time Cards, Personnel Availability, or other ways you can imagine (and be sure to share!). It is also a great way to gain hands on experience with iBeacons work and get a great feel for the technology. Here is what you will end up with:
Please let us know about your experiences and ideas for these uses of iBeacons or writing to us here.
Here is what you’ll need to get started:
- Some Bleu Station Beacons. Grab the starter kit from here or individual beacons from here. The starter kit has our developer support, so you get our awesome support for your solution.
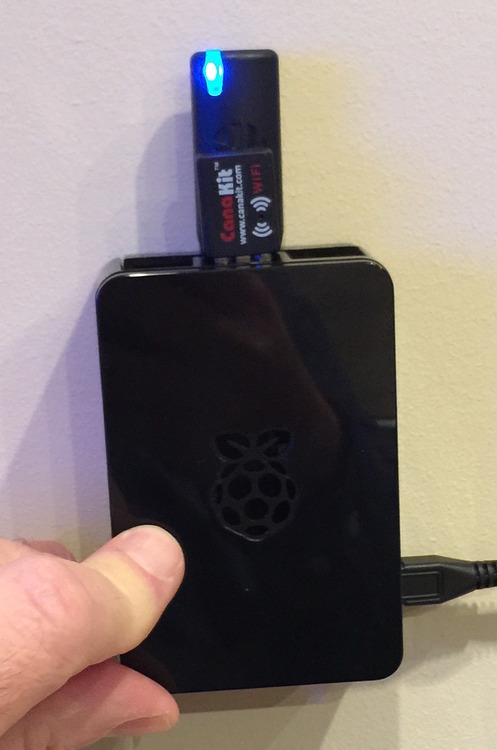
- A Raspberry PI. I got the mine from Amazon here. The kit has some extra stuff, but it has a wifi module, a cool box, HDMI cable, and a power supply.
- Geohopper from the App Store.
- A flat screen TV with HDMI input.
Setting up the Raspberry PI
In this example, I’ve used an inexpensive Rapsberry Pi. You could just as easily use another digital sign platforms or single board computers such as Arduino, Tessel or others or a more sophisticated but expensive device such as retired iPad, iPod, iPhone or Android device.
My goal when setting up the Raspberry PI was to get it to boot into a web browser. The browser would show the Geohopper Statusboard URL from the app. Turns out this is pretty easy to do.
First, download Geohopper from the App Store and set up a beacon in a room your want to monitor. Configure Geohopper to notify yourself when entering or exiting. Find some other people as well and install Geohopper on their phones, and have then notify you when enter or exiting the beacon room. In Settings, turn on Status Board and grab the URL.
Hook up the Raspberry PI to the TV, hook up a keyboard and mouse, and turn it on. Select the Raspian OS (the recommended). It will chunk away for a bit and install the OS and then reboot. After the reboot, turn on SSH and set a password in the setup assistant. When you get to the command prompt, run “startx” to get to the desktop to set up WiFi.
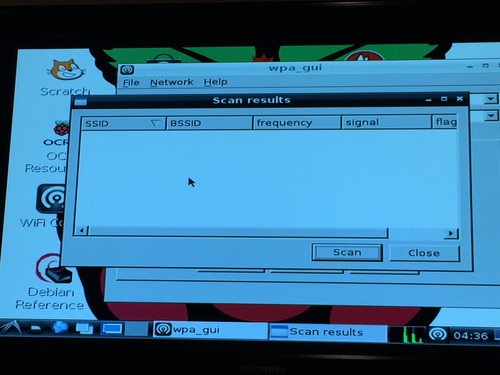
Once at the desktop, set up WiFi by double clicking the WiFi setup on the desktop. Put in your WiFi SSID and credentials:
Set up a browser to run full screen to a specific URL. This sounds complicated, but turned out to be easy thanks to some cool instructions over at Wired Watershed. I didn’t do all the steps, but I’ll outline what I did here.
First, run these commands to install the software you need (I added in libnss-mdns so that I can use “ssh raspberrypi.local” from my Mac:
https://gist.github.com/e22f43cda5d08fd7db64
Then create a file in /home/pi called .xinitrc, and put this in it (replace http://URL.of.your/choice.html with the Geohopper URL from above):
https://gist.github.com/5b6426c2fa5662346df8
The final step is to make the Raspberry PI boot into this setup. To do this, edit /etc/rc.boot and add this line before exit 0:
https://gist.github.com/7d30c456e91bdf1368b4
Now reboot and you should have a browser that is showing the status board. Walk out of the room, wait for an exit notification, then walk back in. The status board updates every 30 seconds, so you should see your new status. The styling of the statusboard can be updated to match your branding, and you can do all sorts of fancy stuff with HTML and CSS as well.
If you need help, contact us at @twocanoessoft. If you need help building a solution around something like this, let us know. We’ll provide the beacons and the knowledge to help get your project launched.
18Dec2014 Edit @ 2:40 pm Central: Fixed typo and added in photo.