Deploying Boot Camp Using WinPE and MDT
Deploying Boot Camp Using WinPE and MDT
Introduction
Winclone supports deploying Windows via Microsoft Deployment Toolkit (MDT) and booting to a Windows Preinstallation Environment (WinPE). A similar workflow can be applied for environments that deploy Windows images via SCCM. This document covers setting up MDT, creating the WINPE files, creating the Winclone package and booting into the WinPE environment.
Requirements
- Microsoft Deployment Toolkit installed on a Windows PC or virtual machine
- Winclone 7 or later
- Boot Camp Drivers from Apple
- Modern Mac
Overview
In order to boot Macs into the WinPE environment, the correct files must be installed on the Boot Camp partition. These files include a WIM file that contains the correct drivers and boot files. The Mac must also be configured to boot the WinPE environment into RAM so Windows can be installed on it.
This process outlines using MDT to create the WinPE files, and using Winclone to create and deploy a Winclone image that will deploy the correct files and make the WinPE environment correctly bootable. After the Mac boots into the WinPE environment, Task Sequences can be run to image the Boot Camp partition in the same way as imaging PCs. This process also does not destroy the Mac partition.
The Development Toolkit creates the WinPE image and allows you to inject Windows drivers into the WinPE environment. Drivers are important because they will give the Mac network access, mouse, and keyboard in the WinPE environment.
Install MDT

Download and install the Microsoft Development Toolkit and install in Windows 10. After installation, launch the Deployment Workbench from the Start Menu. After Deployment Workbench launches, create a Deployment Share. The Deployment Share is an SMB share that contains all the required resources (such as boot files, packages, images, and more). When a Mac boots into WinPE, it will connect to the Deployment Share to discover Task Sequences, images, and other resources required to image the Boot Camp partition.
Share Location

The Deployment Share must be accessible on the network, so create a folder and share it. You may also enter in a share path to an existing share.
Name
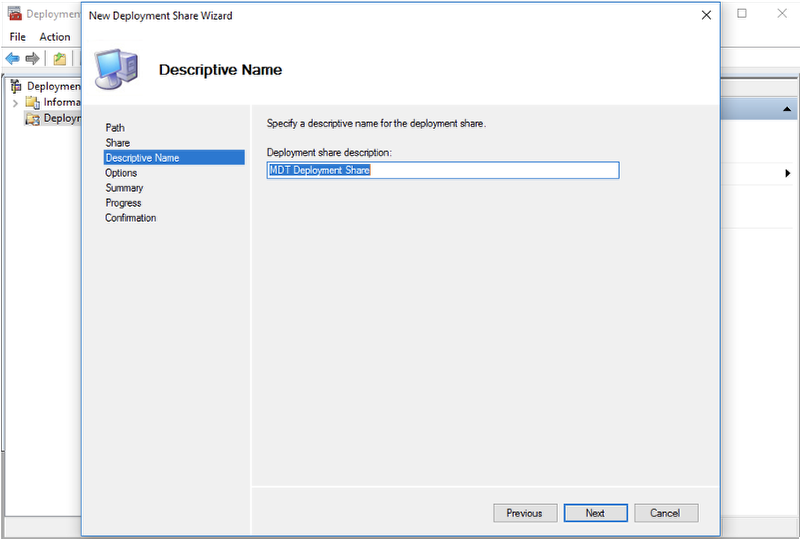
Give the Deployment Share a name.
Options
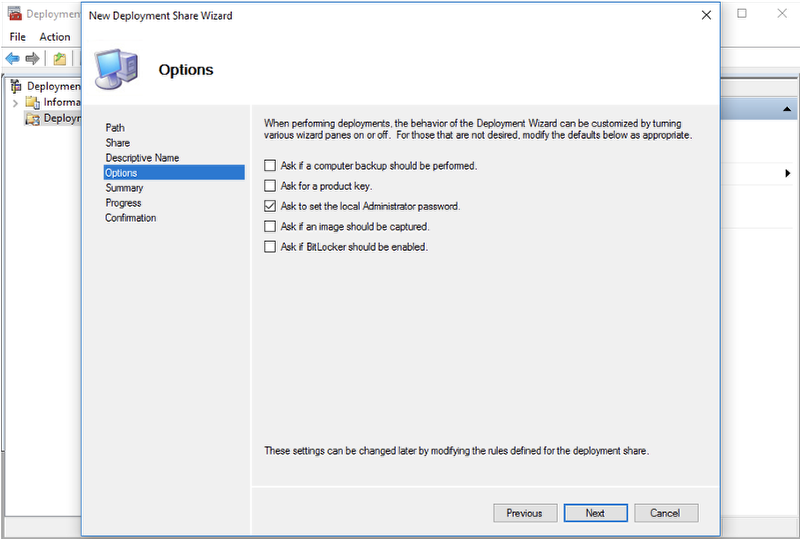
Set the options. If any options are selected, you will be prompted to enter in the value when needed.
Summary
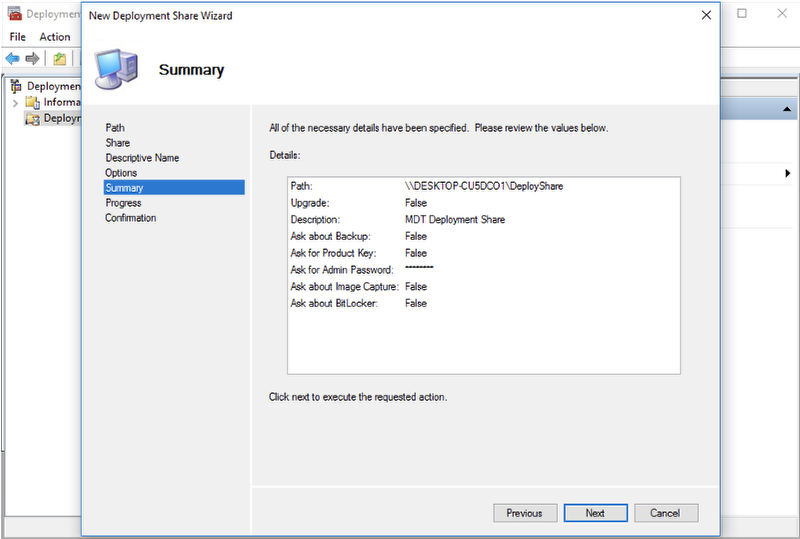
Verify the settings.
Progress
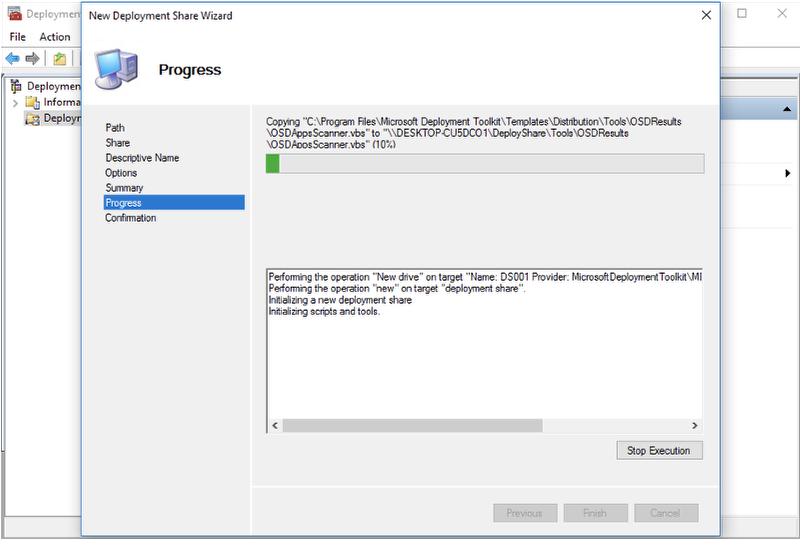
The Deployment Share resources will now be created.
Confirmation
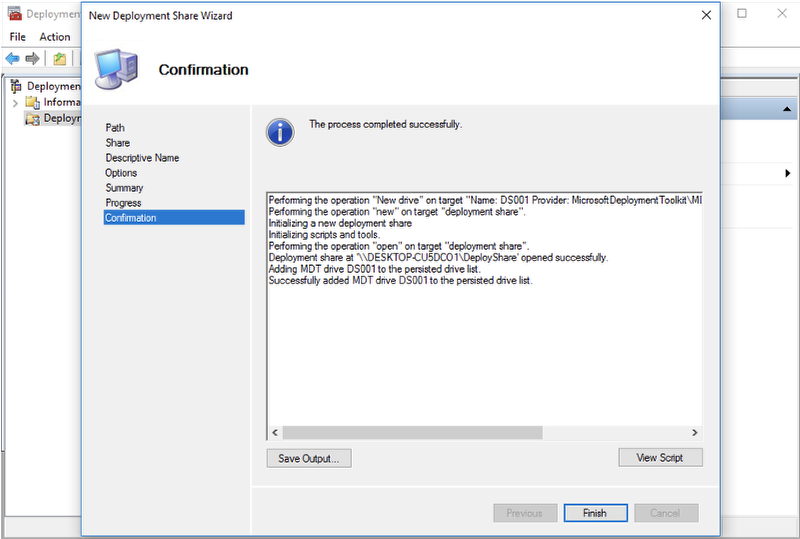
Once the Deployment Share has been created, click Finish.
Boot Camp Assistant
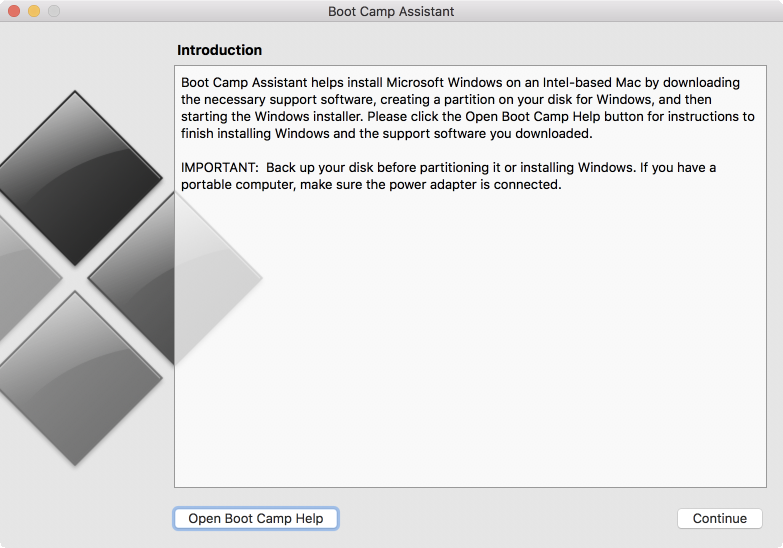
To download the correct drivers for a Mac, open Boot Camp Assistant in the Utilities folder in macOS. Note that this procedure must be done on each model Mac that you will be imaging, since different models may have different driver sets.
Support Software Menu

In Boot Camp Assistant, select “Download Windows Support Software” from the Action menu. Save the Support Software to a folder with a name; we recommend a name that includes the model number of the Mac for organization.
Import Drivers

Back in Deployment Workbench, import the Boot Camp drivers. Normally, you only need to import the drivers in the $WinPEDriver$ folder, since those are the drivers required for booting and basic functionality. However, the network drivers may not be included in the $WinPEDriver$ folder. You may need to extract other drivers in the Bootcamp ->Drivers folder using a tool such as “The Unarchiver” to get access to the required INF files. In the initial pass, import $WinPEDriver$ and see if it contains the required drivers. If not, you can add additional ones later by importing them.
Specify Directory

When prompted, select the $WinPEDriver$ folder in the Support Software folder you downloaded in Boot Camp Assistant.
Summary
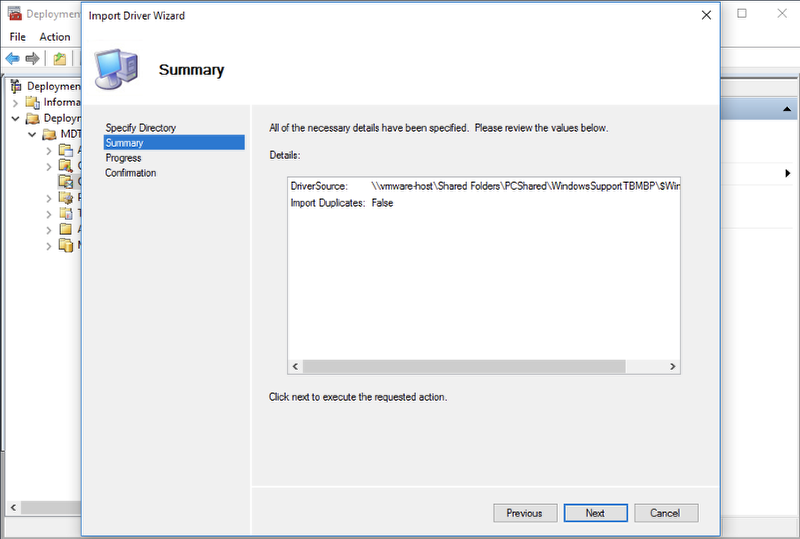
Confirm the settings and click Next.
Confirmation

Once the drivers have been imported, click Finish.
MDT Settings

Now that the drivers have been imported, the next step is to create the WinPE files. Some special settings need to be set, so select the Deployment Share, then right click and select Properties.
Deployment Share
General Tab

In the General tab, de-select x86 since most modern Macs are 64-bit. Unselecting this will reduce the WinPE build time and storage space requirements on the Deployment Share.
Rules Tab
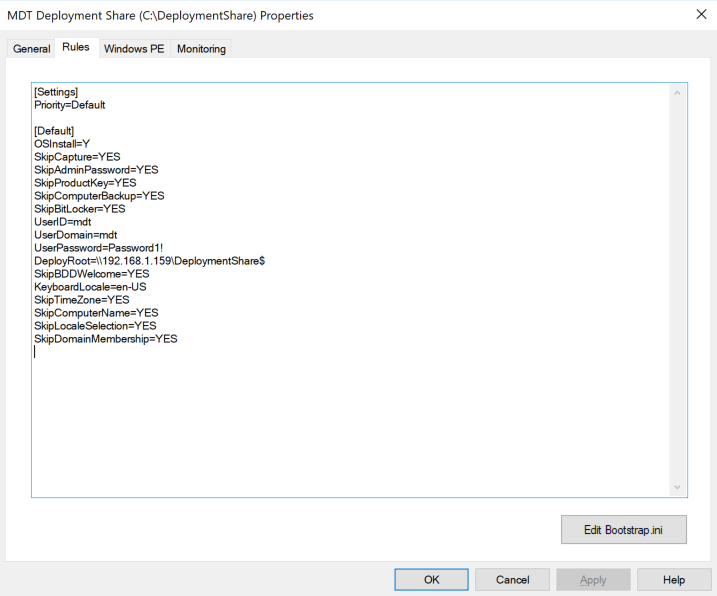
The Deployment Share rules are variables that configure which parts of the task sequences are shown; these allow you to override settings in the Task Sequence. The UserID, UserDomain, UserPassword, and DeploymentRoot are specified both in MDT Deployment Share Properties and in the bootstrap.ini. If these settings are not provided, the user will be prompted to enter them in WinPE.
Bootstrap.ini
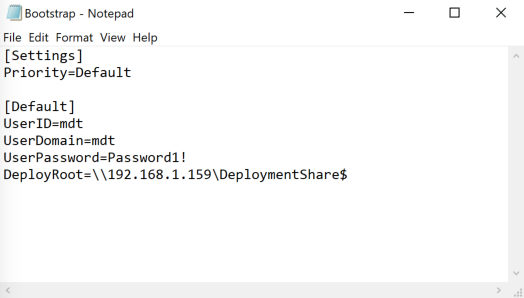
The bootstrap.ini file contains the bare minimum settings to connect to the Deployment Share. Add in the UserID, UserDomain, UserPassword, and DeploymentRoot. Note that you must specify a value for UserDomain (otherwise you will be prompted in WinPE).
If the MDT Deployment Share is on a computer that is not part of a domain, the UserDomain won’t be used. In this case, it can be set to any value.
Windows PE Tab
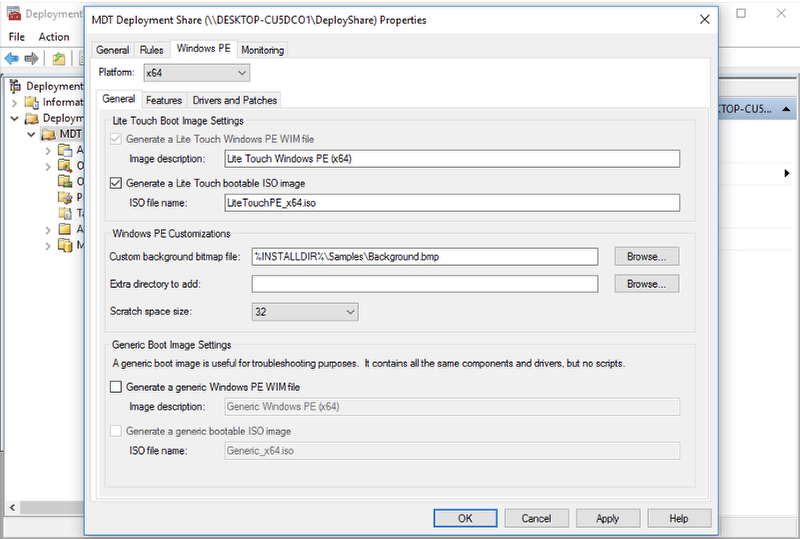
In the Windows PE tab, make sure the x64 Platform is selected. The “Lite Touch Windows PE WIM file” will be the files that are loaded into RAM and booted into. The ISO image is what initially boots the WinPE environment to bootstrap the loading of the files from the WIM file.
Make sure “Generate a Lite Touch Windows PE WIM file” and “Generate a Lite Touch bootable ISO image” are selected as shown.
Features Tab

The WinPE environment can contain additional features, such as Windows PowerShell or .NET; these are needed for scripting installs.
Include any Feature Packs you may need. It is common to include .NET Framework and Windows PowerShell.
Drivers and Patches Tab

The Deployment Share “Drivers and Patches” tab configures what drivers to include. Select the “All Drivers” profile to include all Boot Camp drivers you imported earlier.
Update Deployment Share

To create the WinPE files, right-click on the Deployment Share and select “Update Deployment Share”.
Update Deployment Share Options

To create the WinPE environment, select “Completely regenerate the boot images” and click Next.
Update Deployment Share Confirmation
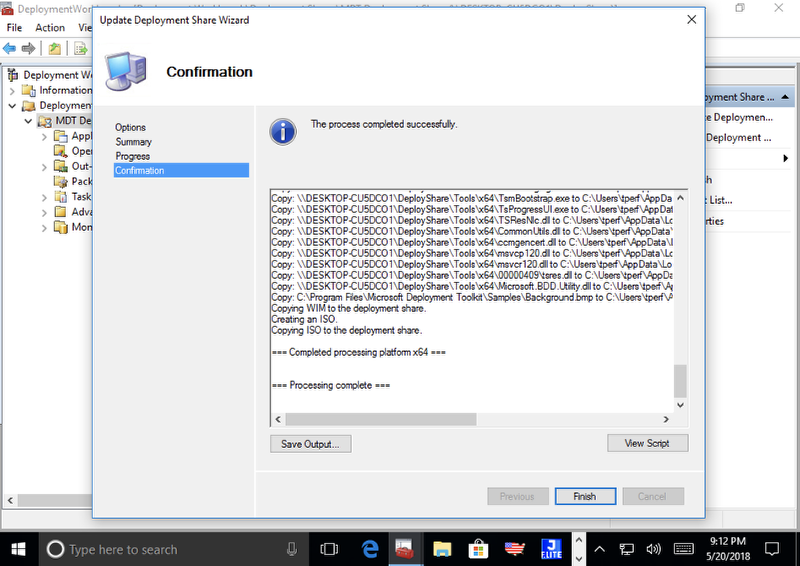
Once the WinPE files have been created, click Finish.
Task Sequences
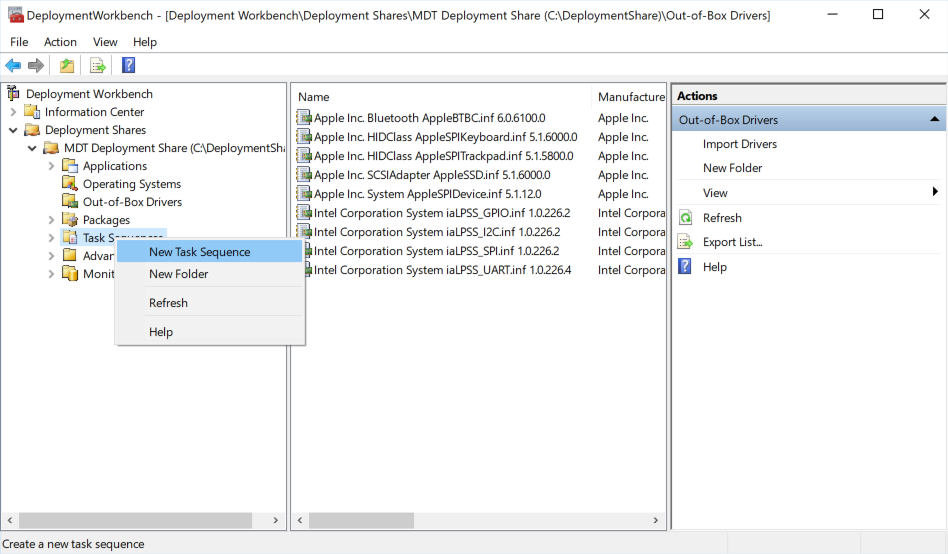
Create a new Task Sequence by right-clicking on Task Sequence, then select “New Task Sequence”. A Task sequence is the workflow that is run in the WinPE environment that images the Boot Camp partition.
General Settings
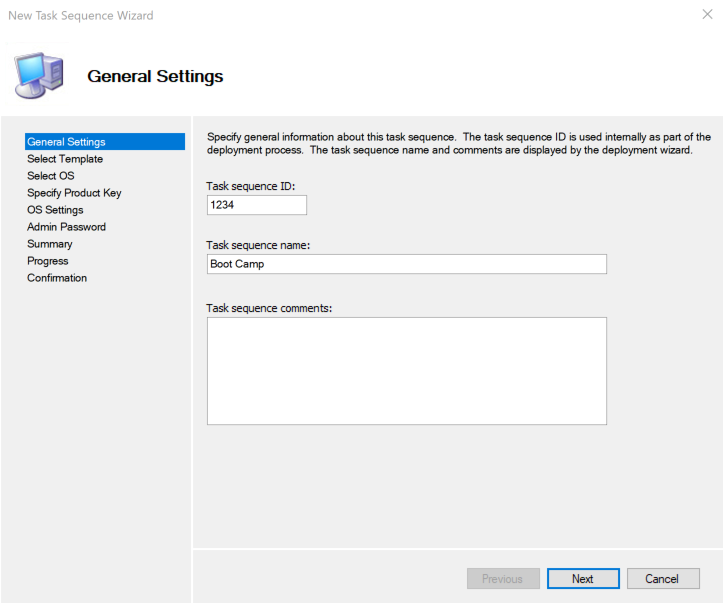
Give the task sequence a unique identifier and a Task Sequence name. The name will be shown in a list of Task Sequences in the WinPE environment to select from.
Click Next.
Select Template
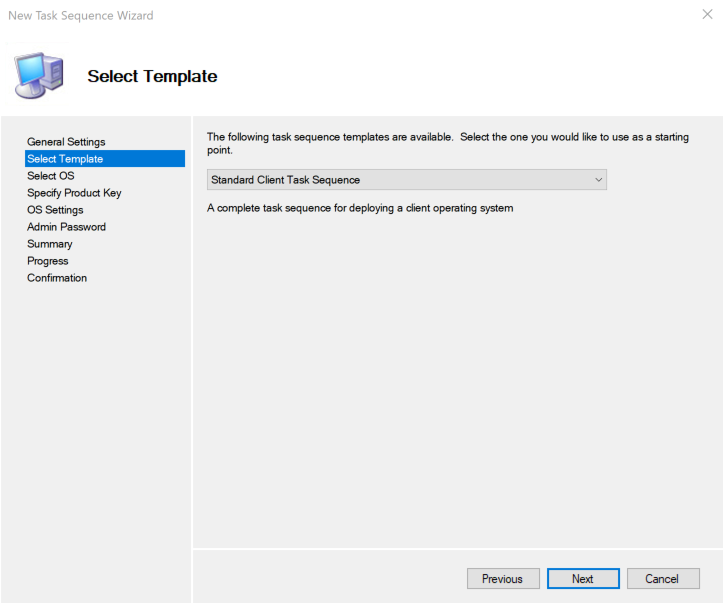
A Task Sequence is composed of different steps. MDT provides some preconfigured templates. Select the Standard Client Task Sequence and click Next.
Select Template

Select an OS that will be restored to the Boot Camp partition and click Next.
Specify Product Key
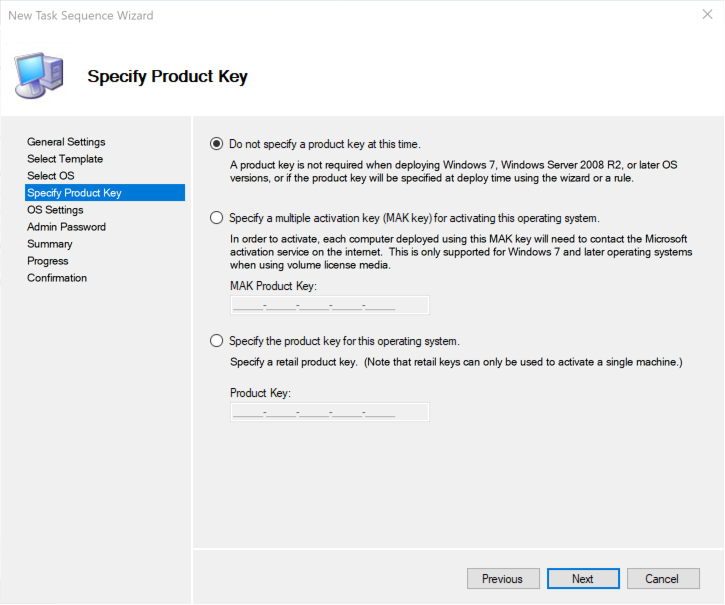
Specify a product key if needed. Typically, it is not required to specify a product key. Click Next.
OS Settings
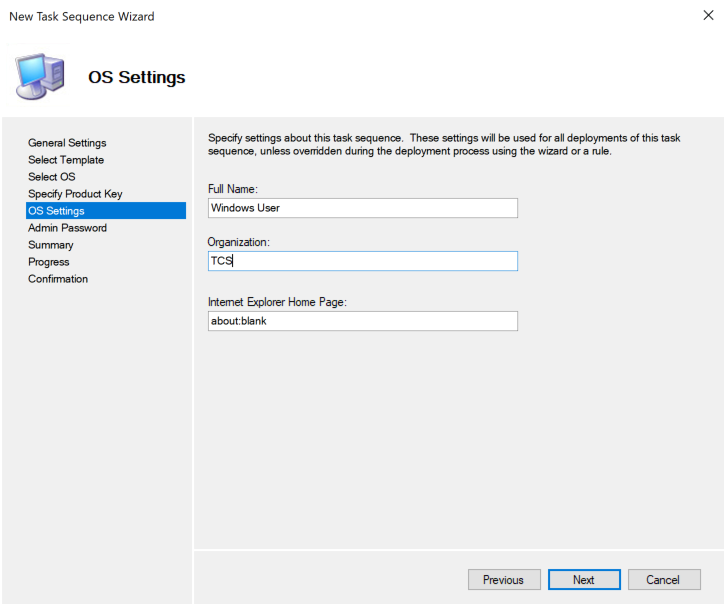
Provide a Full Name, Organization, and Internet Explorer Home page. Click Next.
Admin Password
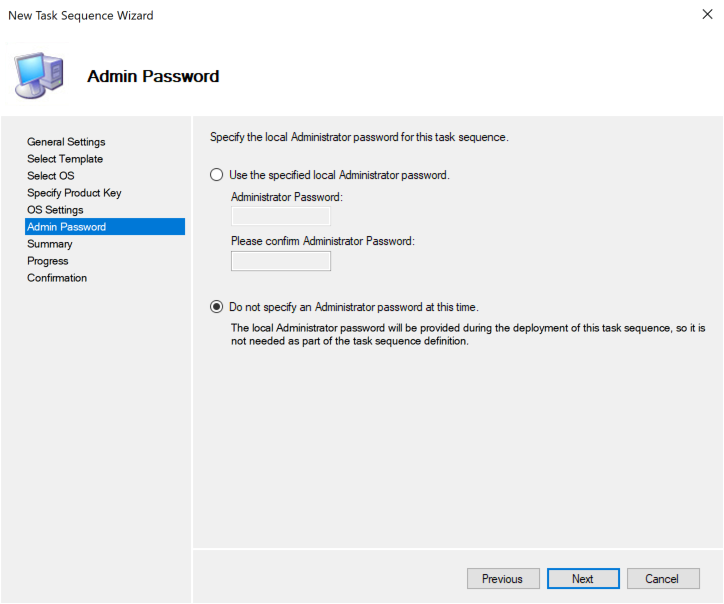
Provide an Admin Password, or select the option to specify during imaging. Click Next
Summary
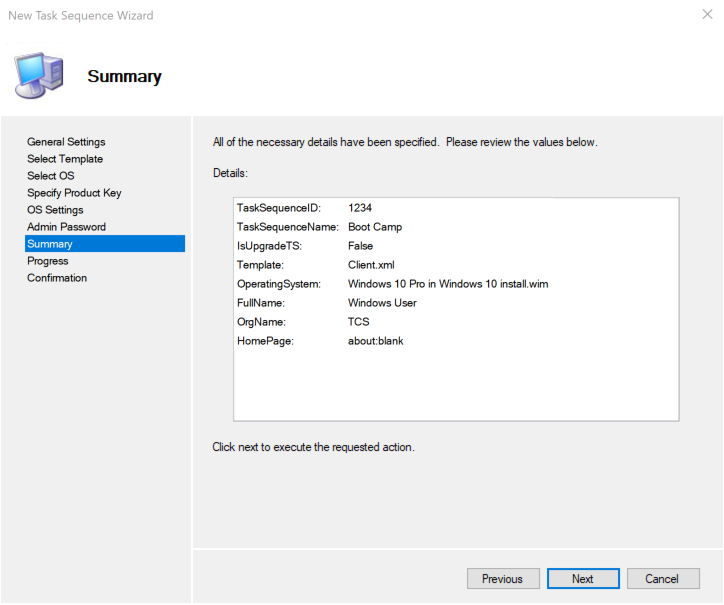
Verify settings and click Next.
Confirmation
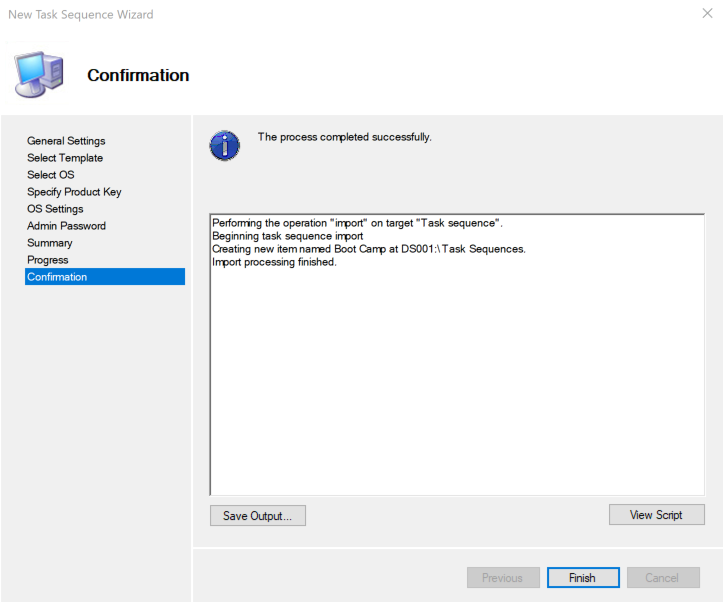
Once completed, click Finish
Modify Task Sequence
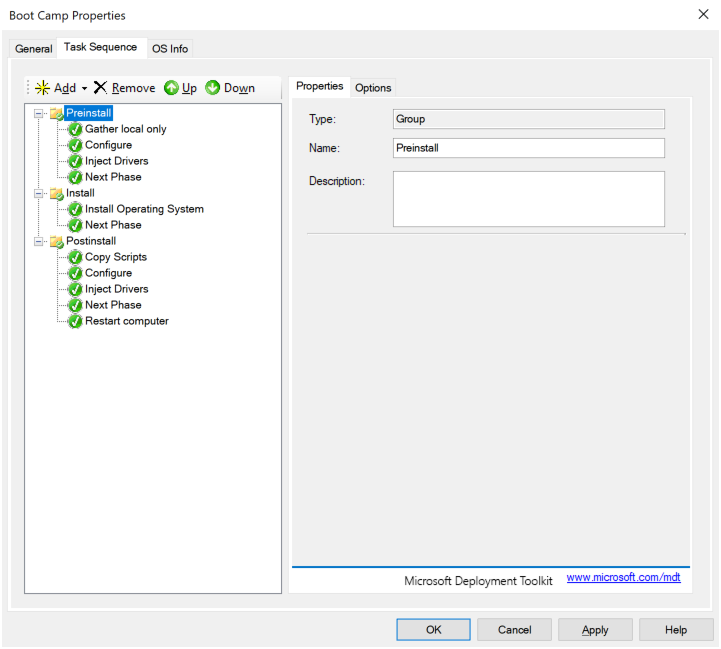
Remove all the steps except for the steps shown above.
Modify Task Sequence: Select OS and target
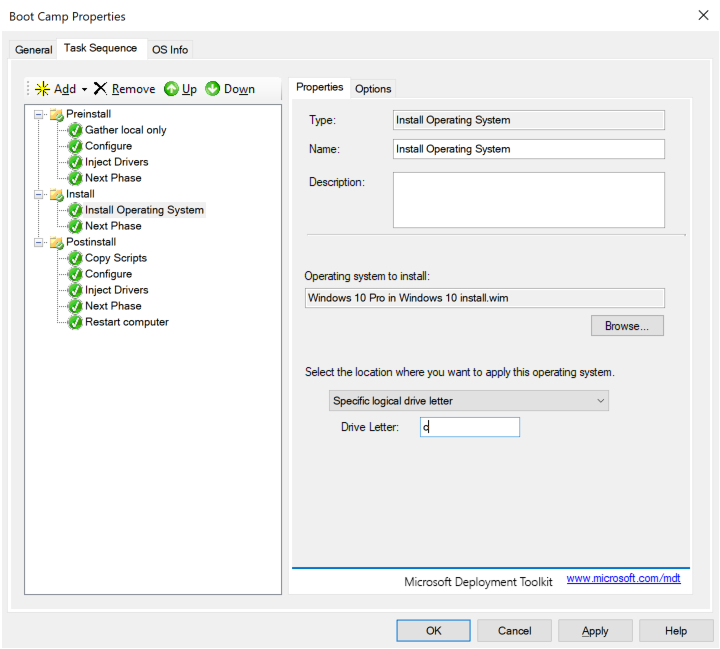
In the Install Operating System step, set the location to Specify Logical Drive Letter and enter in “c” (without the quotes). Click Apply and then OK.
Deployment Share Mounted Volume
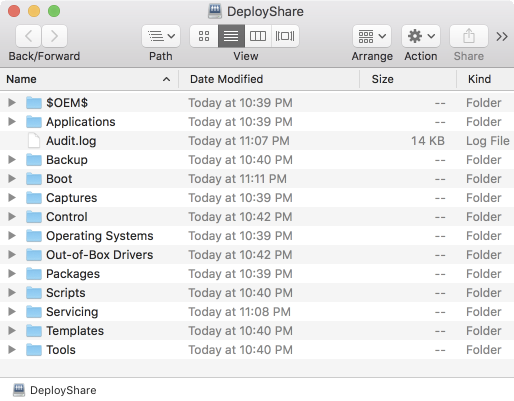
In macOS with Winclone Pro installed, mount the Deployment Share by using Finder and selecting “Go to Folder…” under the Go menu.
Deployment Share Files
The Winclone image will be created from a folder of files. This folder will contain all the files from the ISO.
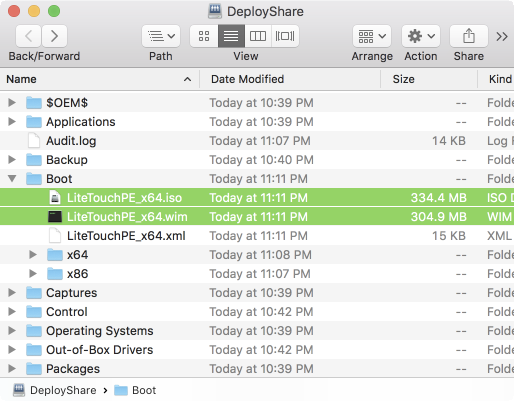
Create Winclone Image from PE Folder
Mount the LiteTouchPE_x64.iso in Finder by clicking on it.
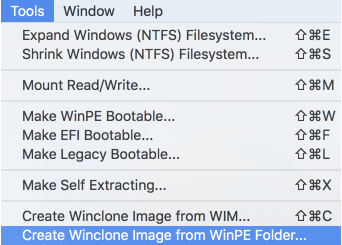
Create a Winclone image from the WinPE folder by selecting “Create Winclone Image from WinPE Folder…”.
Winclone Sheet
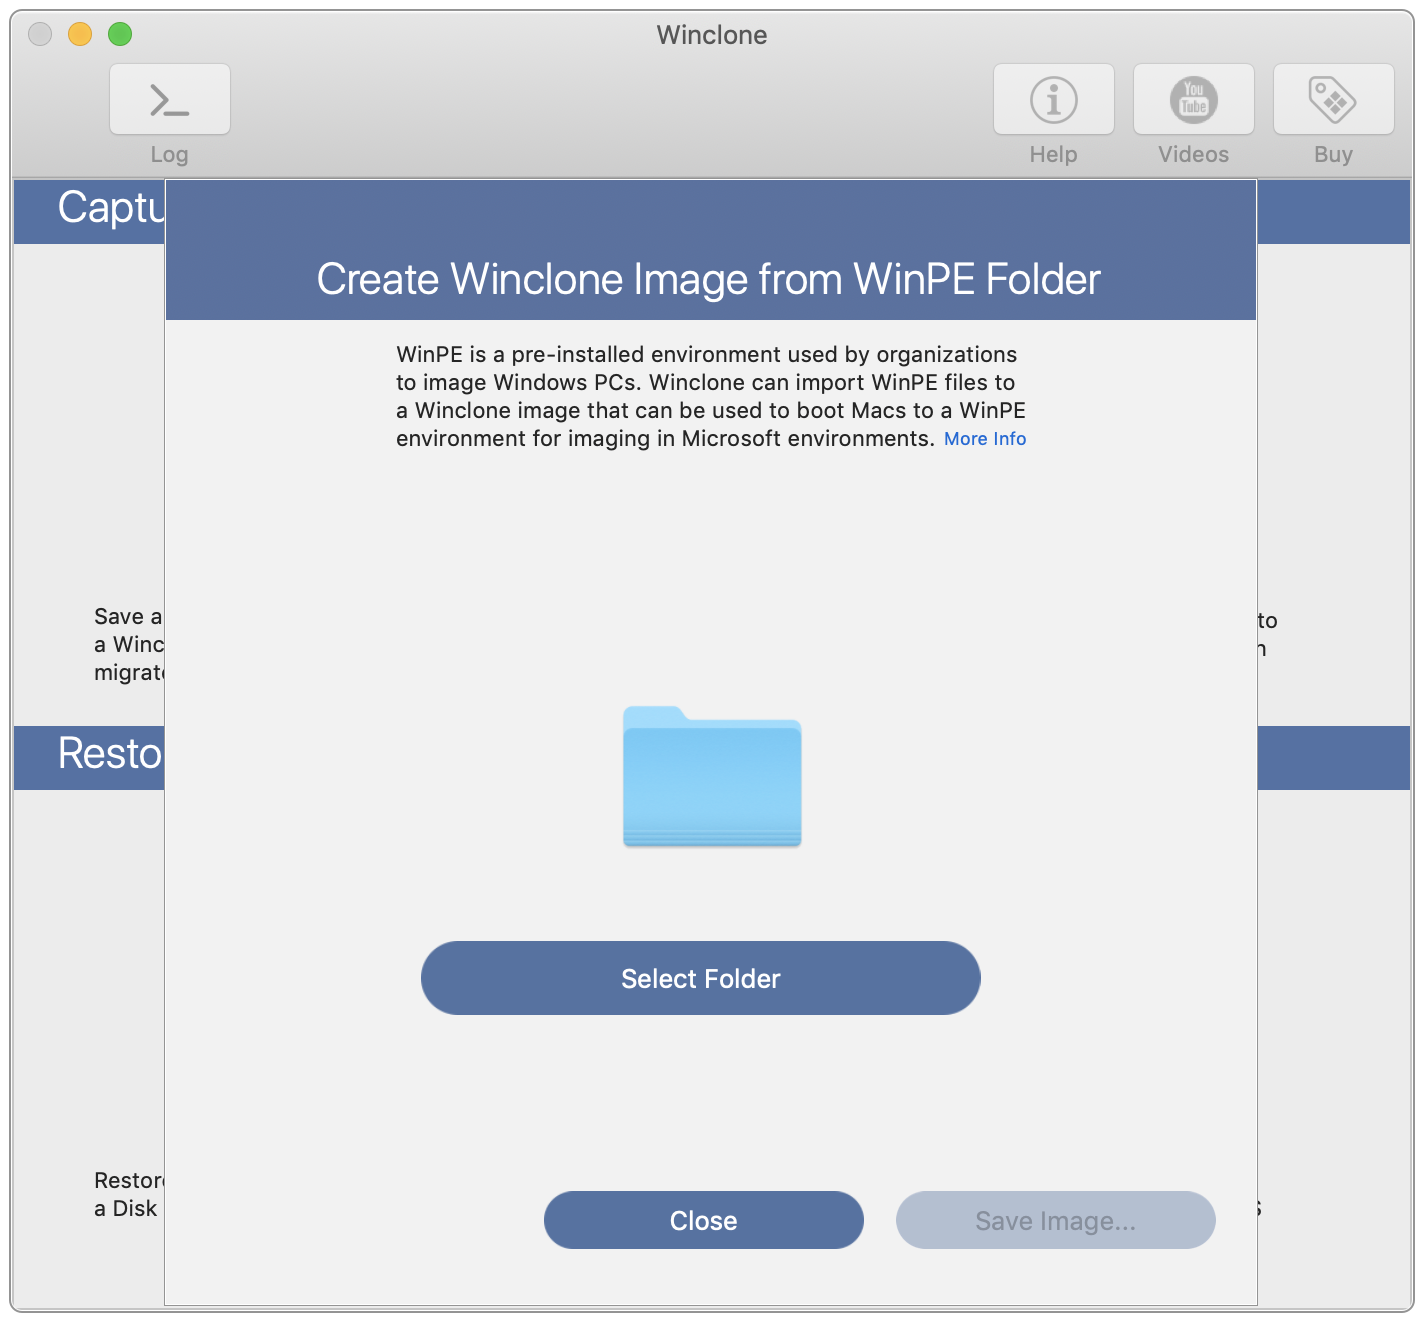
Click “Select Folder” and select the mounted ISO that was mounted in the prior step.
Save

Click “Save Image…” and give the Winclone image a name. Click Save.
Winclone Main Window
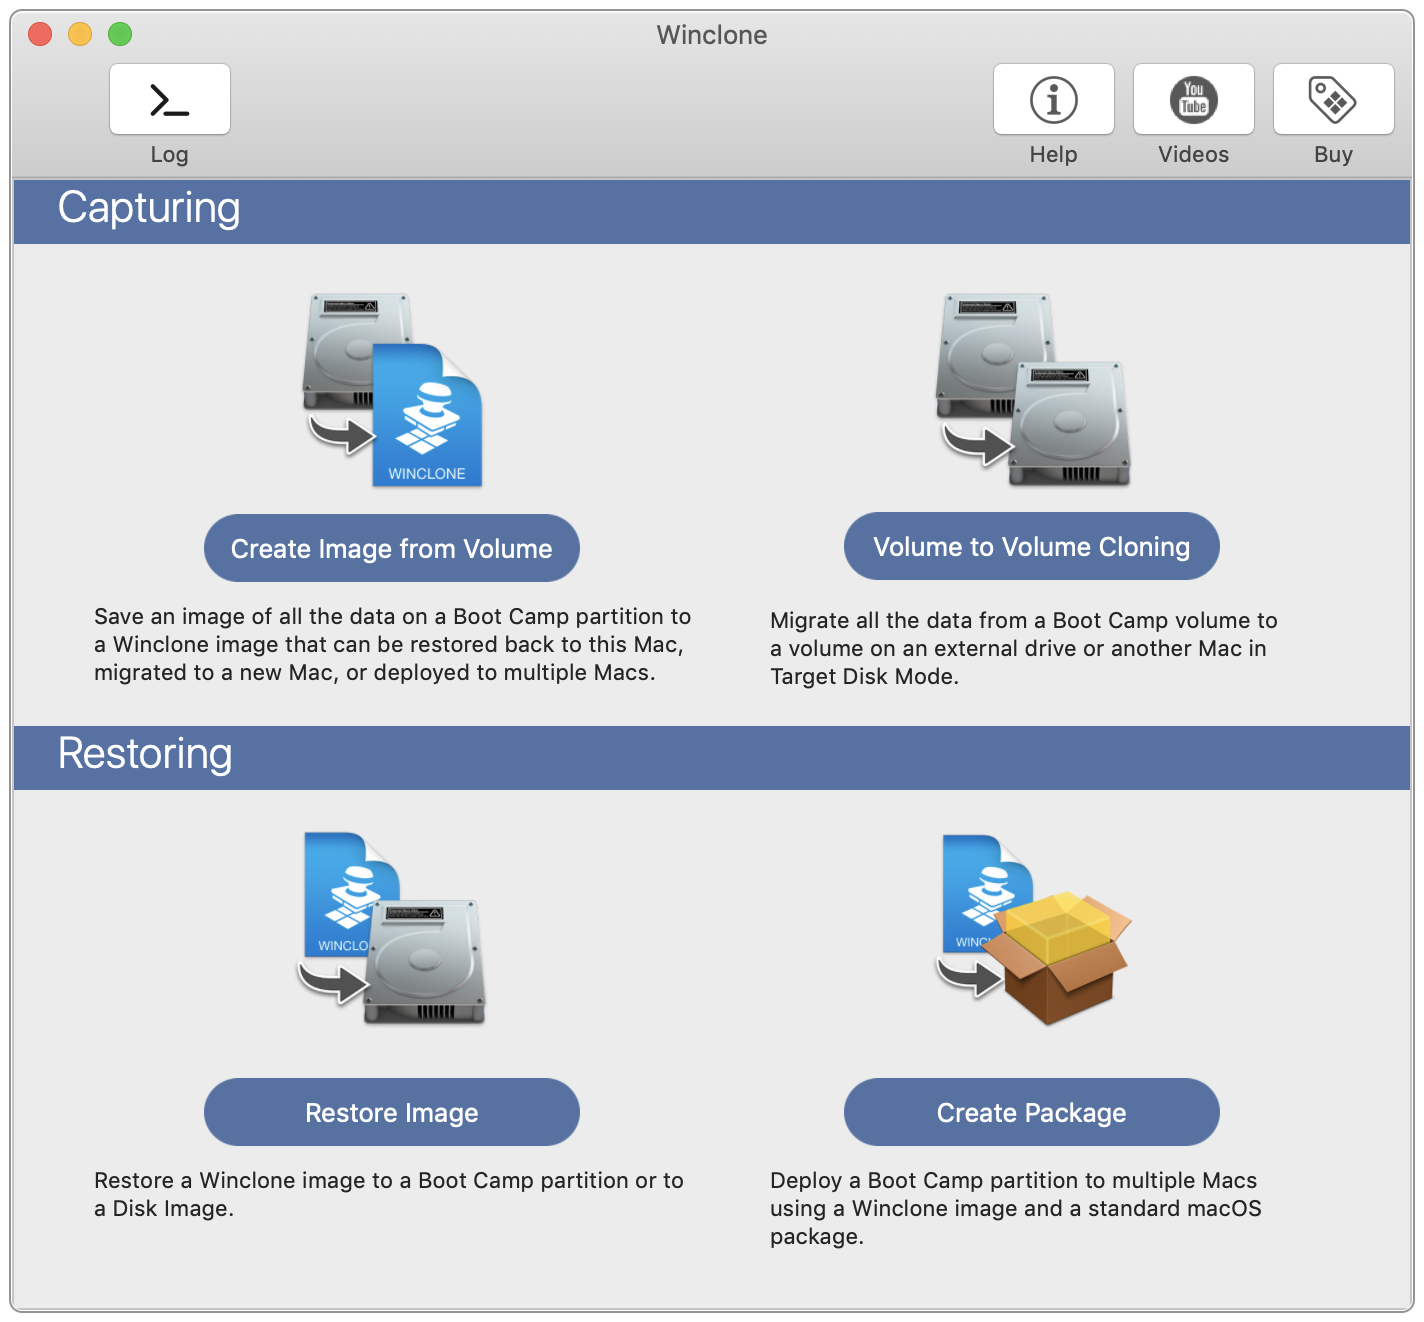
Test the image by restoring it to a Boot Camp partition. Click “Restore Image” in the main window.
Restore Image

In the Restore Image sheet that appears, click “Select Source” and choose the Winclone image you created. Select a Boot Camp partition as the Destination (if you do not have a Boot Camp partition, create one using Disk Utility). Click Restore Image.
Once the image is completed, reboot the Mac and hold down the option key. Select Windows (or EFI) in the OS selection screen, and the Mac will boot into the WinPE environment.
Select Create Package
Once you have verified that the image successfully boots to WinPE, you can create a Winclone Package to easily deploy this image to multiple machines. To do this, select Create Package from the main window.
Create Package
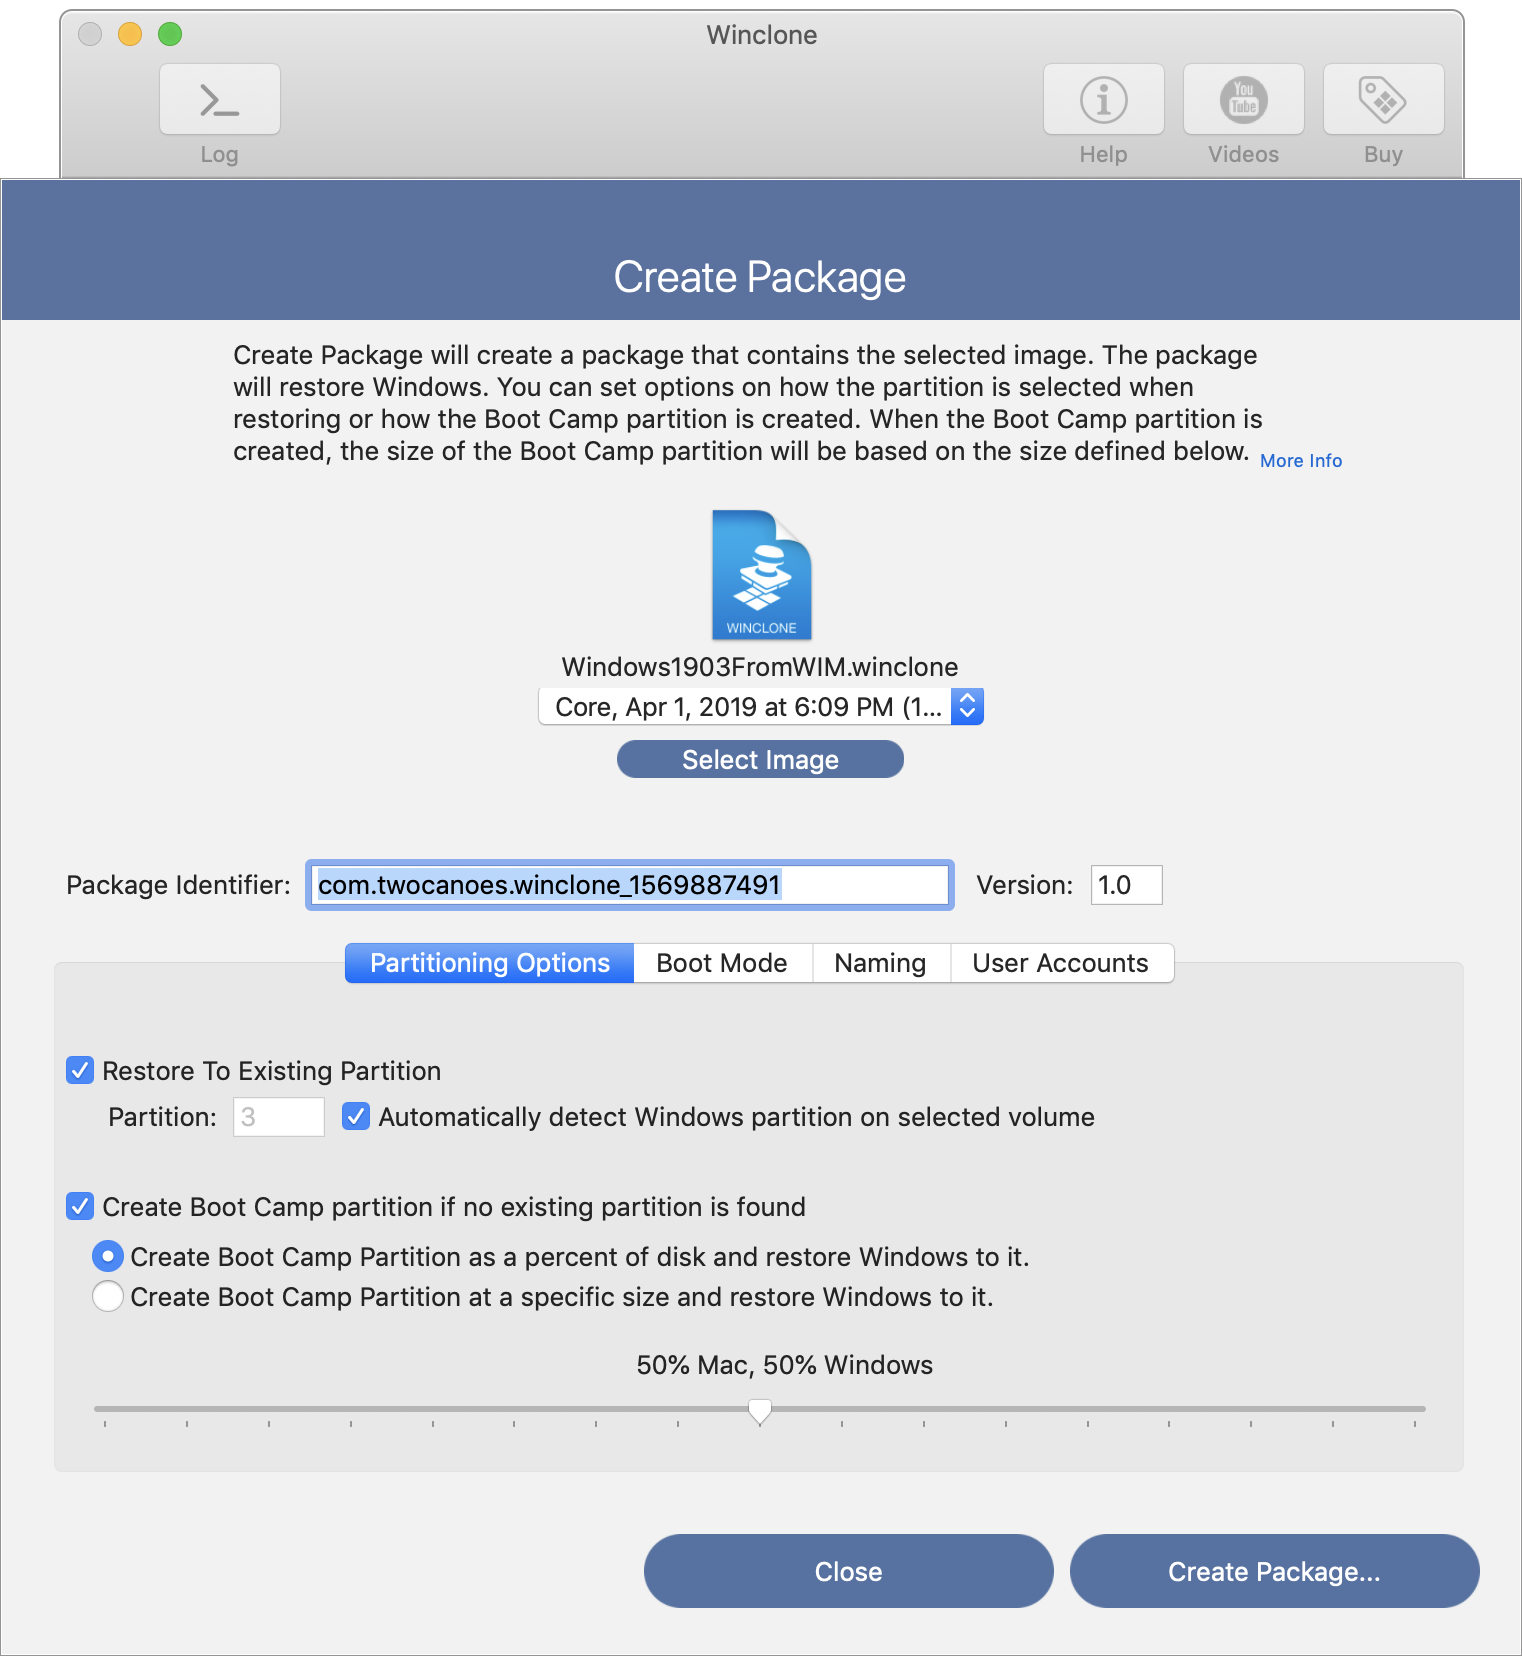
Only the Basic Options tab applies to WinPE. Select if a Boot Camp partition will be created and click “Create Package”.
Save
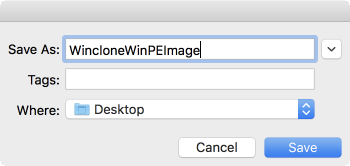
Give the package a name and save the package.
Package Deployment
The package is now a standard macOS installer package that will create a Boot Camp partition (if needed), restore the WinPE files to the partition, and set it to boot into the WinPE environment correctly.
Once the WinPE environment has been booted from memory, the Boot Camp partition can be formatted and an image installed on it using a Task Sequence.