Quick Install in Winclone 10
In Winclone 10, we’ve introduced a simple way to install Windows on a Mac’s Boot Camp Partition. This is especially useful if you are trying to install Windows 11, though this process equally supports Windows 10. We’ve updated our UI to accommodate for this new installation process, as you are able to do initiate a Quick Install right from the Main Window. This guide will take you through each step of the process.
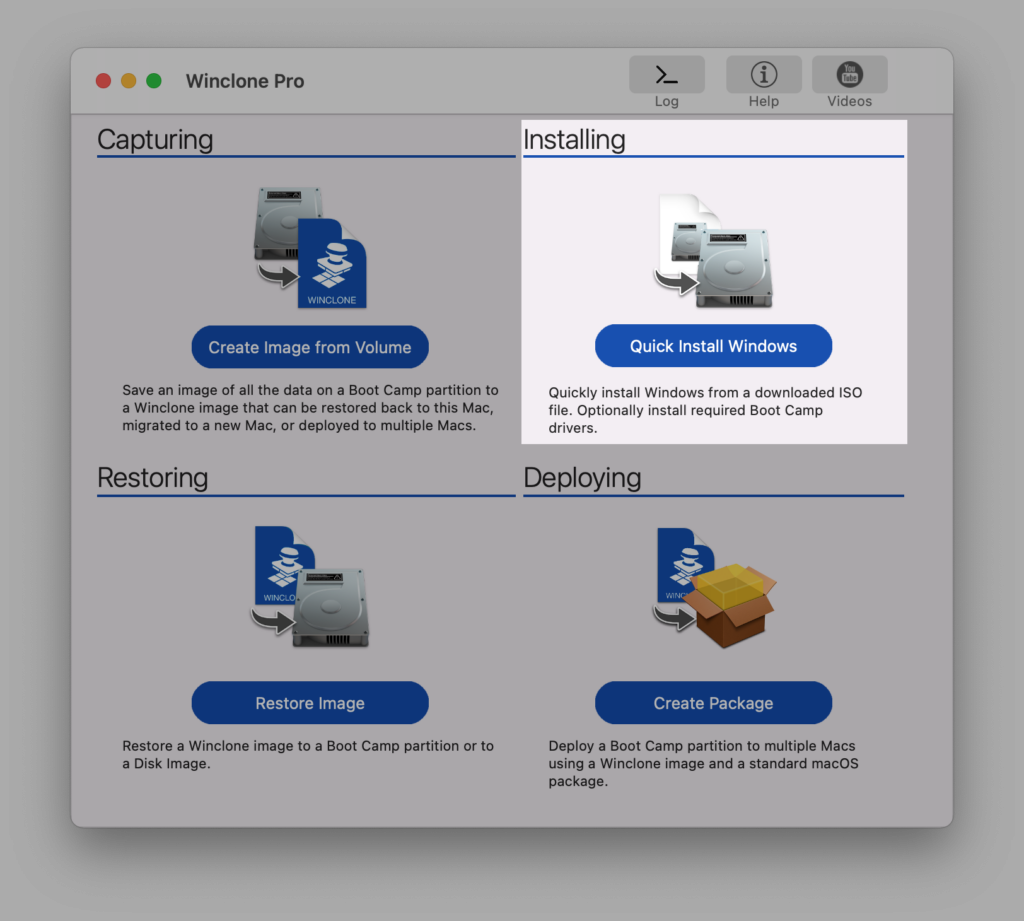
To begin the process, click the “Quick Install Windows” button on the “Installing” tile:
You’ll be redirected to the Quick Install Windows screen:
Quick Install Configuration
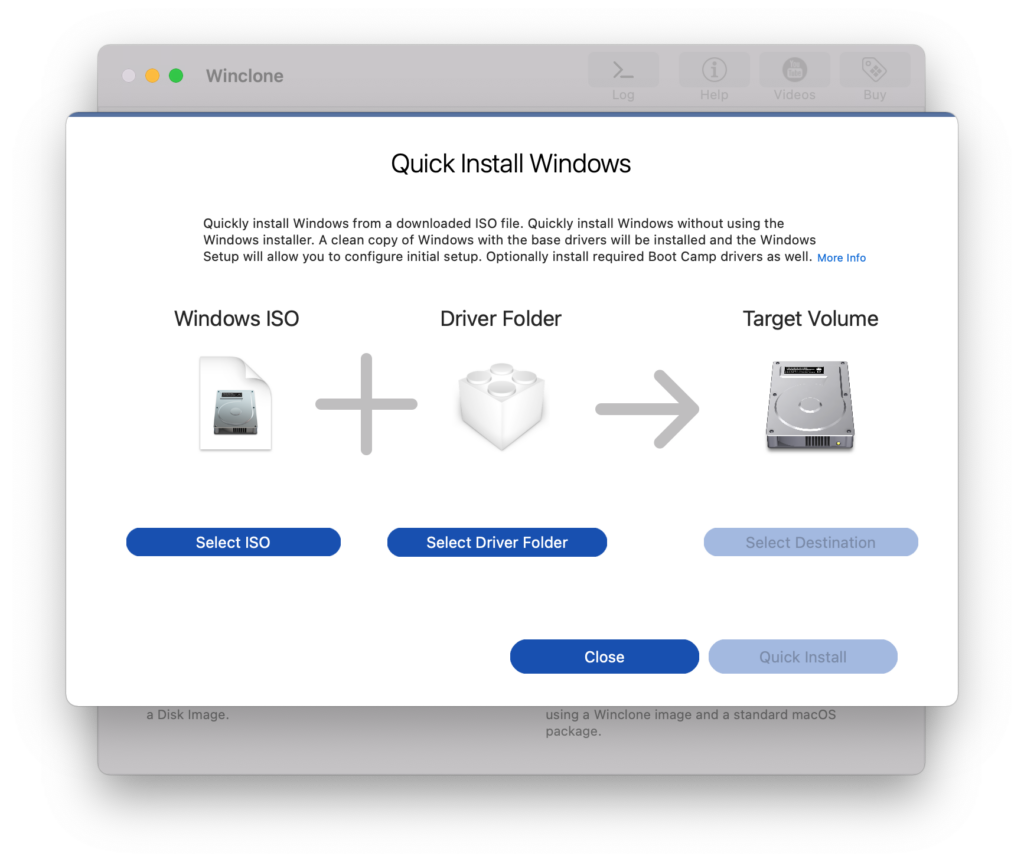
In order to complete the Quick Install Windows process, you’ll need to select a Windows ISO (either Windows 10 or 11), a Driver Folder, and a Target Volume. We’ll go through this process step-by-step:
Step 1: Select a Windows ISO
To begin, you’ll need to first select a Windows ISO file that will be installed on the Target Volume. Do this by clicking the “Select ISO” button in the Windows ISO section.
As compared to other installation methods of Windows 11 on Mac, no modifications need to be made to the ISO from the user end to have it install; a download of Windows 10 or 11 directly from Microsoft will suffice.
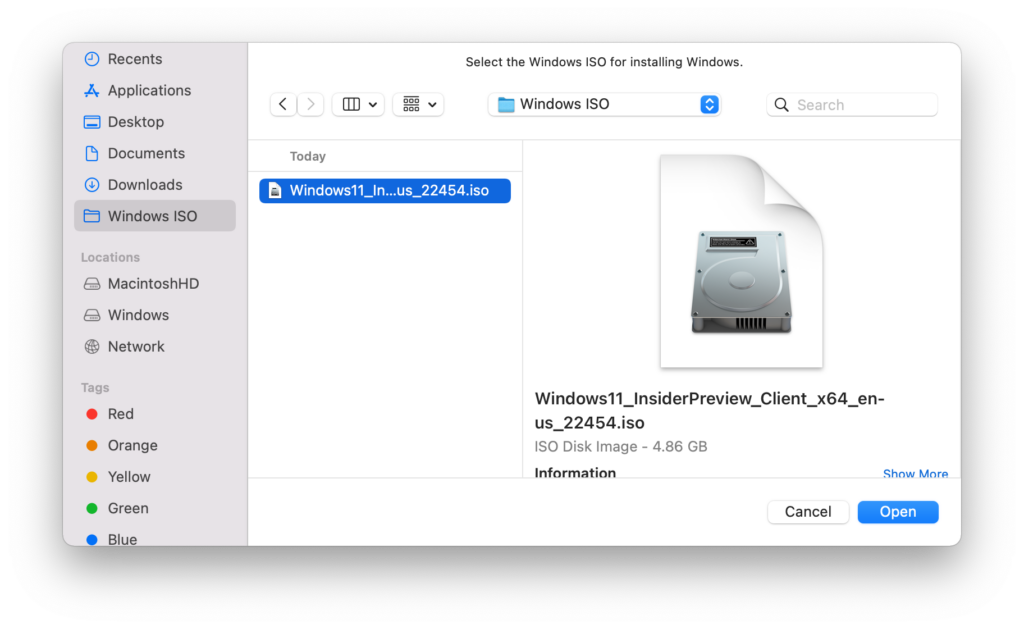
For this guide, we’ve downloaded a Windows 11 Insider Preview from insider.windows.com for demonstration purposes. To download Windows ISO files from insider.windows.com, log in to, or register for, the Windows Insider Program.
In the Finder window that appears after clicking the , select your desired Windows ISO file. There is no need to select part of the package contents, as selecting the .iso file will suffice.
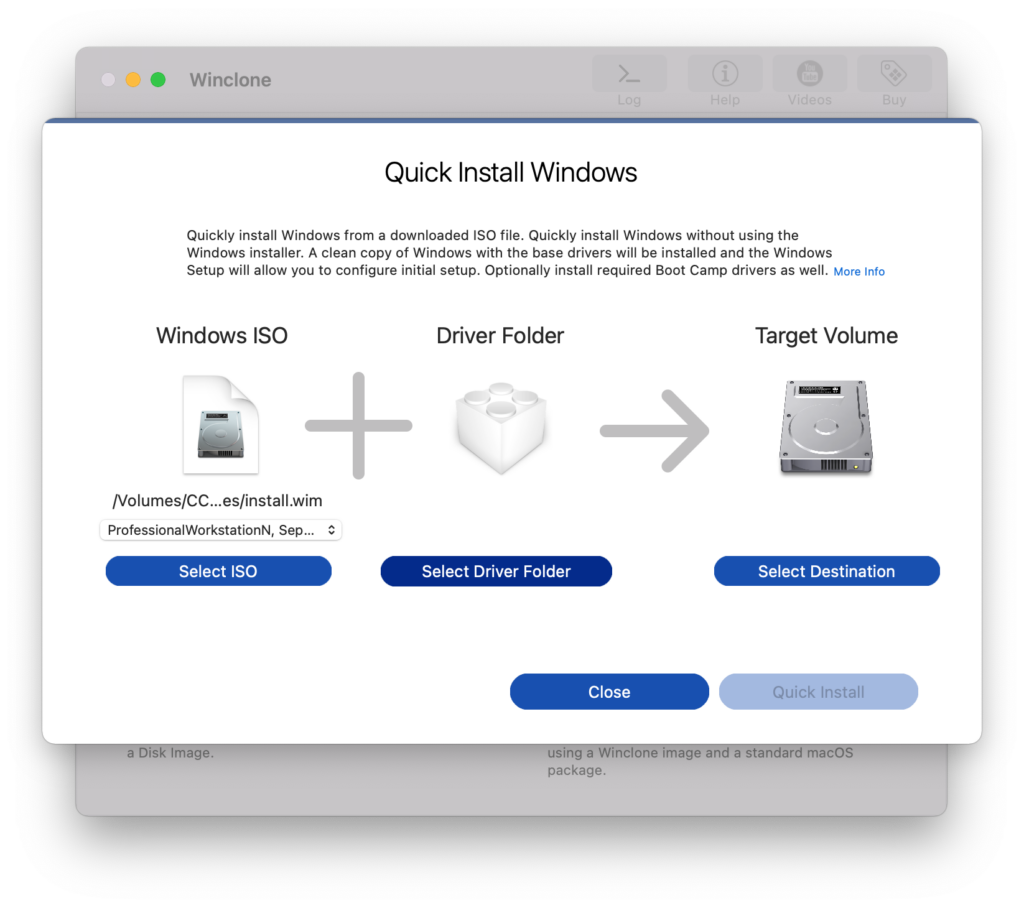
When selected, the ISO will appear in the Quick Install Windows screen:
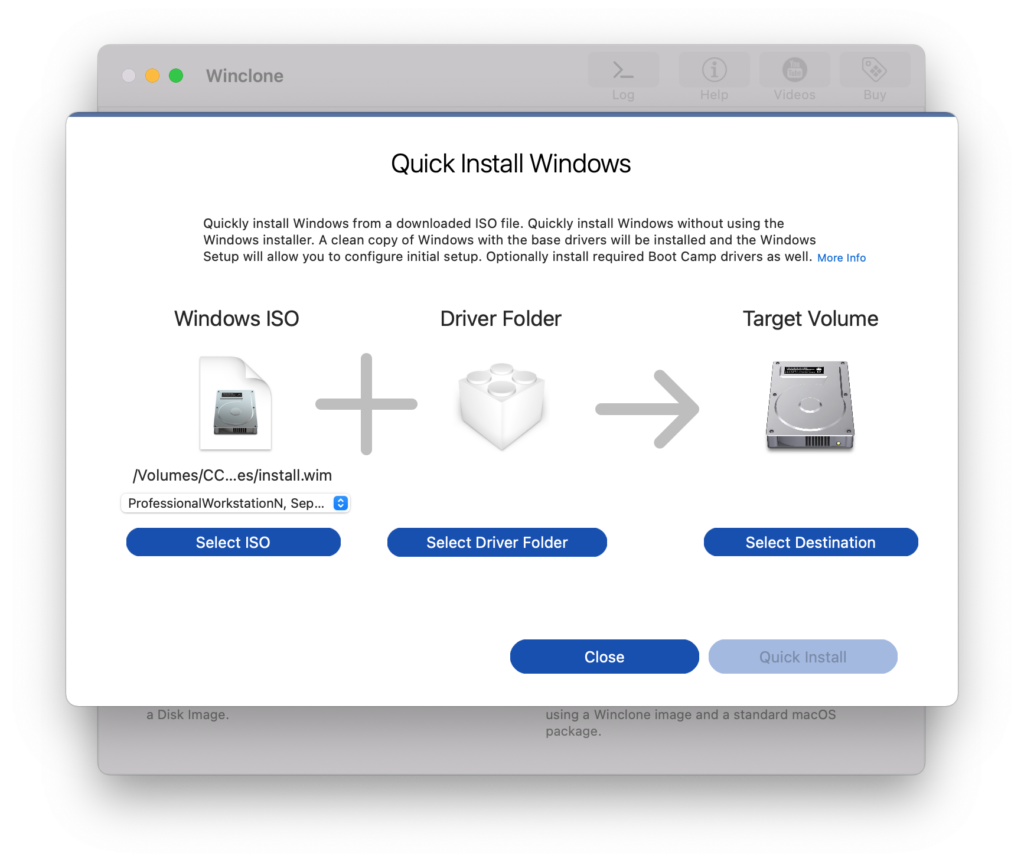
The path of your selected .iso file will appear, as well as a drop menu underneath. If you’d like to specify your edition of Windows, please use this drop menu to select it:

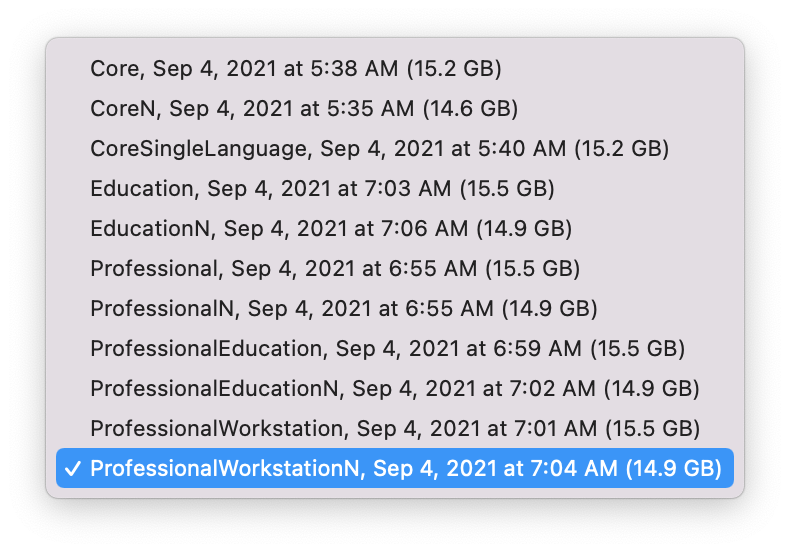
We’ll continue to use ProfessionalWorkstationN in this example, but you are free to select any listed edition of Windows.
Step 2: Select a Driver Folder
Next, you’ll want to select your Driver Folder. To install the necessary hardware drivers for a Windows Quick Install in Winclone, you’ll need the Driver Folder from Boot Camp Assistant. This folder contains all the drivers necessary to start up Windows on your device.
To download the folder, open Boot Camp Assistant on the machine containing your Target Volume:
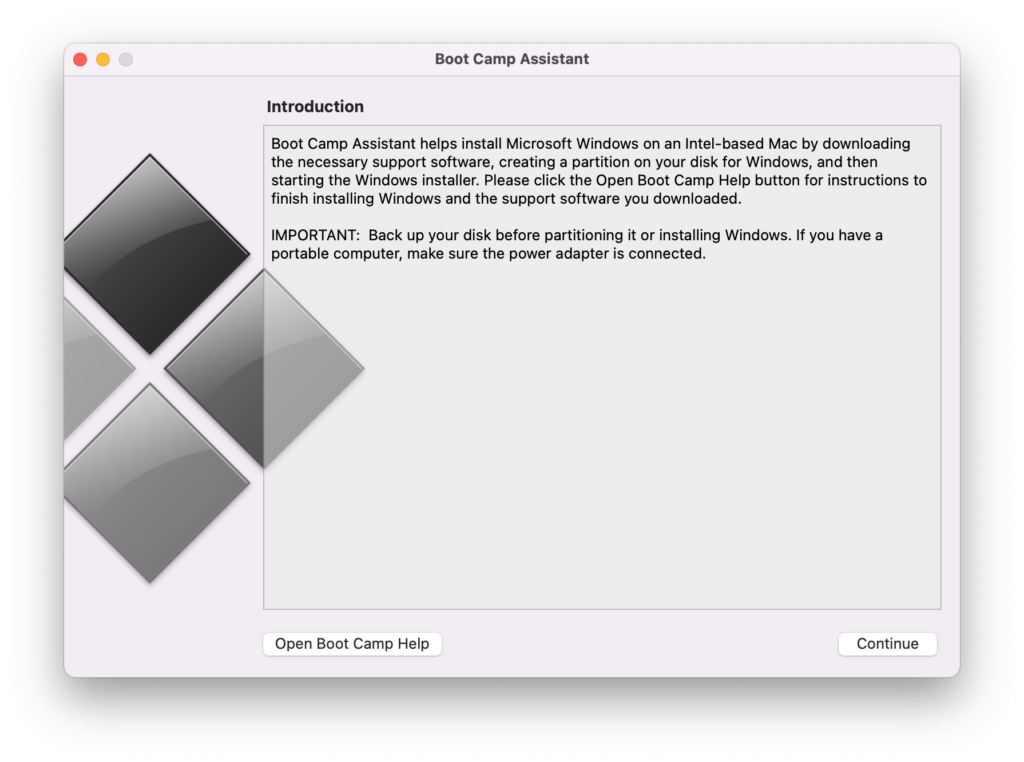
Instead of interacting with this screen, go to the menu bar and select “Download Windows Support Software” under “Action”:

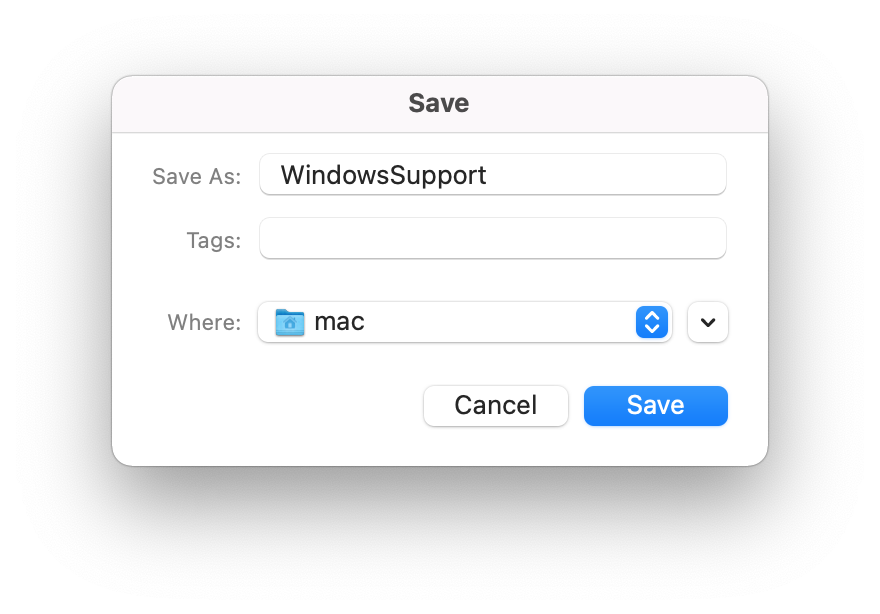
Once this menu option is selected, you’ll be prompted to choose a location the Windows Support Software will be downloaded to:
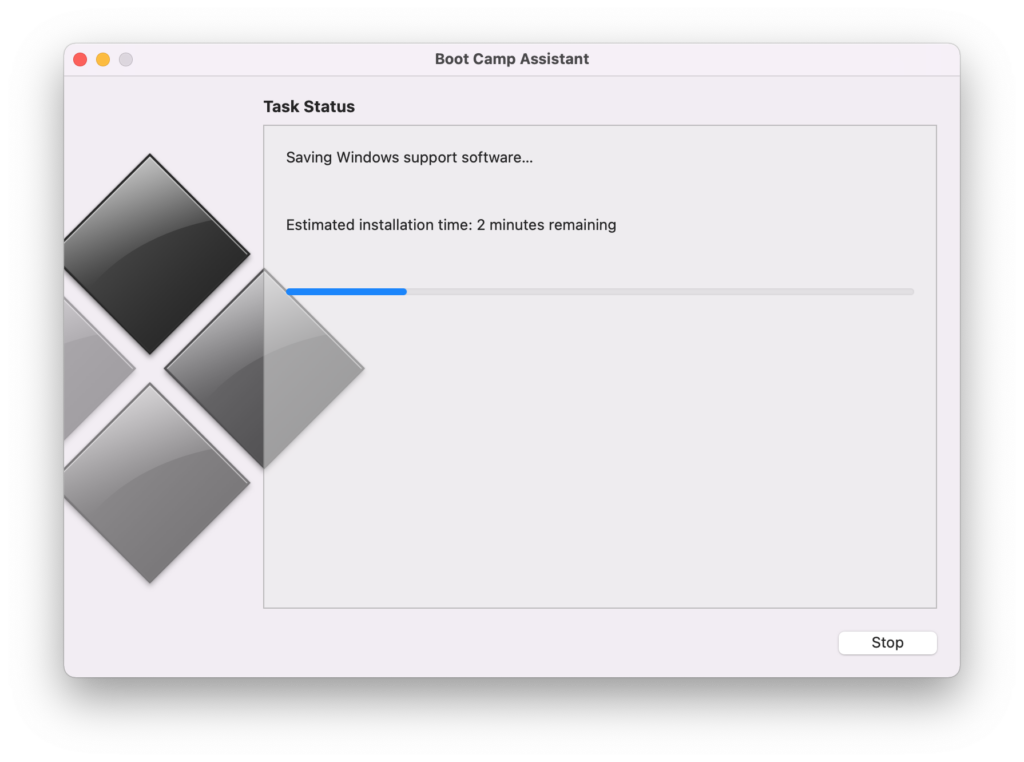
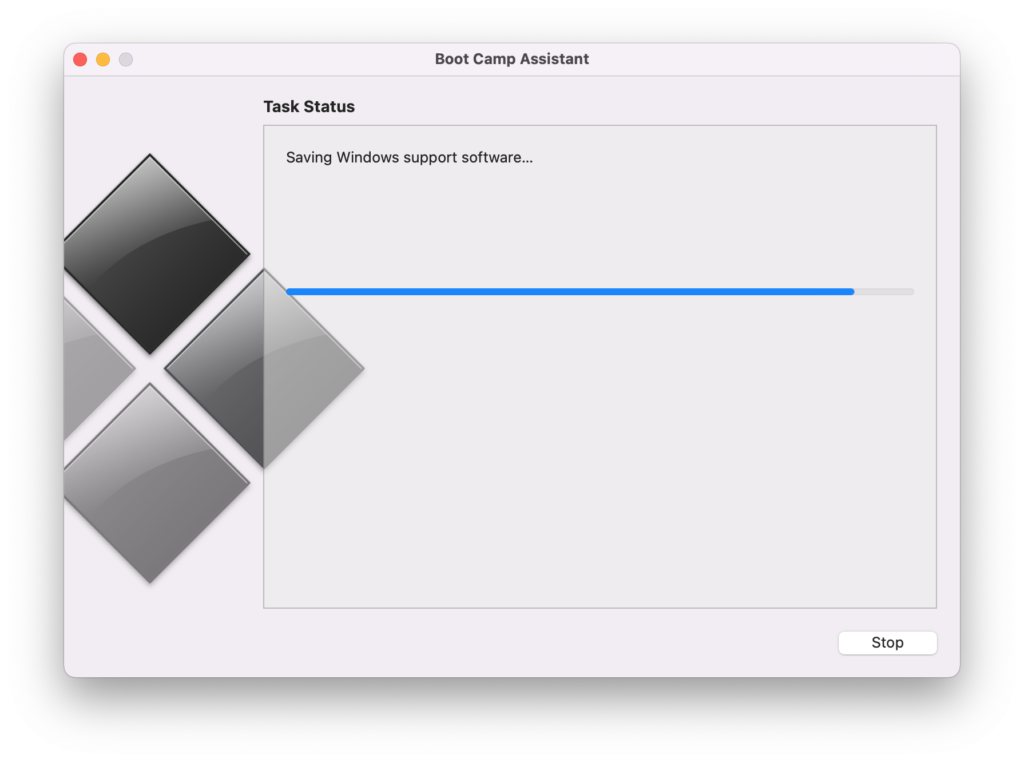
After selecting the location, Boot Camp Assistant will show you the progress of the download:
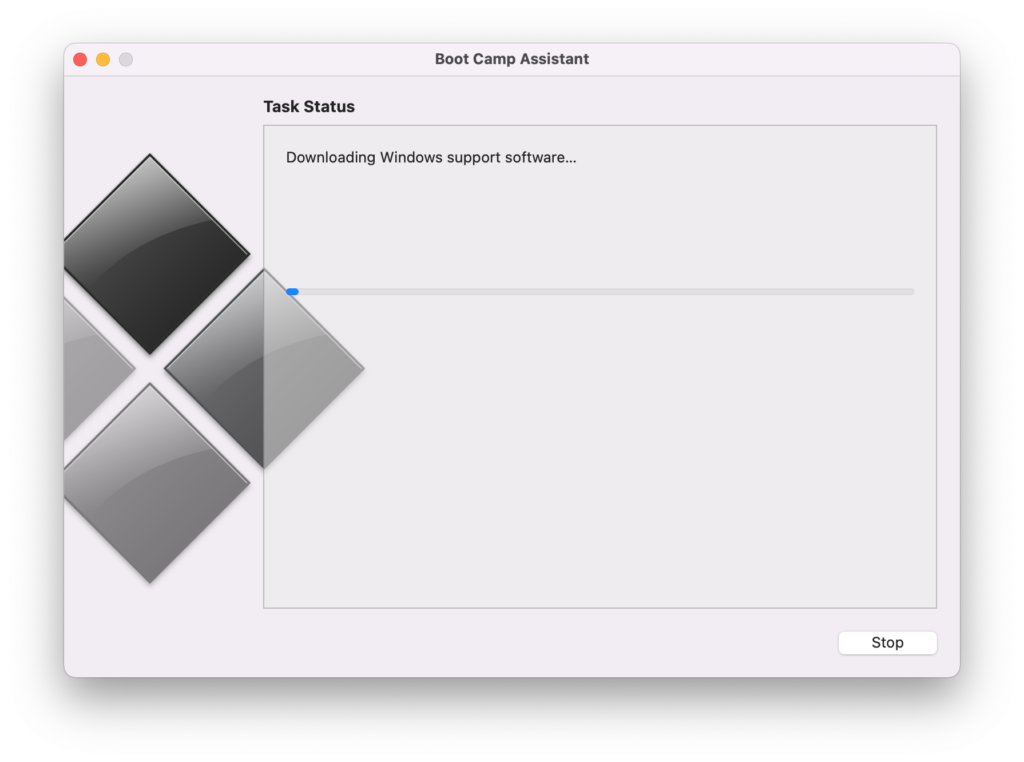
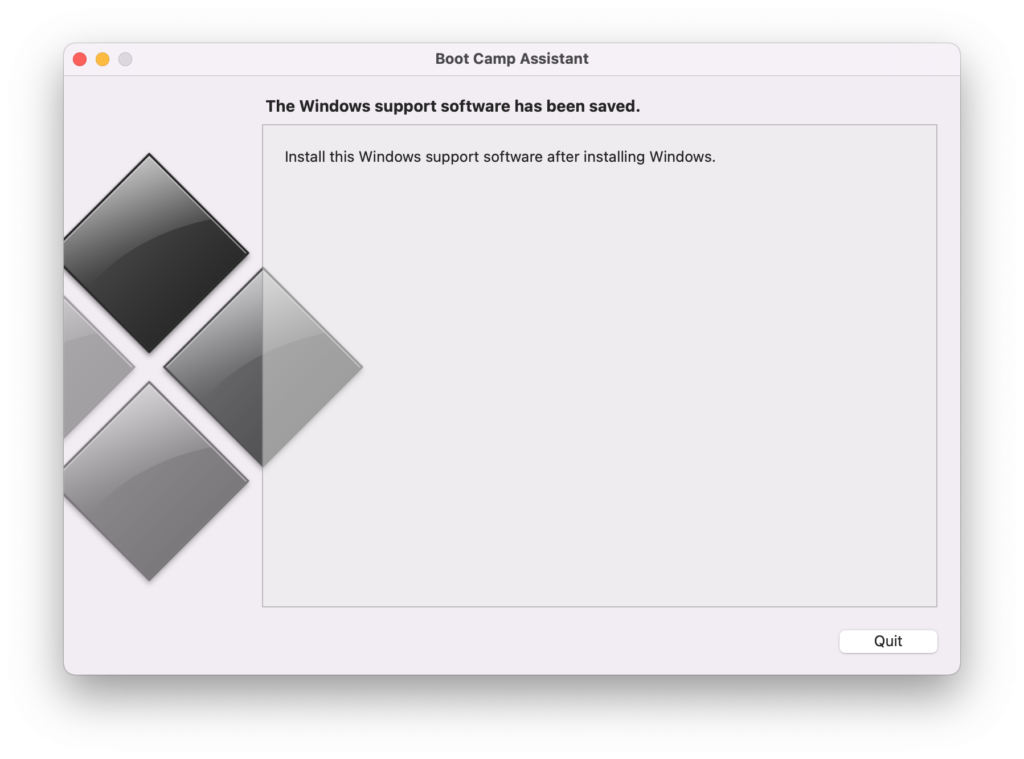
Ignore the instructions after the install: Winclone will install the Windows support software during the Quick Install.
Quit Boot Camp Assistant and return to Winclone.
In Winclone, click the “Select Driver Folder” button in the Driver Folder section. You’ll be asked to locate the downloaded WindowsSupport folder:
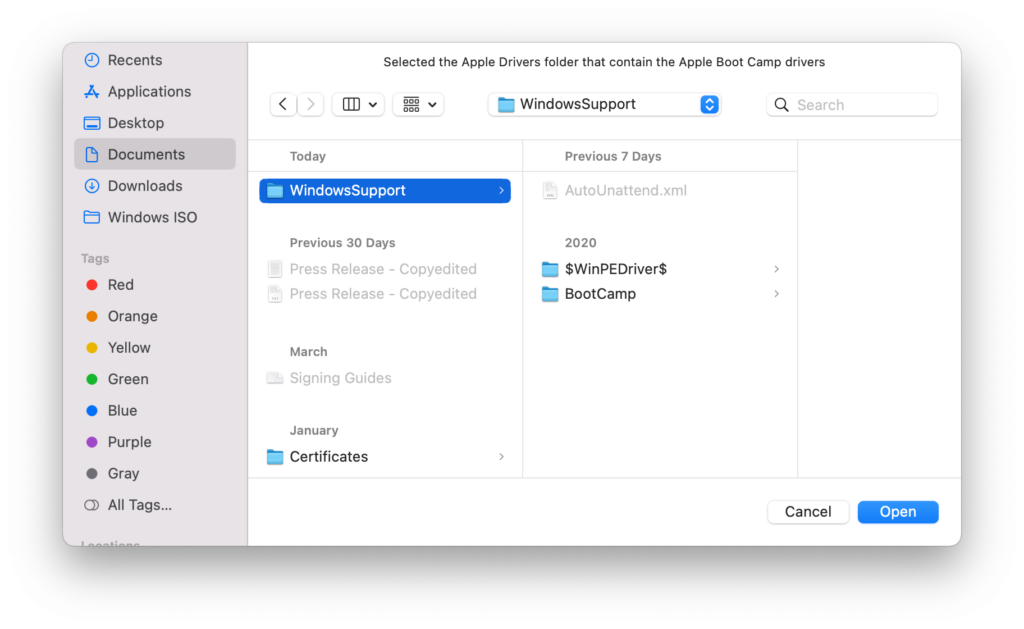
After selecting the WindowsSupport folder, the name of the folder (in this case, WindowsSupport) will appear in the Driver Folder section:

Step 3: Select a Target Volume
Now that the components are selected, all you need to do before starting the quick install is select your Target Volume. If you don’t have an MS-DOS partition set up on your drive, do so by following the instructions in Apple’s Support Documentation.
Once your partition is set up, click the “Select Destination” button. You’ll see a list of available partitions to set as the Destination for the Quick Install:
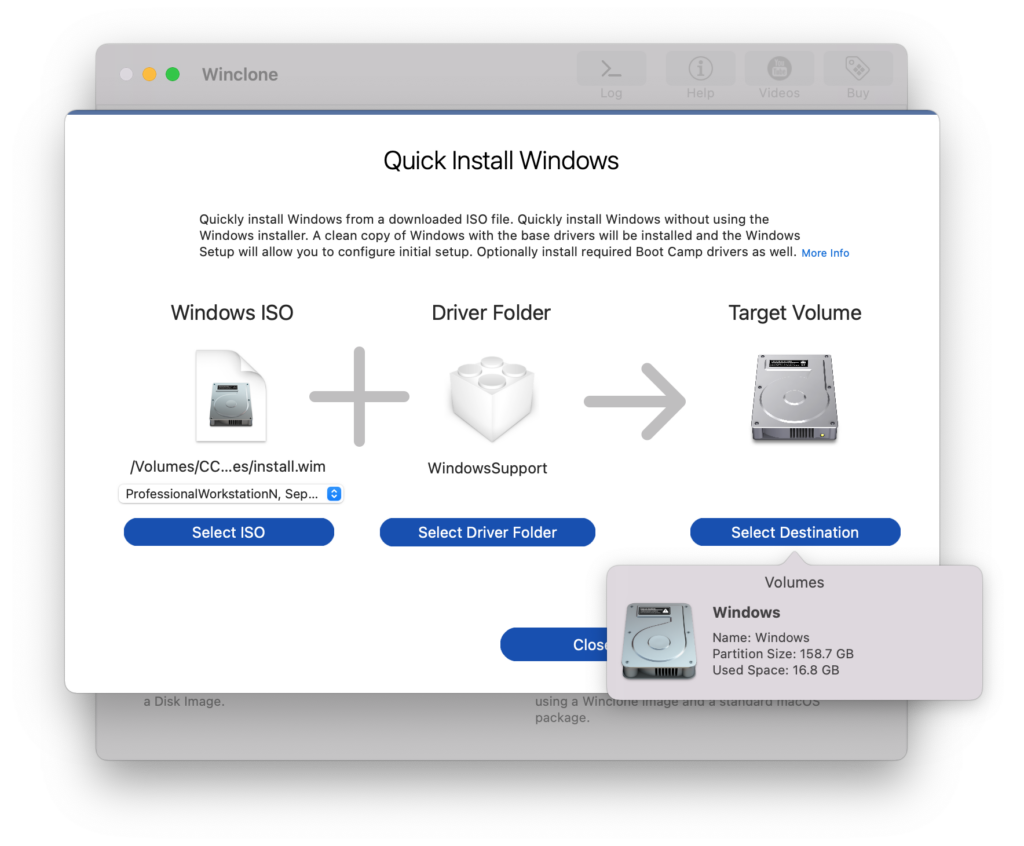
Click on the partition to select it as the your Target Volume (or Destination)
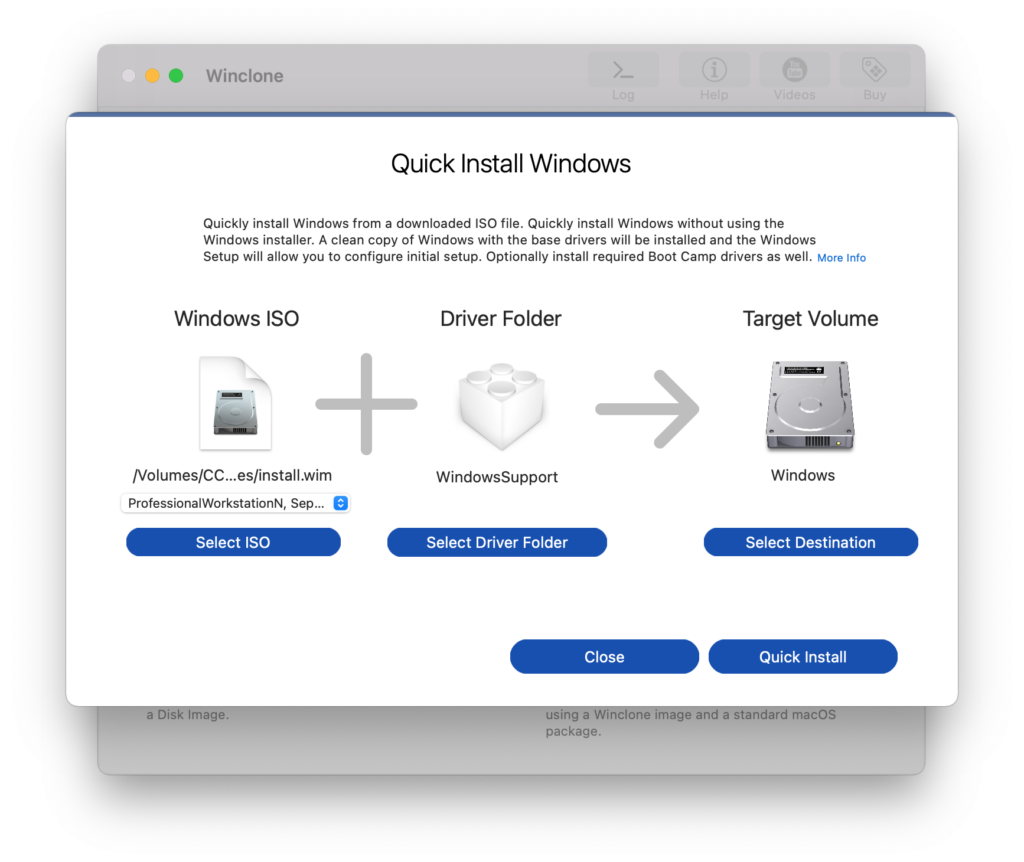
After completing your selections, click “Quick Install” in the bottom right corner. When the progress bar is full and you get a confirmation message, your installation is complete! You are now able to boot into your new partition with the selected Windows ISO installed.
Driver Setup
While Quick Install injects the necessary drivers to operate Windows (i.e., keyboard and mouse/trackpad), other drivers from your driver folder are not installed to keep Quick Install quick. If you’d like to complete driver setup now, it’s easy to do. Here’s how:
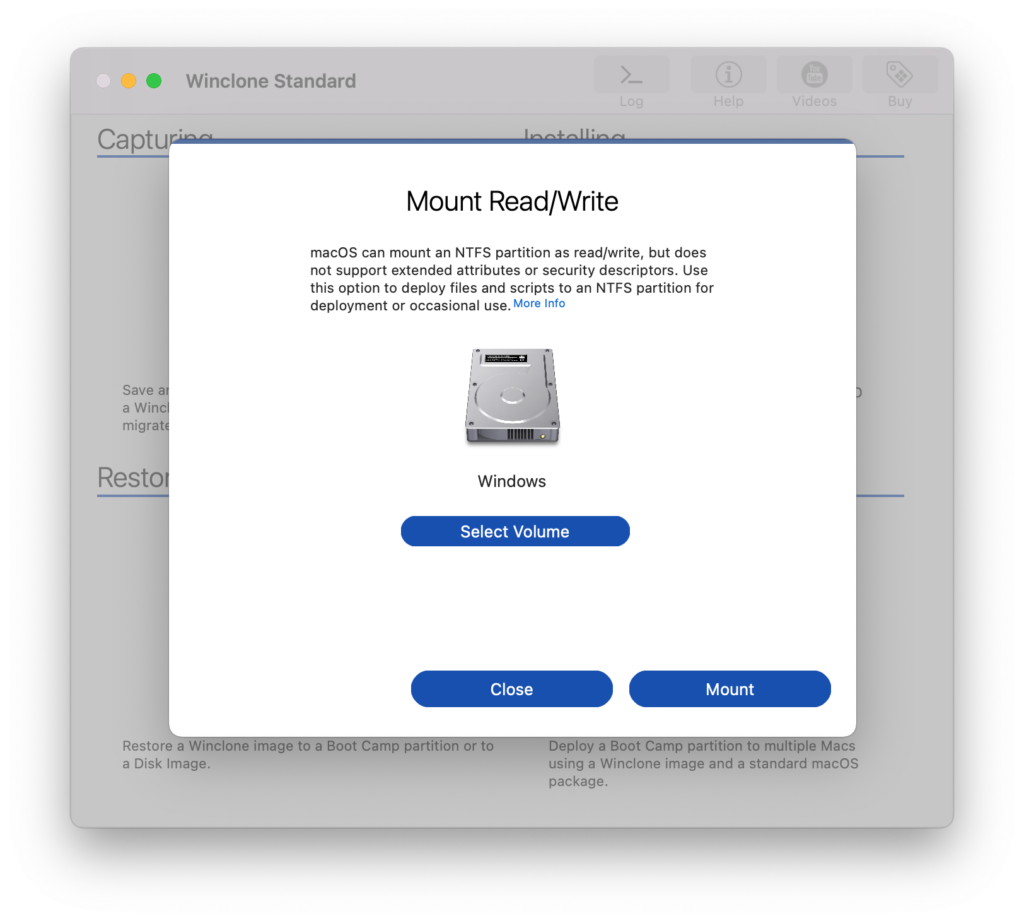
Step 1: Mount your Target Volume as Read/Write
Use our documentation to mount your partition (selected in Quick Install Windows as Read/Write). All you need to do is select your partition in Mount Read/Write and click “Mount” in the bottom-right:
After mounting is complete, Winclone will open a Finder window for the partition, now Read/Write enabled:
Step 2: Copy your WindowsSupport folder to the mounted Partition
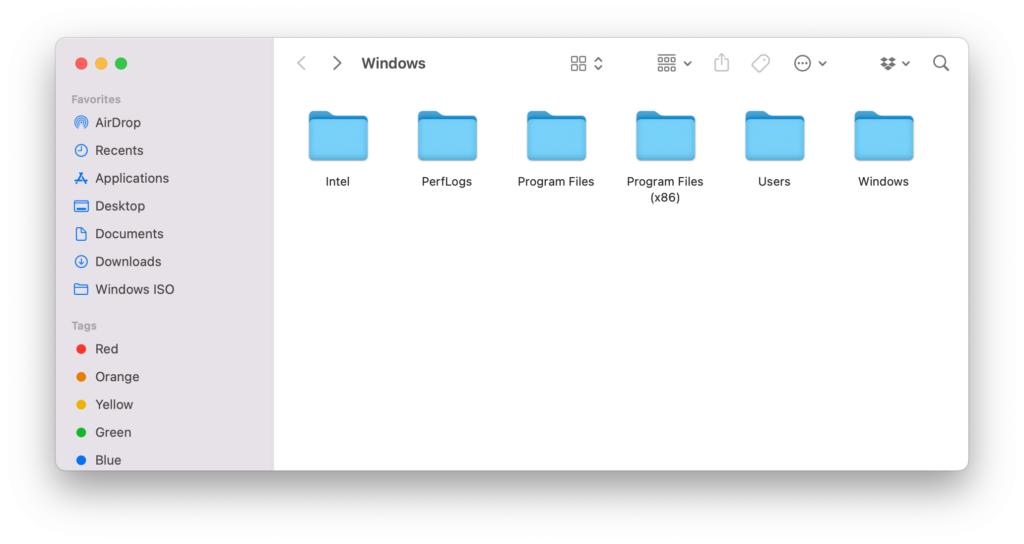
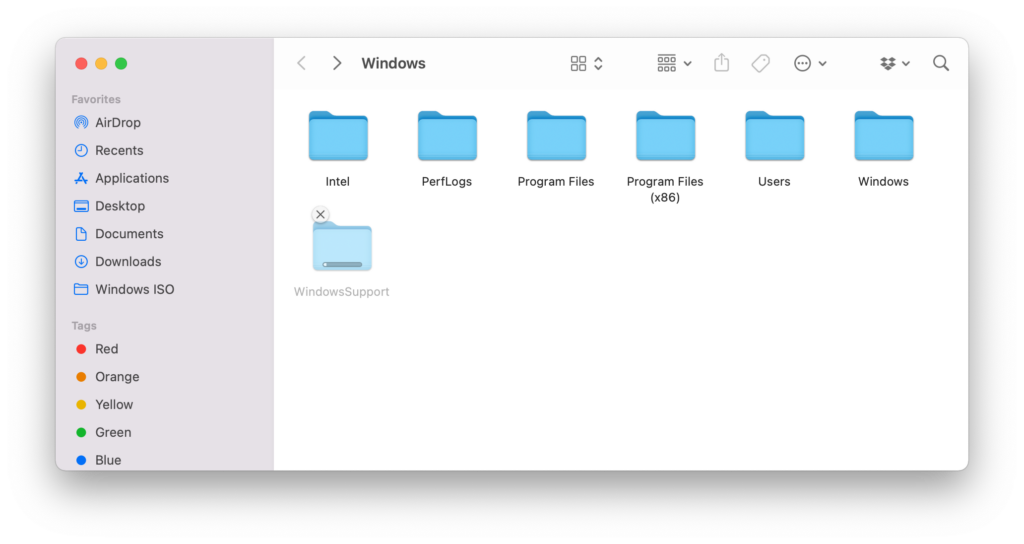
In the Finder folder that appears (/Volumes/[Partition Name]), copy the WindowsSupport folder you downloaded from Boot Camp Assistant (and used in Quick Install Windows) to the mounted partition:
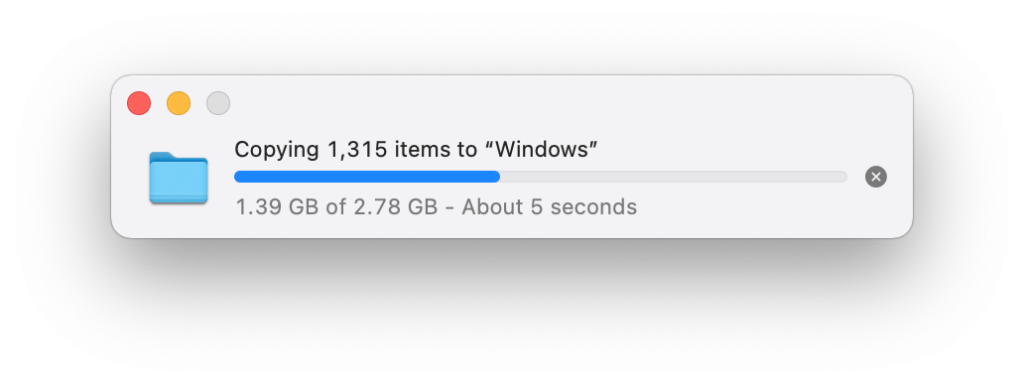
Depending on your partition and machine, moving the WindowsSupport folder may take some time:
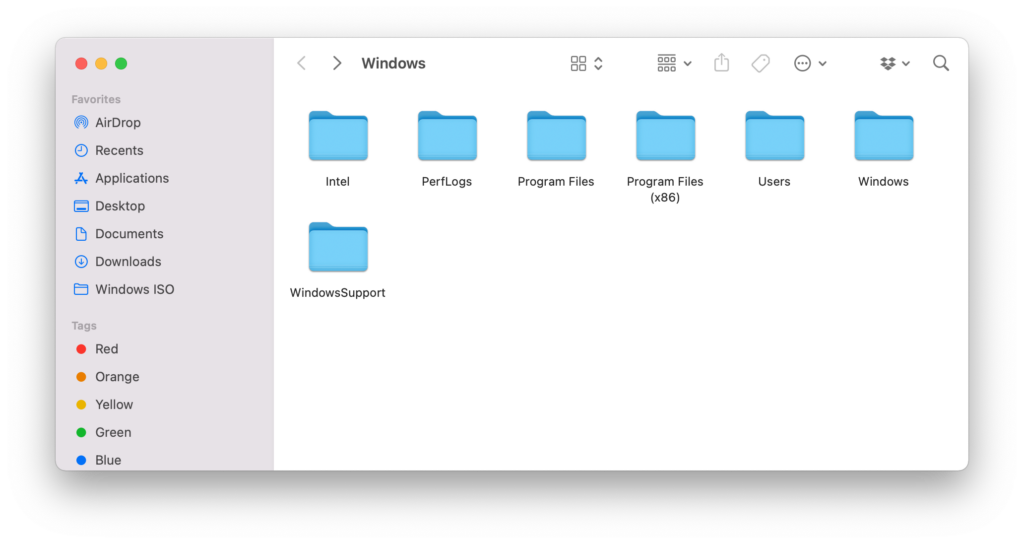
After copying is complete, the copied folder is both viewable in Finder and available to access from your partition:
Step 3: Complete Boot Camp in Windows
After your WindowsSupport folder is copied, you have the ability to use the included Boot Camp installer to finish installing the drivers associated with your machine. Visit Apple’s Support Documentation for more information on opening Boot Camp installer manually. However, instead of looking for WindowsSupport in the D drive, locate it in the C drive; it was copied there in Step 2:
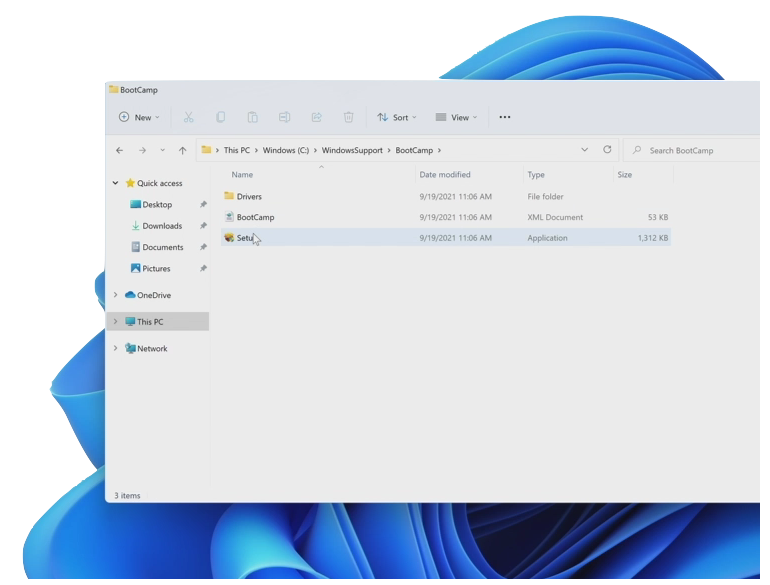
Within the WindowsSupport Folder, find the BootCamp folder and open the Setup application. Apple documentation has additional information on completing Boot Camp setup, but the Setup application should walk you through installation.
Disabling Secure Boot
If you try to boot into Windows 11 immediately, you may receive an error message or may not be able to boot at all. If you’re installing Windows 11 via Quick Install Windows, you may need to disable Secure Boot in order to run Windows 11. This is due to the hardware constraints of Windows 11, disabling Secure Boot is necessary to operate Windows 11 on a Mac. Doing so is simple:
Step 1: Boot into Recovery Mode
In order to disable Secure Boot, you must first enter Recovery Mode using Command (⌘)-R.
Step 2: Change Secure Boot settings
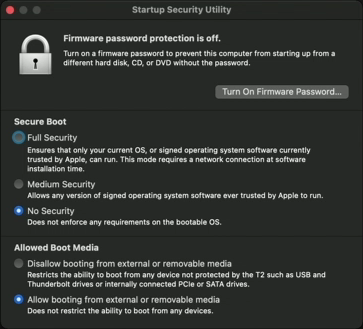
Select Startup Security Utility from the Utilities dropdown in the menu.
In Startup Security Utility, change your Secure Boot setting to No Security, as shown below:
Step 3: Quit and Restart
When finished changing your settings, quit Startup Security Utility (using Command [⌘]-Q or the menu bar). Then, select Restart from the Apple menu. Your changes should take effect upon rebooting.