Setting up Boot Camp with Boot Runner
Setting up Boot Camp with Boot Runner
Adding a new volume to Boot Runner is easy. Follow the steps below to add your Boot Camp partition to Boot Runner.

Add Volume using ’+’ sign

Enter in the Boot Camp Name or Identifier
For this example, we will enter in ’disk0s4’ which is the partition slice for Boot Camp on our machine:

Create a Volume Label
This is the label that end-users will see on the Boot Runner selection screen. For this example we will use Windows:

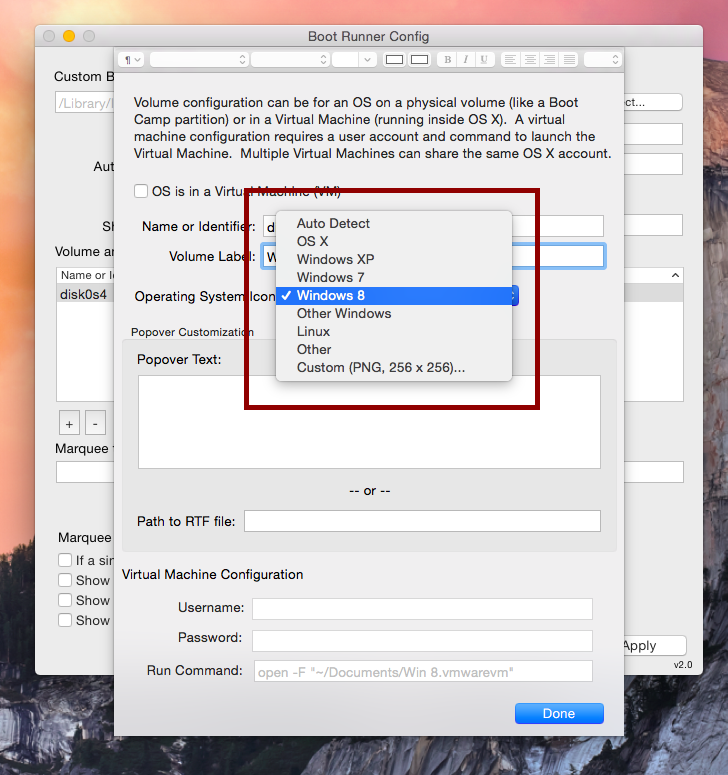
Select the Operating System Icon
If Boot Camp is mounted in OS X, you can select “Auto Detect”. For this example we will select Windows 8. This will determine the icon that end users see on the Boot Runner selection screen:
Create Popover Text
This is the text that users when see when they select the volume on the Boot Runner selection screen. Examples include listing software that students will use on this volume or class information:

Apply Settings
Click ’Apply’ to make sure your Boot Camp setup is saved in Boot Runner:
