At Twocanoes Labs we’ve been focused on the Bleu Station hardware and apps, but I recently discovered a useful method to keep a live travel log that requires no special hardware aside from an iOS device. It does require Geohopper for iOS, a Zapier account and Google Docs.
There seem to be a billion tracking apps on the App Store, most are designed for keeping parents informed of their kids’ locations, keeping tabs on friends, finding misplaced iPhones or logging fitness activities.
I wanted to keep a running log of places I visit, automatically calculating the hours spent on a daily, weekly or monthly basis. There may be apps designed for helping traveling sales people, consultants and commuters track time by location, but the ones I found were either missing features, went overboard with features or were just too boring to consider.
Was it Geohopper to the rescue? Well, yes, to a large degree. Geohopper does a good job of logging my enter and exit events for regions set up ahead of time. But the Timeline only shows the most recent events and it’s not yet possible to export events to a file for later reference. I could send myself an email each time an event occurs, but there’s no easy mechanism to save into a spreadsheet. Someone pointed out that Zapier is great for passing data between apps, and the solution became far more useful than I originally imagined thanks to Zapier. Here is the result:
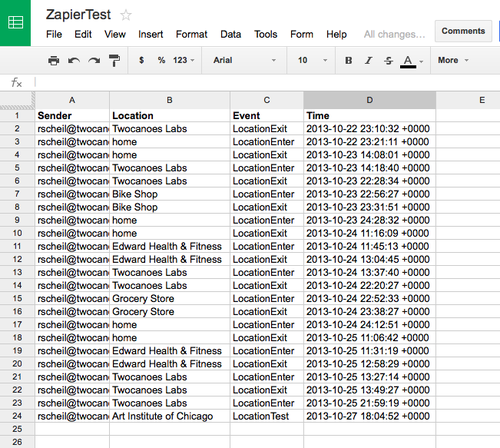
Each row represents an event sent from Geohopper through Zapier to a Google Doc spreadsheet, including the sender (me in this example), the location name, the event type (enter or exit) and the time the event took place. Geohopper logs UTC time, but there is a plan to add zone selection for local time.
I’m easily entertained, so my favorite feature was seeing events appear on the spreadsheet as they happened (note: I was sending test events from my desk, not driving around staring at a laptop, so no one’s life was in danger!)
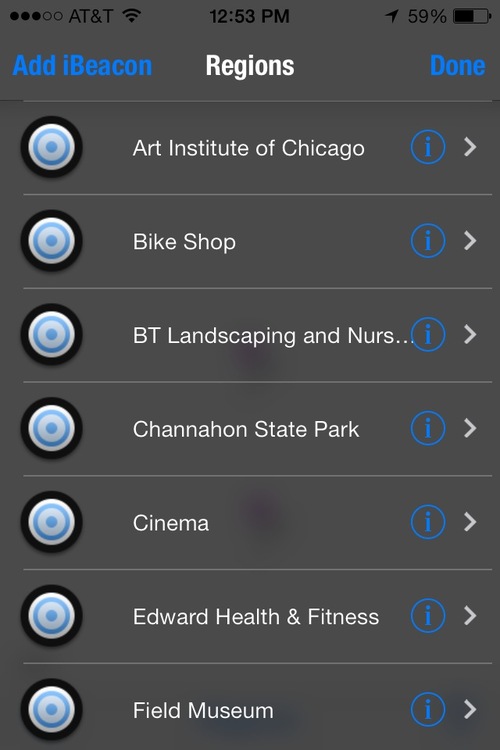
Initial setup of the various regions was easy as I already had the regions pinned to the map in Geohopper. I should note that getting this to work requires an in-app purchase for the Geohopper Web Service at $4.99. Zapier also has a subscription fee but offers a free version, but limited to 100 “tasks” (each notification event counts as a task). More than 3 events per day would max out a free Zapier account, but the free version (or trial) will give you a sense of what is possible.
Once the Zapier web hook has been created, enable it in each of the regions that you want included in the log. I created a new spreadsheet document in Google Docs and named it “Zapier Test”. Within the Zapier Test document, I renamed the default worksheet “test1”, then added column headings that correspond to the four data fields from the Geohopper’s web hook post: Sender, Location, Event and Time.
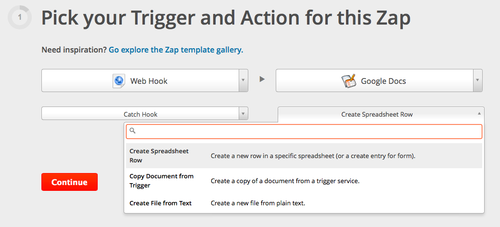
At the Zapier website, I created an account and picked out the Zap that accepts web hooks, which adds the data to the Google Doc spreadsheet by creating a row and posting the enter and exit events in real time.
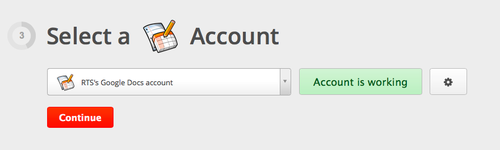
The Zap creation wizard will walk through several steps. Authenticate with Google credentials so the Zap has access to post data to the “Zapier Test” Google Doc. Click Continue and Zapier creates the web hook.
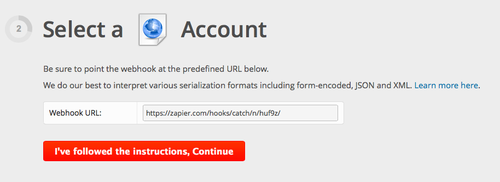
This is the web hook URL to be added in Geohopper. Zapier needs some sample data for assigning data to each column in Google Docs, so we’ll go back to Geohopper and add the web hook.
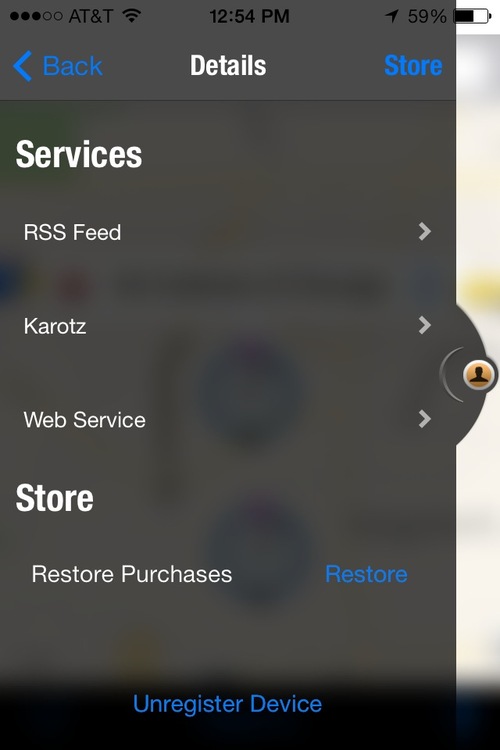
In Geohopper, slide the left panel to open Connections, then select your own Connection profile. Scroll down to the Services section and select Web Service. If you haven’t already, this is the time to make the in-app purchase for the Geohopper Web Service.
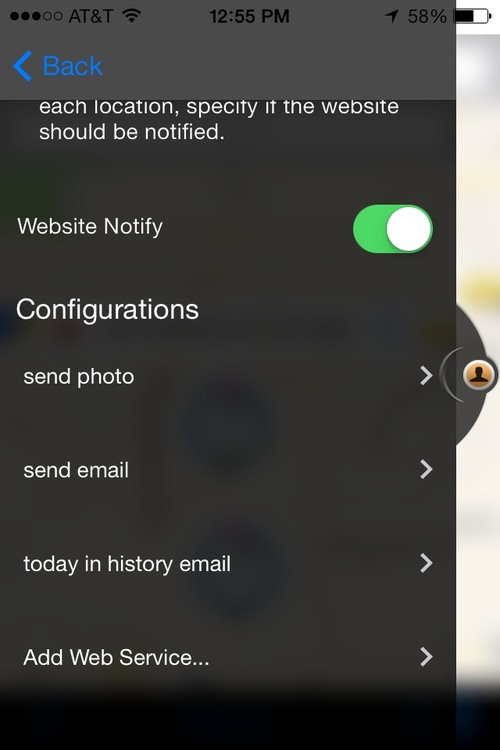
Slide the Website Notify to activate the service, then scroll down and select “Add Web Service…”
Give the hook a name, like “Zapier Webhook” and enter the URL that was provided by Zapier.
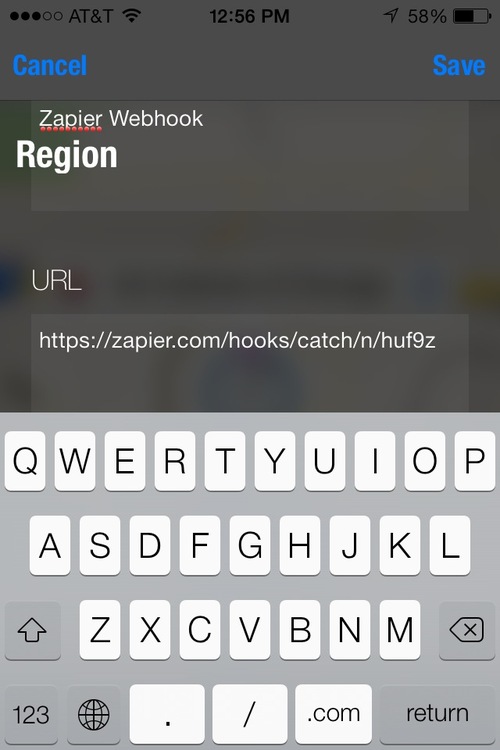
Save the web hook and return to the main Map view in Geohopper. Select one of the Regions from where you’ll send enter and exit events, tap the i next to the region name to open the region detail screen. Select Web Services.
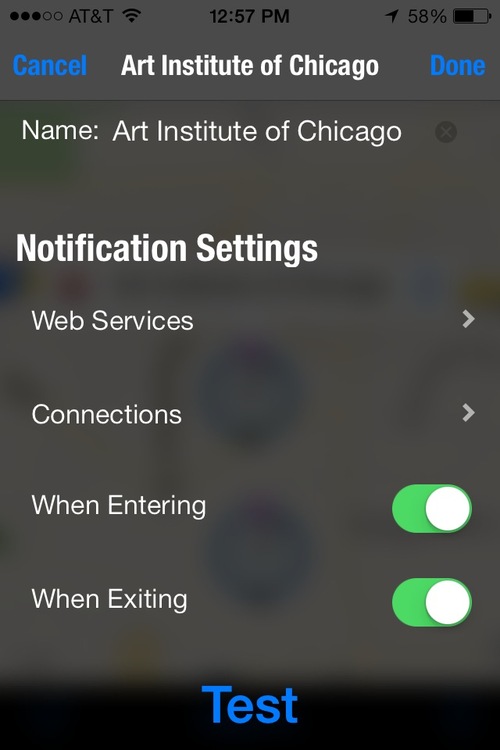
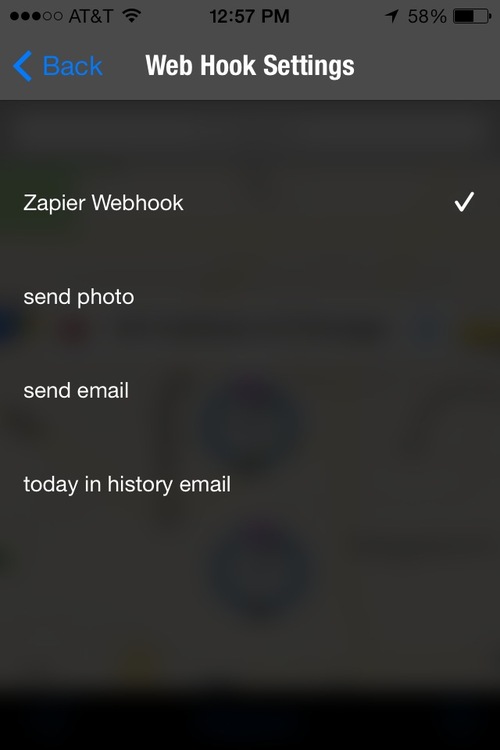
The web hook will be available in Web Services. Tap to activate.
Go back to the previous screen, scroll to the bottom and tap on Test. Geohopper sends the event to the Geohopper server, which posts the web hook to Zaper, which will forward the data to the Google Docs spreadsheet. But we aren’t finished setting up the Zap yet. The test post gets some sample data to Zapier to use for linking the event data to corresponding fields in the spreadsheet.
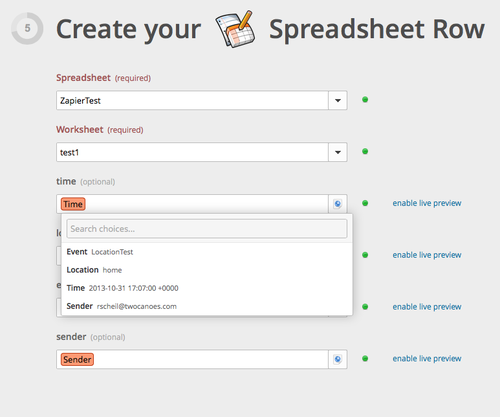
Zapier has already detected the field headers and listed them for us. We just need to assign the web hook data to each field. Fortunately, Zapier makes it clear whether or not it received the test post from earlier.
Now we can use the test post data to assign fields in the Google Doc spreadsheet.
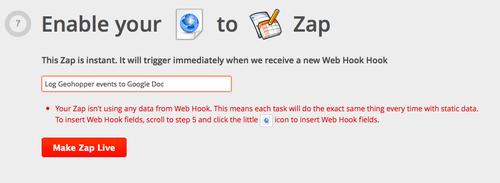
Next, Zapier offers to send the test data to the spreadsheet to confirm that the system is working. Check the Google Doc and it should contain the one test entry. Now make your Zap live.
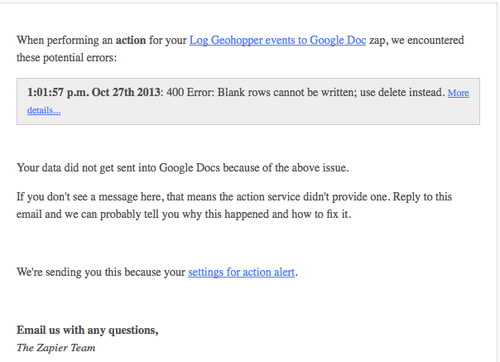
When I initially set up the Zap, I forgot to do the step linking the event data to the spreadsheet fields and received a helpful email from Zapier explaining the problem. This is a very cool feature of this service and Zapier is to be commended for going the extra mile in alerting customers to potential problems.
Here is where things get amazing. With the Google Doc spreadsheet open in a browser, send another test event from a Geohopper region. Within seconds of sending the test event, it magically pops into the spreadsheet!
Now that we’ve verified that it works, go to the detail pages for each region in Geohopper and enable the Zapier web hook. Enter and exit events will now be logged automatically to the spreadsheet. There are a variety of ways you could take further steps: use Zapier to send event data to other apps or manipulate the spreadsheet using custom scripts, conditional formatting and formulas in Google Docs. Since the log exists in the cloud, you can also share it with others who need to track the events in real time.
Take this idea of event logging further with Geohopper. Bluetooth low energy beacons (like our own Bleu Stations) make it possible to log enter and exit events for indoor locations. That’s a bit granular for my needs, but it could be useful for teams coordinating resources at airports, hospitals and industrial spaces.