Migrating Windows 10 to a Mac Pro (2019) with Winclone 8
Migrating Windows 10 from an older Mac to a Mac Pro (2019) with Winclone 8 requires an additional step of injecting the Apple SSD driver to allow initial boot of Windows 10. This article covers all the steps to migrate from an older (non-T2) Mac.
Overview
To migrate Windows 10 from an older Mac to a Mac Pro (2019), a Winclone image is saved on the older Mac, copied to an HFS+ formated external drive, and restored to a new partition on the new Mac. Prior to booting into Windows 10, a USB flash drive is created with the Apple drivers (downloaded from Boot Camp assistant) and a Windows 10 installation ISO. The new Mac is then booted from the USB flash drive and a script is run to install the drivers on the restored Boot Camp partition.
Required Items
- Winclone 8 from https://twocanoes.com/winclone
- Source Mac (non-T2 Mac that has the Windows 10 Boot Camp partition to be migrated)
- Destination Mac (Mac Pro [2019])
- External Drive formatted as HFS+ for copying the image from the Source Mac to the Destination Mac.
- Windows 10 ISO downloaded from Microsoft, 1909 or later.
- Windows Support drivers downloaded on the new Mac from the Action menu in Boot Camp Assistant.
- 8 GB (or larger) USB Flash Drive formatted as ExFAT. The Windows installer and drivers will be copied to this drive.
- External Drive resources from Twocanoes Software.
Create Winclone Image of Source Mac
On the source Mac, create a Winclone image using Winclone 8 and save to the External drive formatted as HFS+. The Winclone image must be a File-based format (specified in Winclone Preferences). File-based imaging is the default imaging format in Winclone 8.
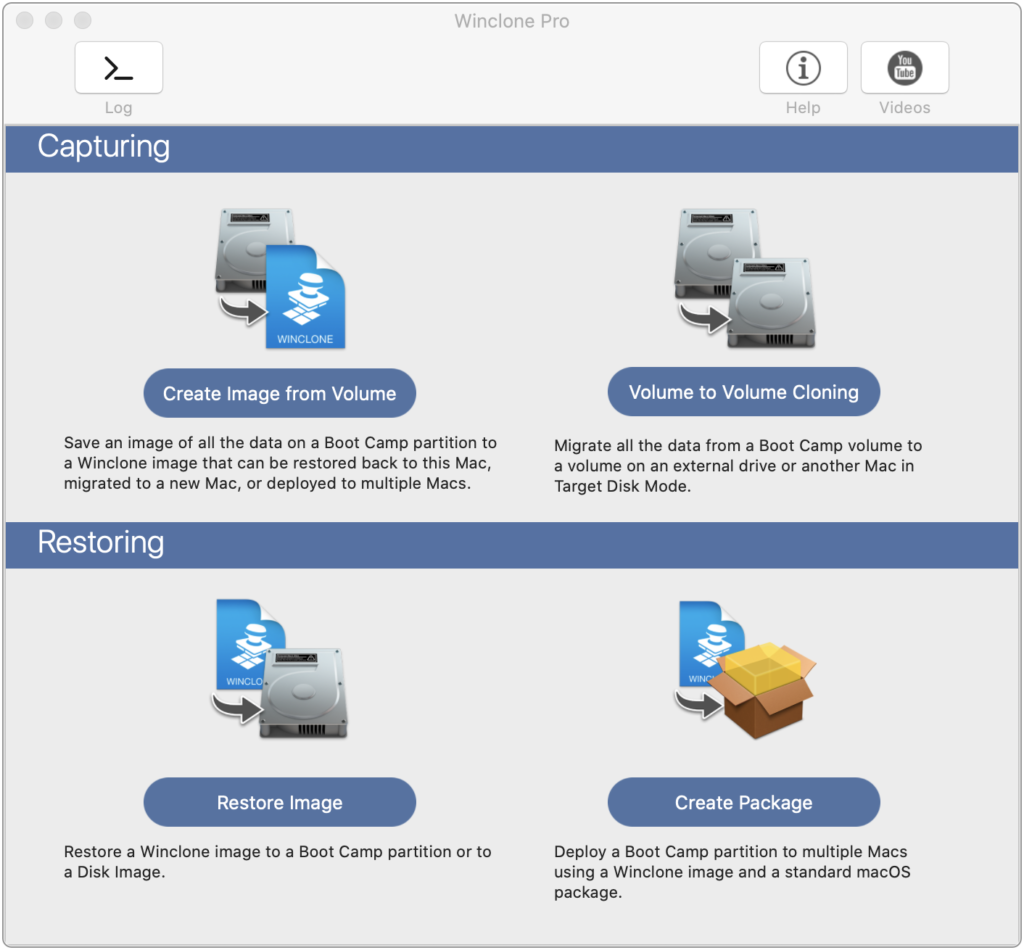
Open Winclone 8 and select “Create Image from Volume”:
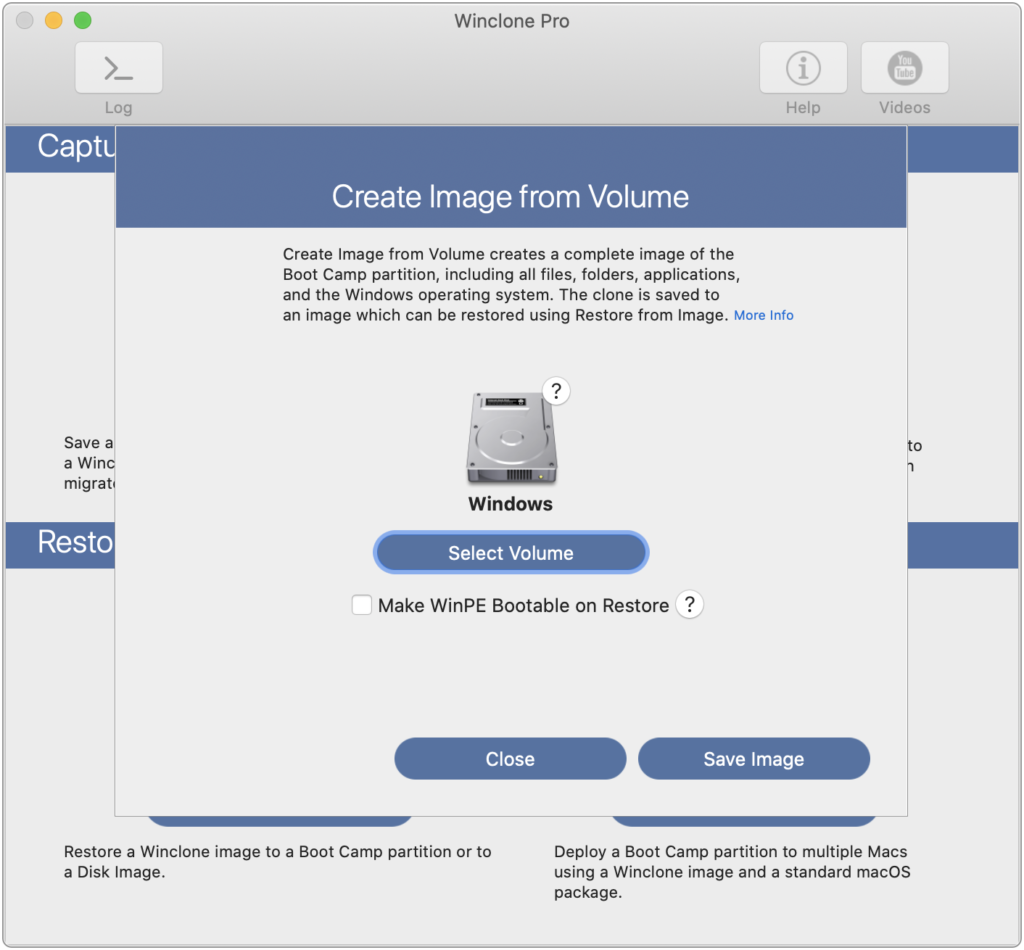
Select the Boot Camp partition and click “Save Image”:
Give the image a name and click “Save to the HFS+ formatted external drive”:

Restore Image to Destination Mac
On the destination Mac, create a Boot Camp partition using Disk Utility and restore the Winclone image.
NOTE: MAKE SURE YOU HAVE A GOOD BACKUP OF THE DATA IN MACOS PRIOR TO CREATING A NEW PARTITION IN CASE OF ERROR.
Open Disk Utility in the Utilities folder:
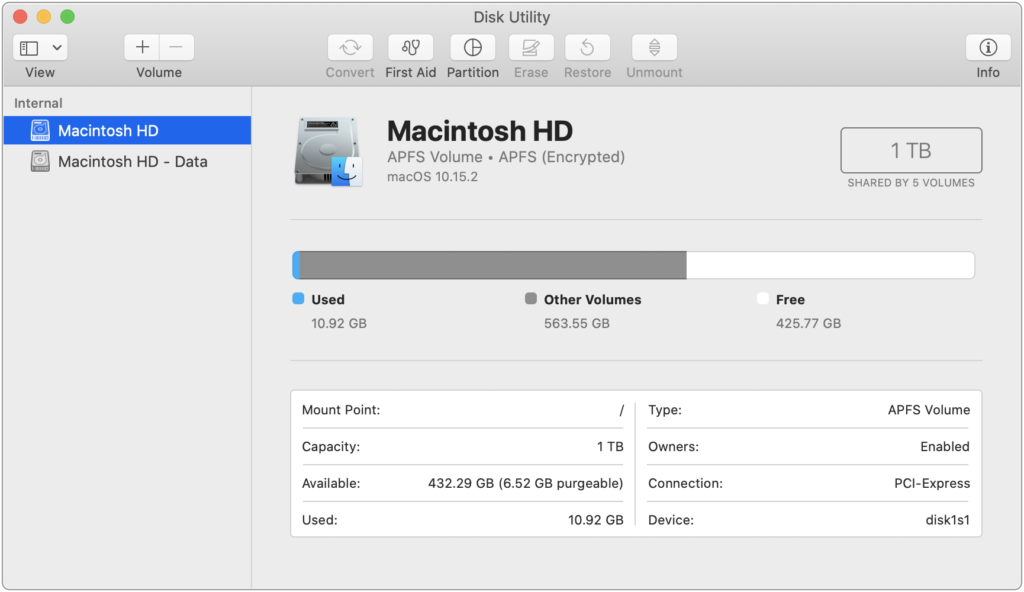
Select the Macintosh volume and click the Partition button.
If you are prompted to add volume to a container or adding a partition, select “Partition”:

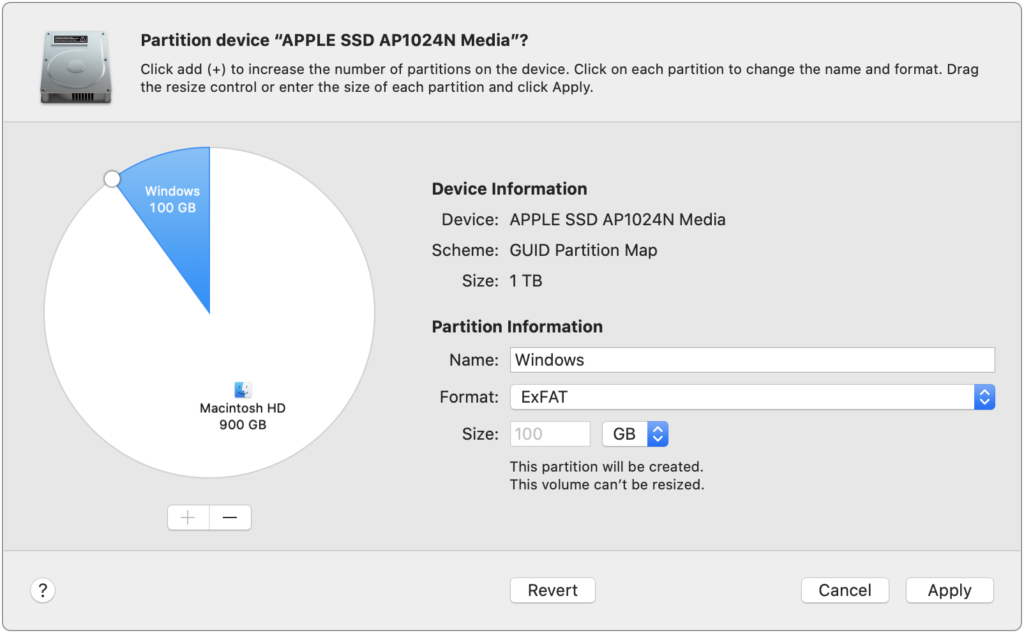
Click “+” to add a partition:
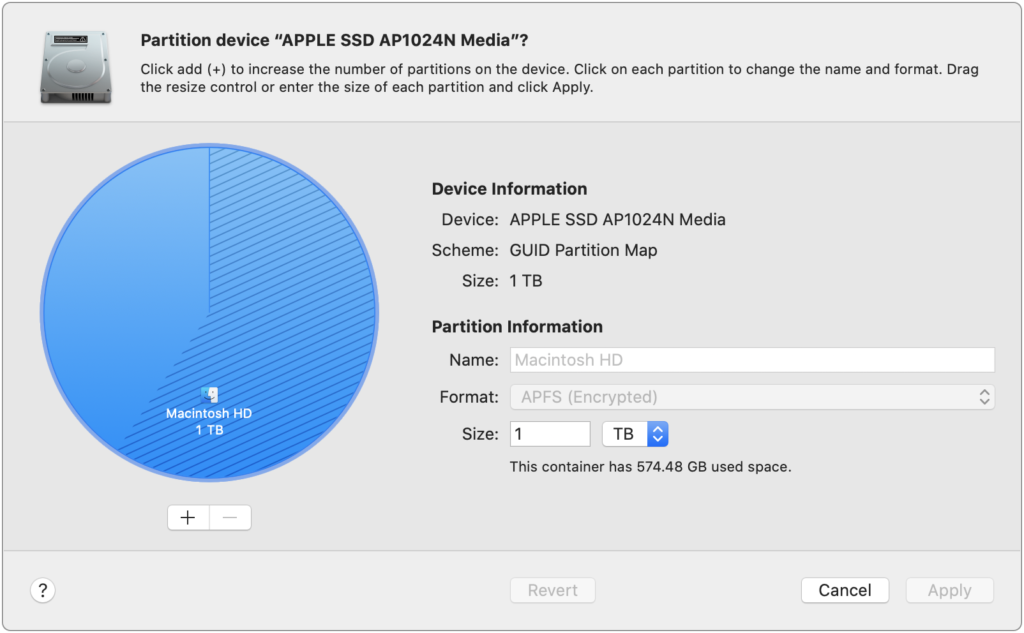
Select the size of the new Boot Camp partition, give it a name, and select the format as ExFAT. When the Winclone image is restored, the format will automatically be changed to NTFS. Note that the size of the partition can be any size that is large enough to hold the data used in the migrating Boot Camp partition.
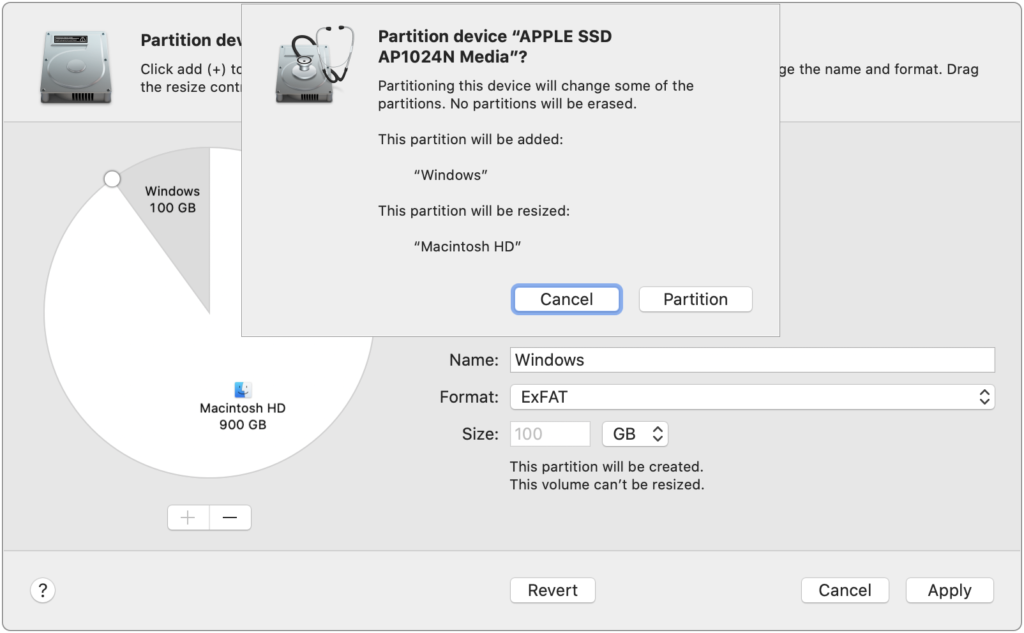
Confirm the addition on the new partition by verifying that a new partition will be added and the Mac volume will be resized:
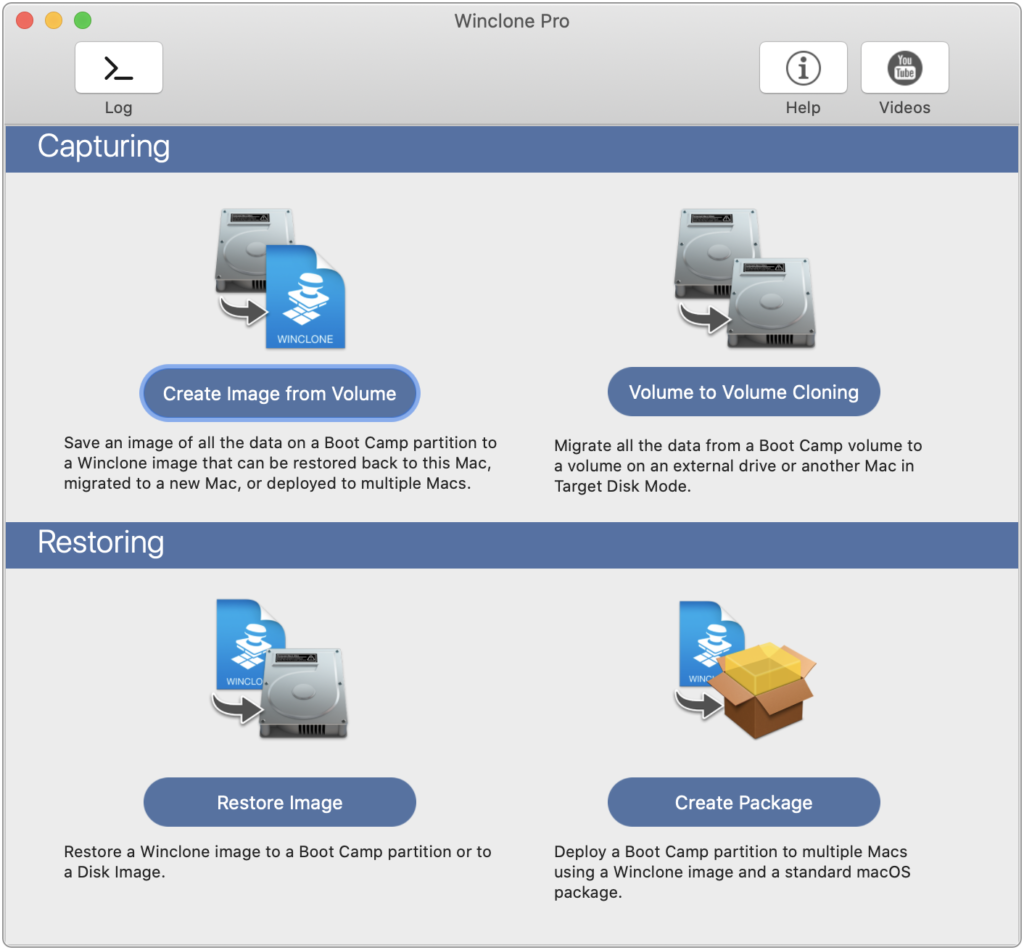
Using Winclone 8, restore the Winclone image by clicking the “Restore Image” button:
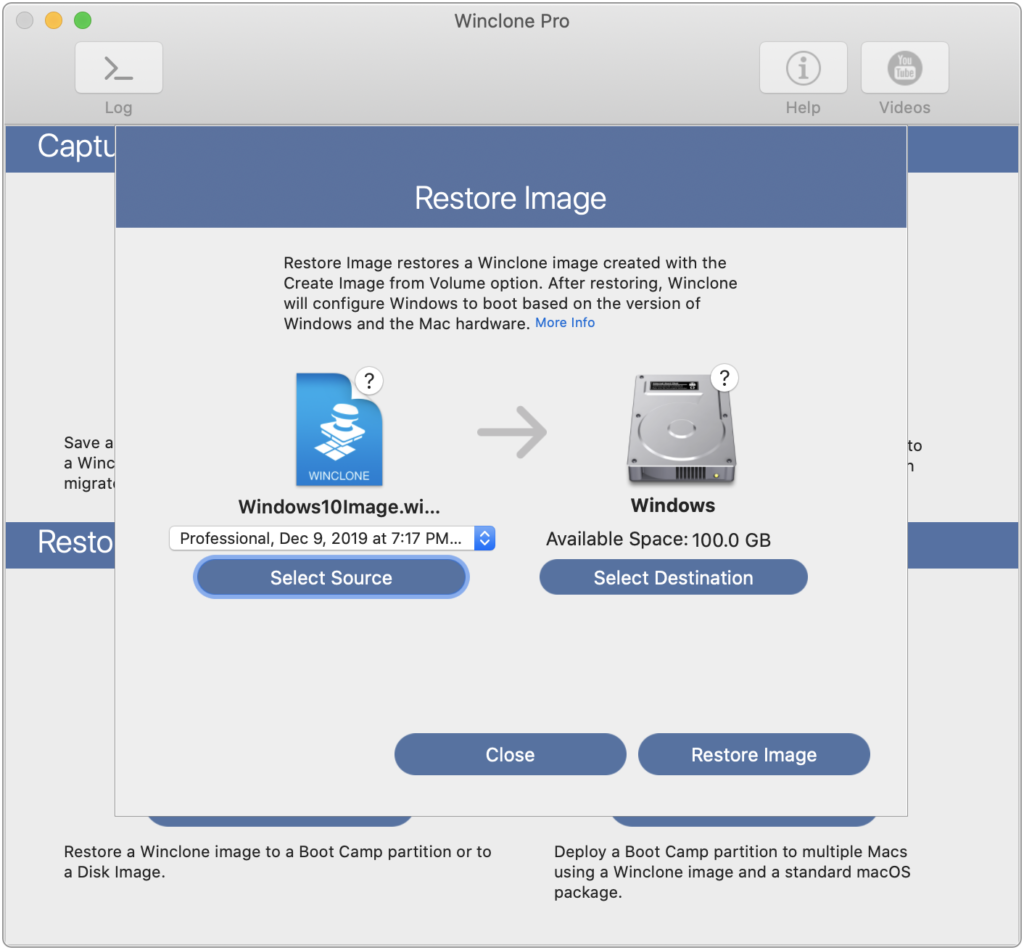
Select the Winclone image created on the Source Mac and the new Boot Camp partition you created. Click “Restore Image”:
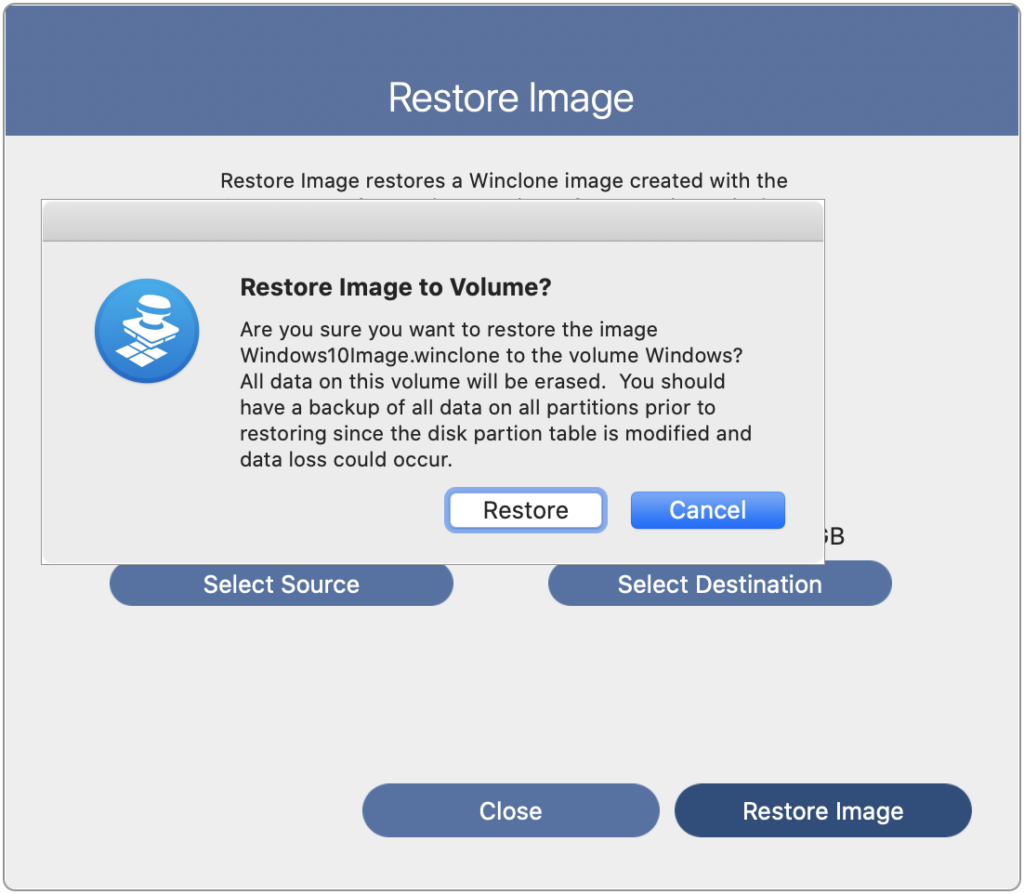
Verify that you want to restore:
Injecting Drivers
Once the Winclone image has been restored, booting to the Boot Camp partition will result in a “Inaccessible Boot Device” blue screen error. This is due to the lack of a generic driver in Windows 10 for the mass storage on the T2 Macs. In order to boot Windows, this driver must be injected from Windows on an external drive.
- Disable Secure Boot and enable external booting in Startup Security Utility by rebooting the Mac and holding Command-R to boot in to Recovery. When you see the macOS Utilities window, choose
Utilities > Startup Security Utilityfrom the menu bar. More information here. - Reboot back to macOS.
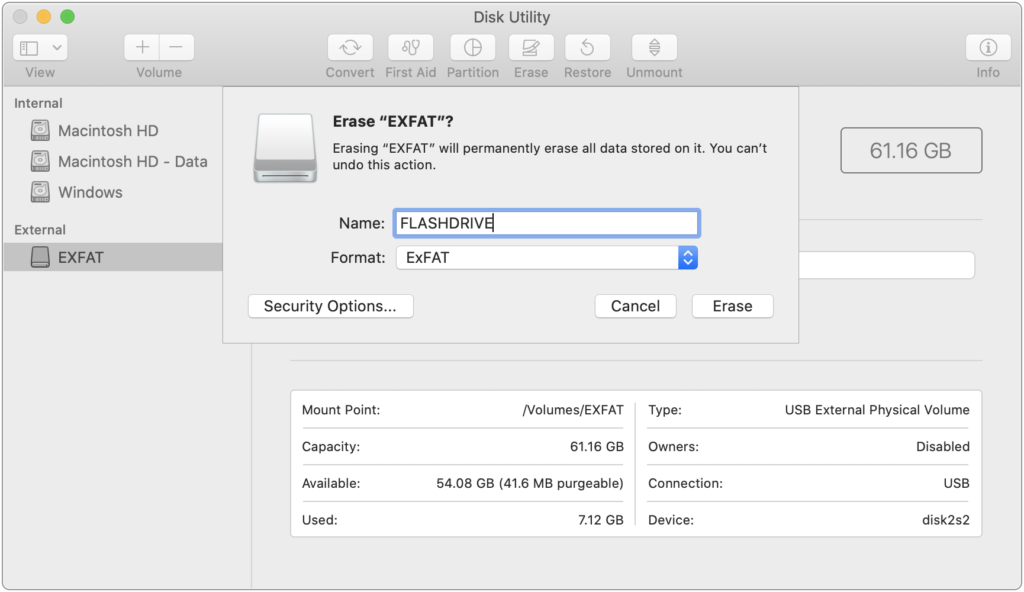
- Format the 8 GB (or larger) USB Flash Drive as ExFAT by opening Disk Utility, selecting the Flash Drive and clicking the Erase button. Select ExFAT as the format.
- Mount the Windows 10 ISO by double clicking it in the Finder:
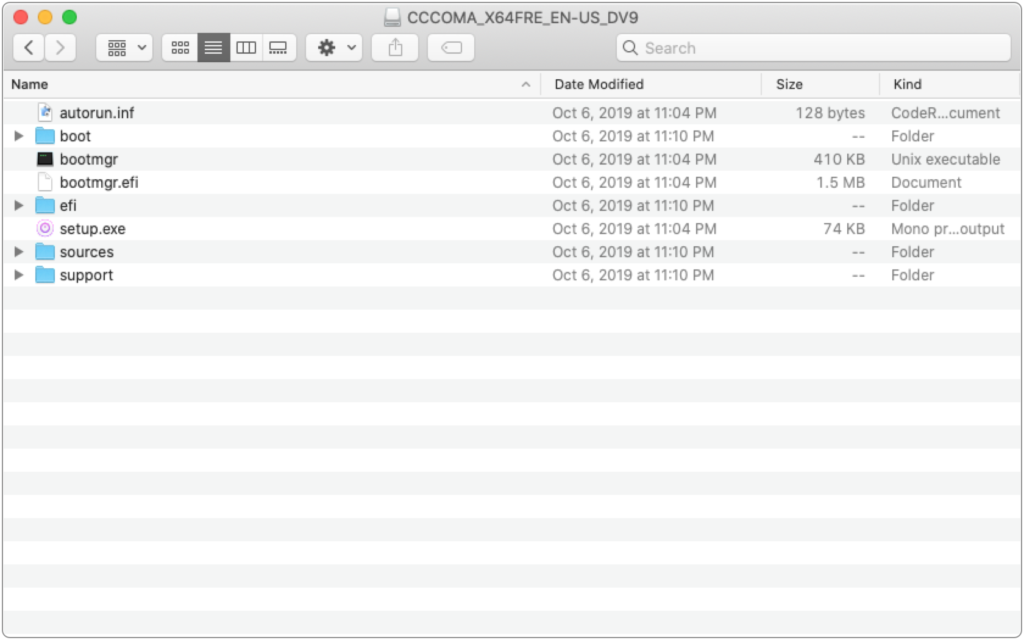
- Copy all the items in the ISO to the USB Flash Drive in the Finder by selecting all the items and then dragging to the USB Flash Drive.
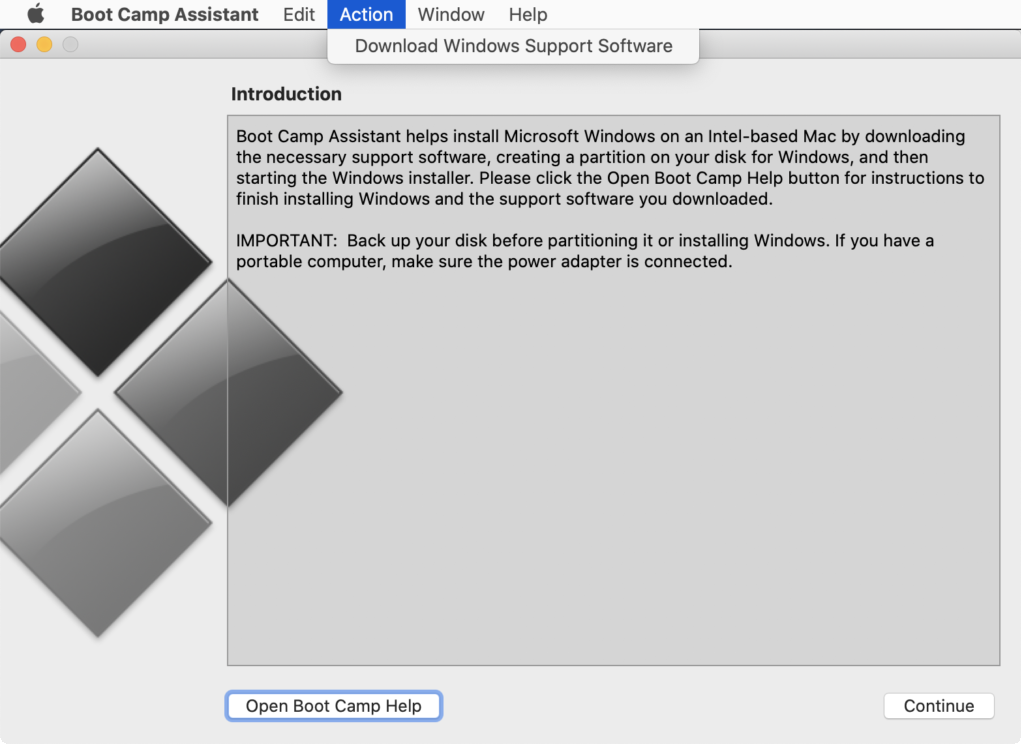
- Download the Windows Support drivers by opening Boot Camp Assistant in the Utilities folder and selecting “Download Windows Support Software” from the Action menu. Select a destination on the local hard drive to save the drivers:
- Copy the BootCamp folder from WindowsSupport to the USB Flash Drive.
- Download the external drive resources from Twocanoes, unzip and copy the contents (empty AppleDrivers folder, AutoUnattend.xml, and winclonefix.bat) to the USB Flash drive.
- Inside the $WinPEDriver$ folder in the WindowsSupport folder, copy any folder that starts with “Apple” to the AppleDrivers folder.
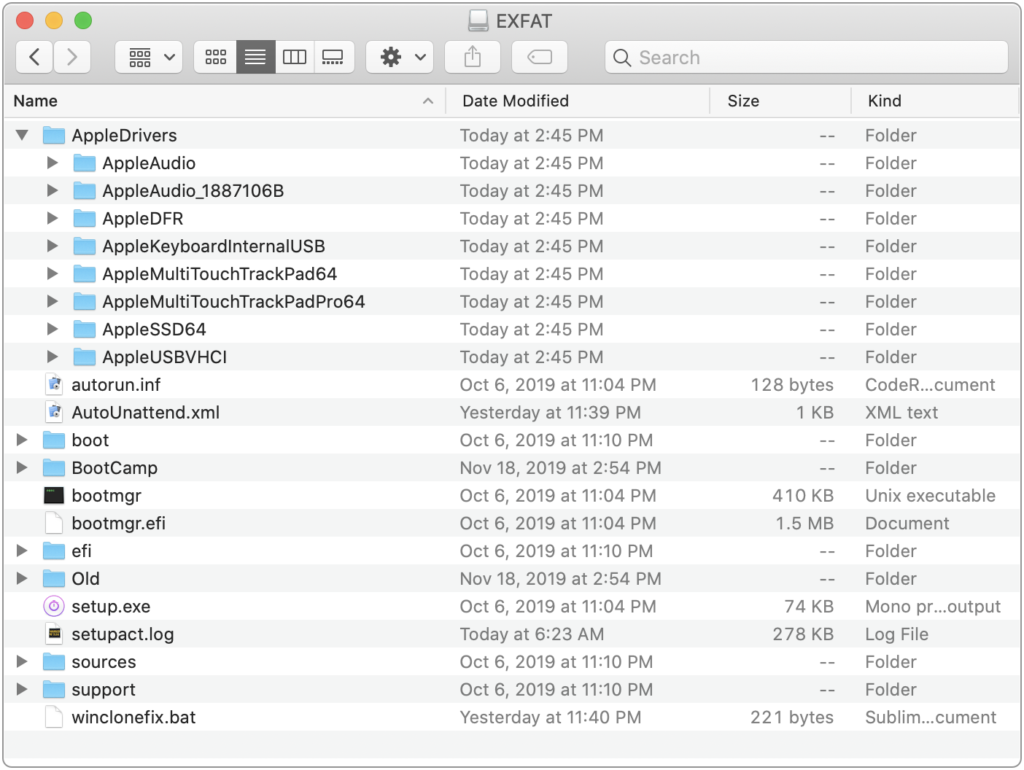
- The USB Flash Drive should contain all the resources needed to inject the drivers:
- Reboot the Mac and hold the Option key during startup. Select the EFI drive and the Mac will boot from the USB flash drive. When the installer starts. do not start installing.
- Press shift-F10 to open a DOS command prompt. You may have to wait a minute for the Touch Bar, keyboard, and mouse to start working. Once the DOS command prompt shows, click on the window to bring it to the front and enter in the following command:
c:winclonefix.bat
- Follow the prompts to hit return as it runs the commands. When completed, the Mac will reboot. You can now boot into the Boot Camp partition.
- Once you have booted into the Boot Camp partition, you can install the remaining drivers by opening the setup.exe on the USB flash drive and using the installer to install/repair the existing driver installation.
