TCM Setup Guide
TCM User Guide
TCM from Twocanoes is a client-server application that sends commands (such as reboot, screenshots, unix commands, and more) from a server running on a central Mac to client Macs. This guide documents the initial setup and administration of TCM.
Overview
TCM requires setup of clients and a server. The server is managed through the TCM Console application and through a web browser. The client is managed via the TCM Client application. The applications TCM Console and TCM Client are typically used for initial setup and configuration. Once your computers are communicating, further administration and control is handled using a web browser.
All TCM communication happens via secure HTTP. As you might expect, the web browser communicates with the server over HTTPS. Additionally, the client and server communicate over HTTPS on port 4567. This makes it easy to use on most networks. It also makes setup flexible: the web browser, server, and client can all run on the same computer (perhaps for testing and evaluation), or they can each be one of three different computers. As long as the three computers can communicate via HTTPS, they can use TCM.
An overview of the configuration process is
- Install TCM Client on client computers you wish to manage.
- Install TCM Console on one computer.
- Start the Console.
- Connect to the Console computer using a web browser, and create a user.
- Use the TCM Client application and the user created above to connect to the server.
- Add a license to the TCM Console.
- Associate the license with the client.
- Use a web browser to send administrative commands to the connected clients.
Following is a more detailed walkthrough of that setup.
Installation
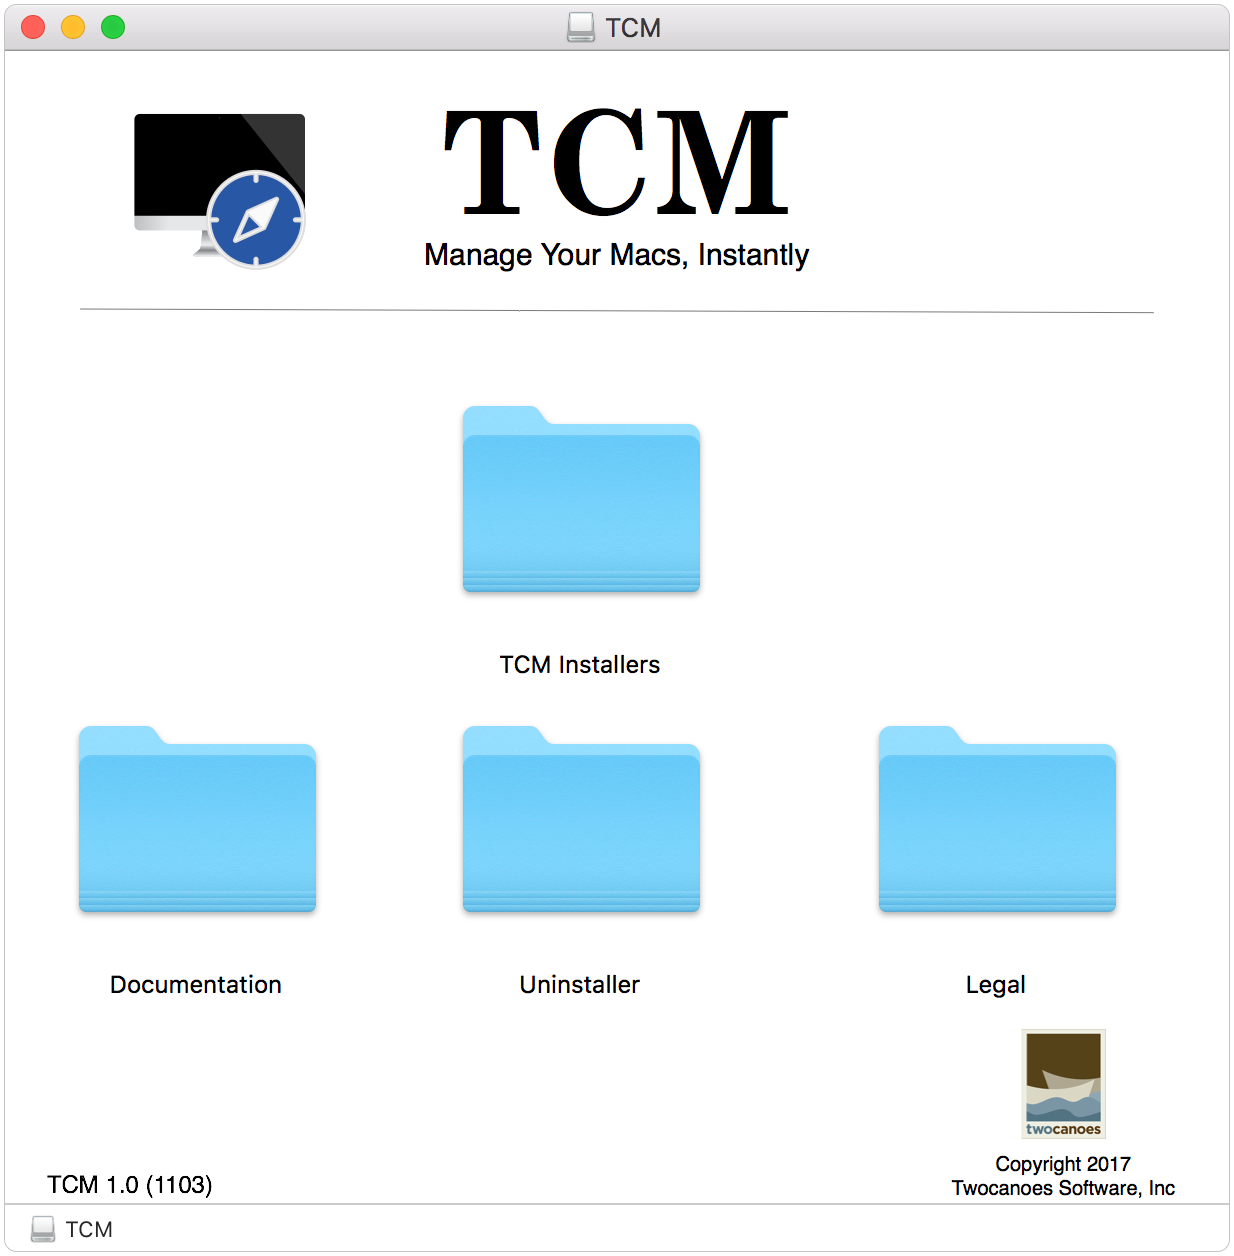
The client and server are distributed together on the same disk image.
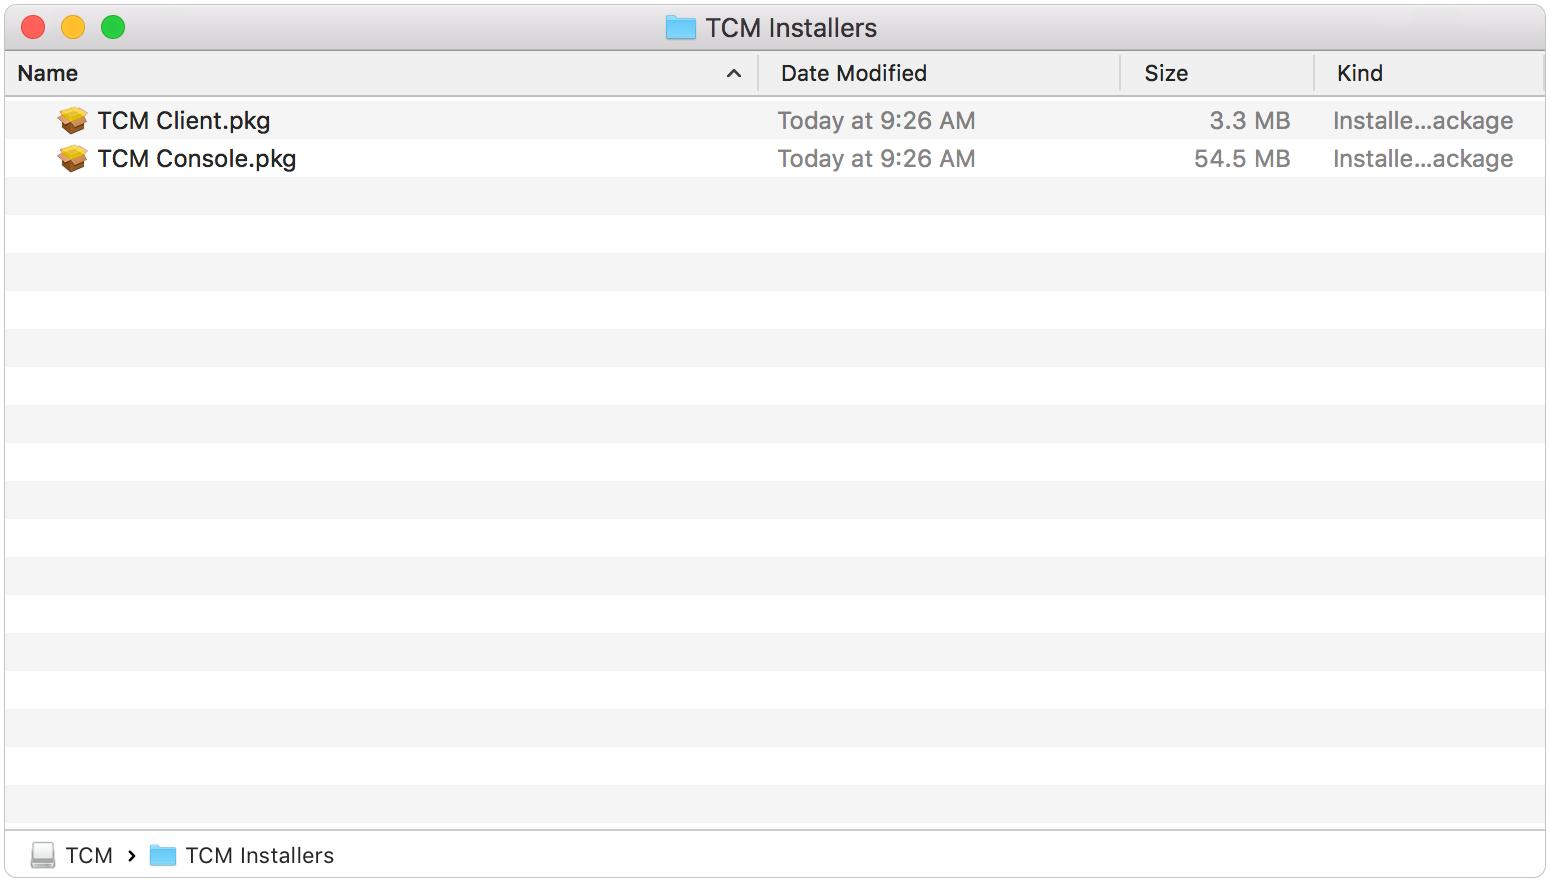
Inside the TCM folder you’ll find two installers: one for TCM Client, and one for TCM Console.
TCM Client is installed on computers you want to manage. The software is installed in /Applications/Utilities/
TCM Console is installed on one computer and is responsible for sending management commands to the clients. It is possible for one machine to be both a TCM Console and a TCM Client, but usually these roles are separated. The software is installed in /Applications/
Configuration
When setting up TCM for the first time, you’ll want to set up the server first. Once the server is set up, the client can query the server for connection credentials, making client setup easy.
TCM Console Configuration
Server Setup
Open TCM Console from /Applications.
You will be prompted to install a new helper tool. The helper tool is a privileged process required to managed the server in the background.
Next you should see the window:
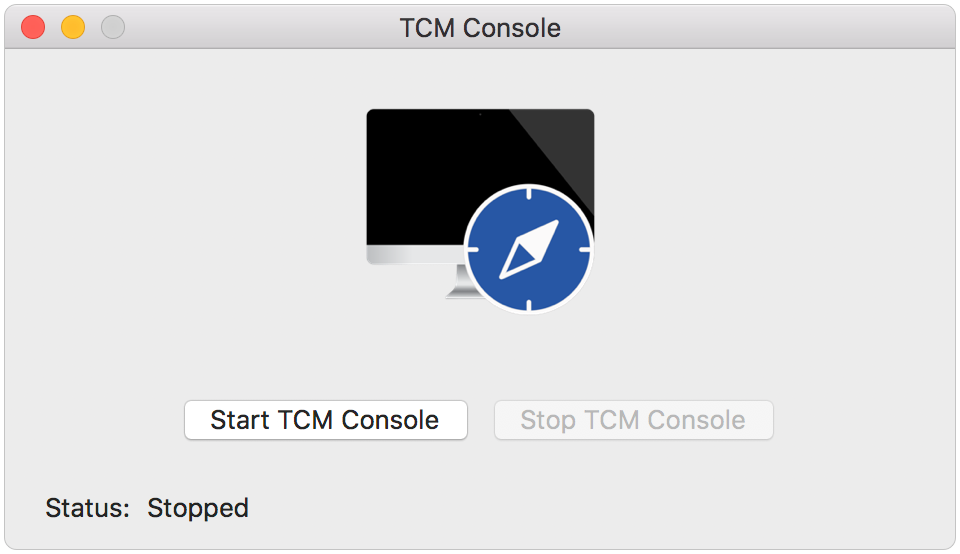
Click Start TCM Console. Another Mac OS X security prompt will appear. TCM Console requires administrator access to either start or stop the TCM server process.
When you first start TCM Console, it will set up the application server, including creating a new self-signed SSL certificate, and creating a database. Creating a new SSL certificate makes using HTTPS quick and easy, but it has drawbacks:
- You lose some protections of a certificate created by a recognized Certificate Authority
- You need to force your browser to recognize the self-signed certificate.
If you have a trusted certificate, TCM can use it. See Using Your Own SSL Certificates below for details. This guide will continue using the self-signed certificate.
Use a web browser to connect to your server at https://serveraddress:4567. If you open a web browser on the same computer as TCM Console, you can use the URL https://127.0.0.1:4567. The screenshots below show Safari.
When you first open the page, Safari will warn you about using a self-signed certificate.
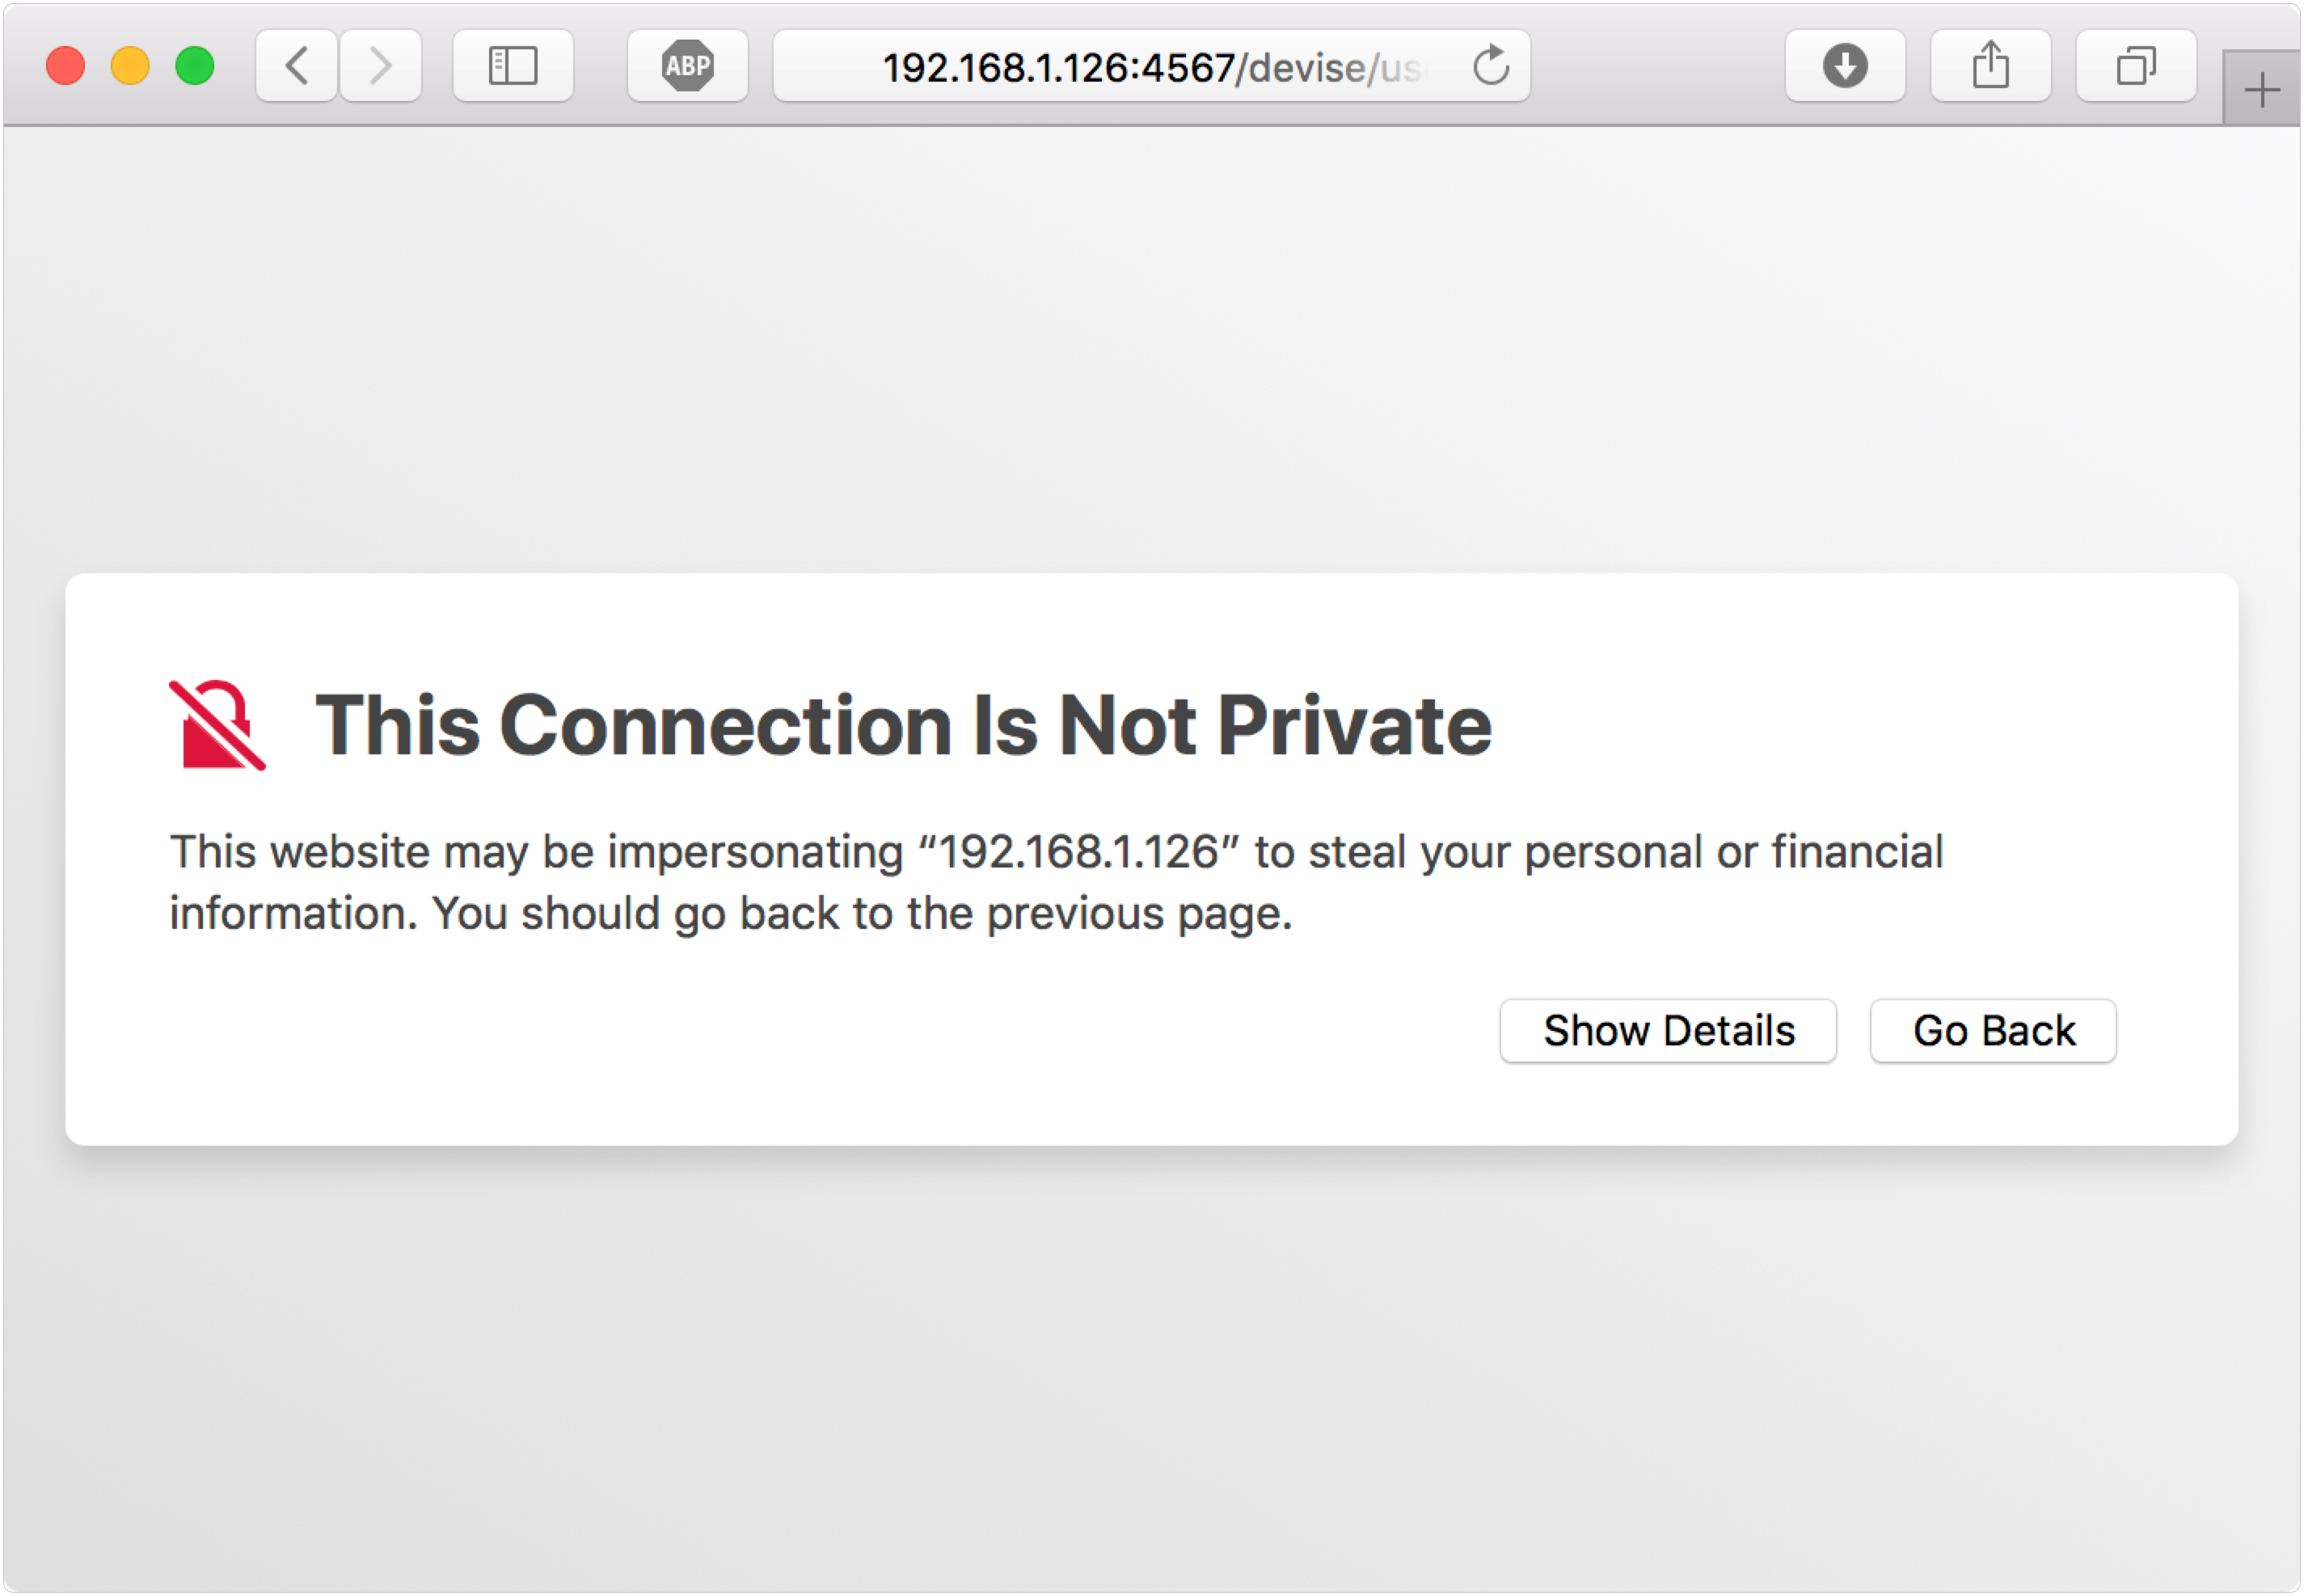
Click Show Details to expose the information below:
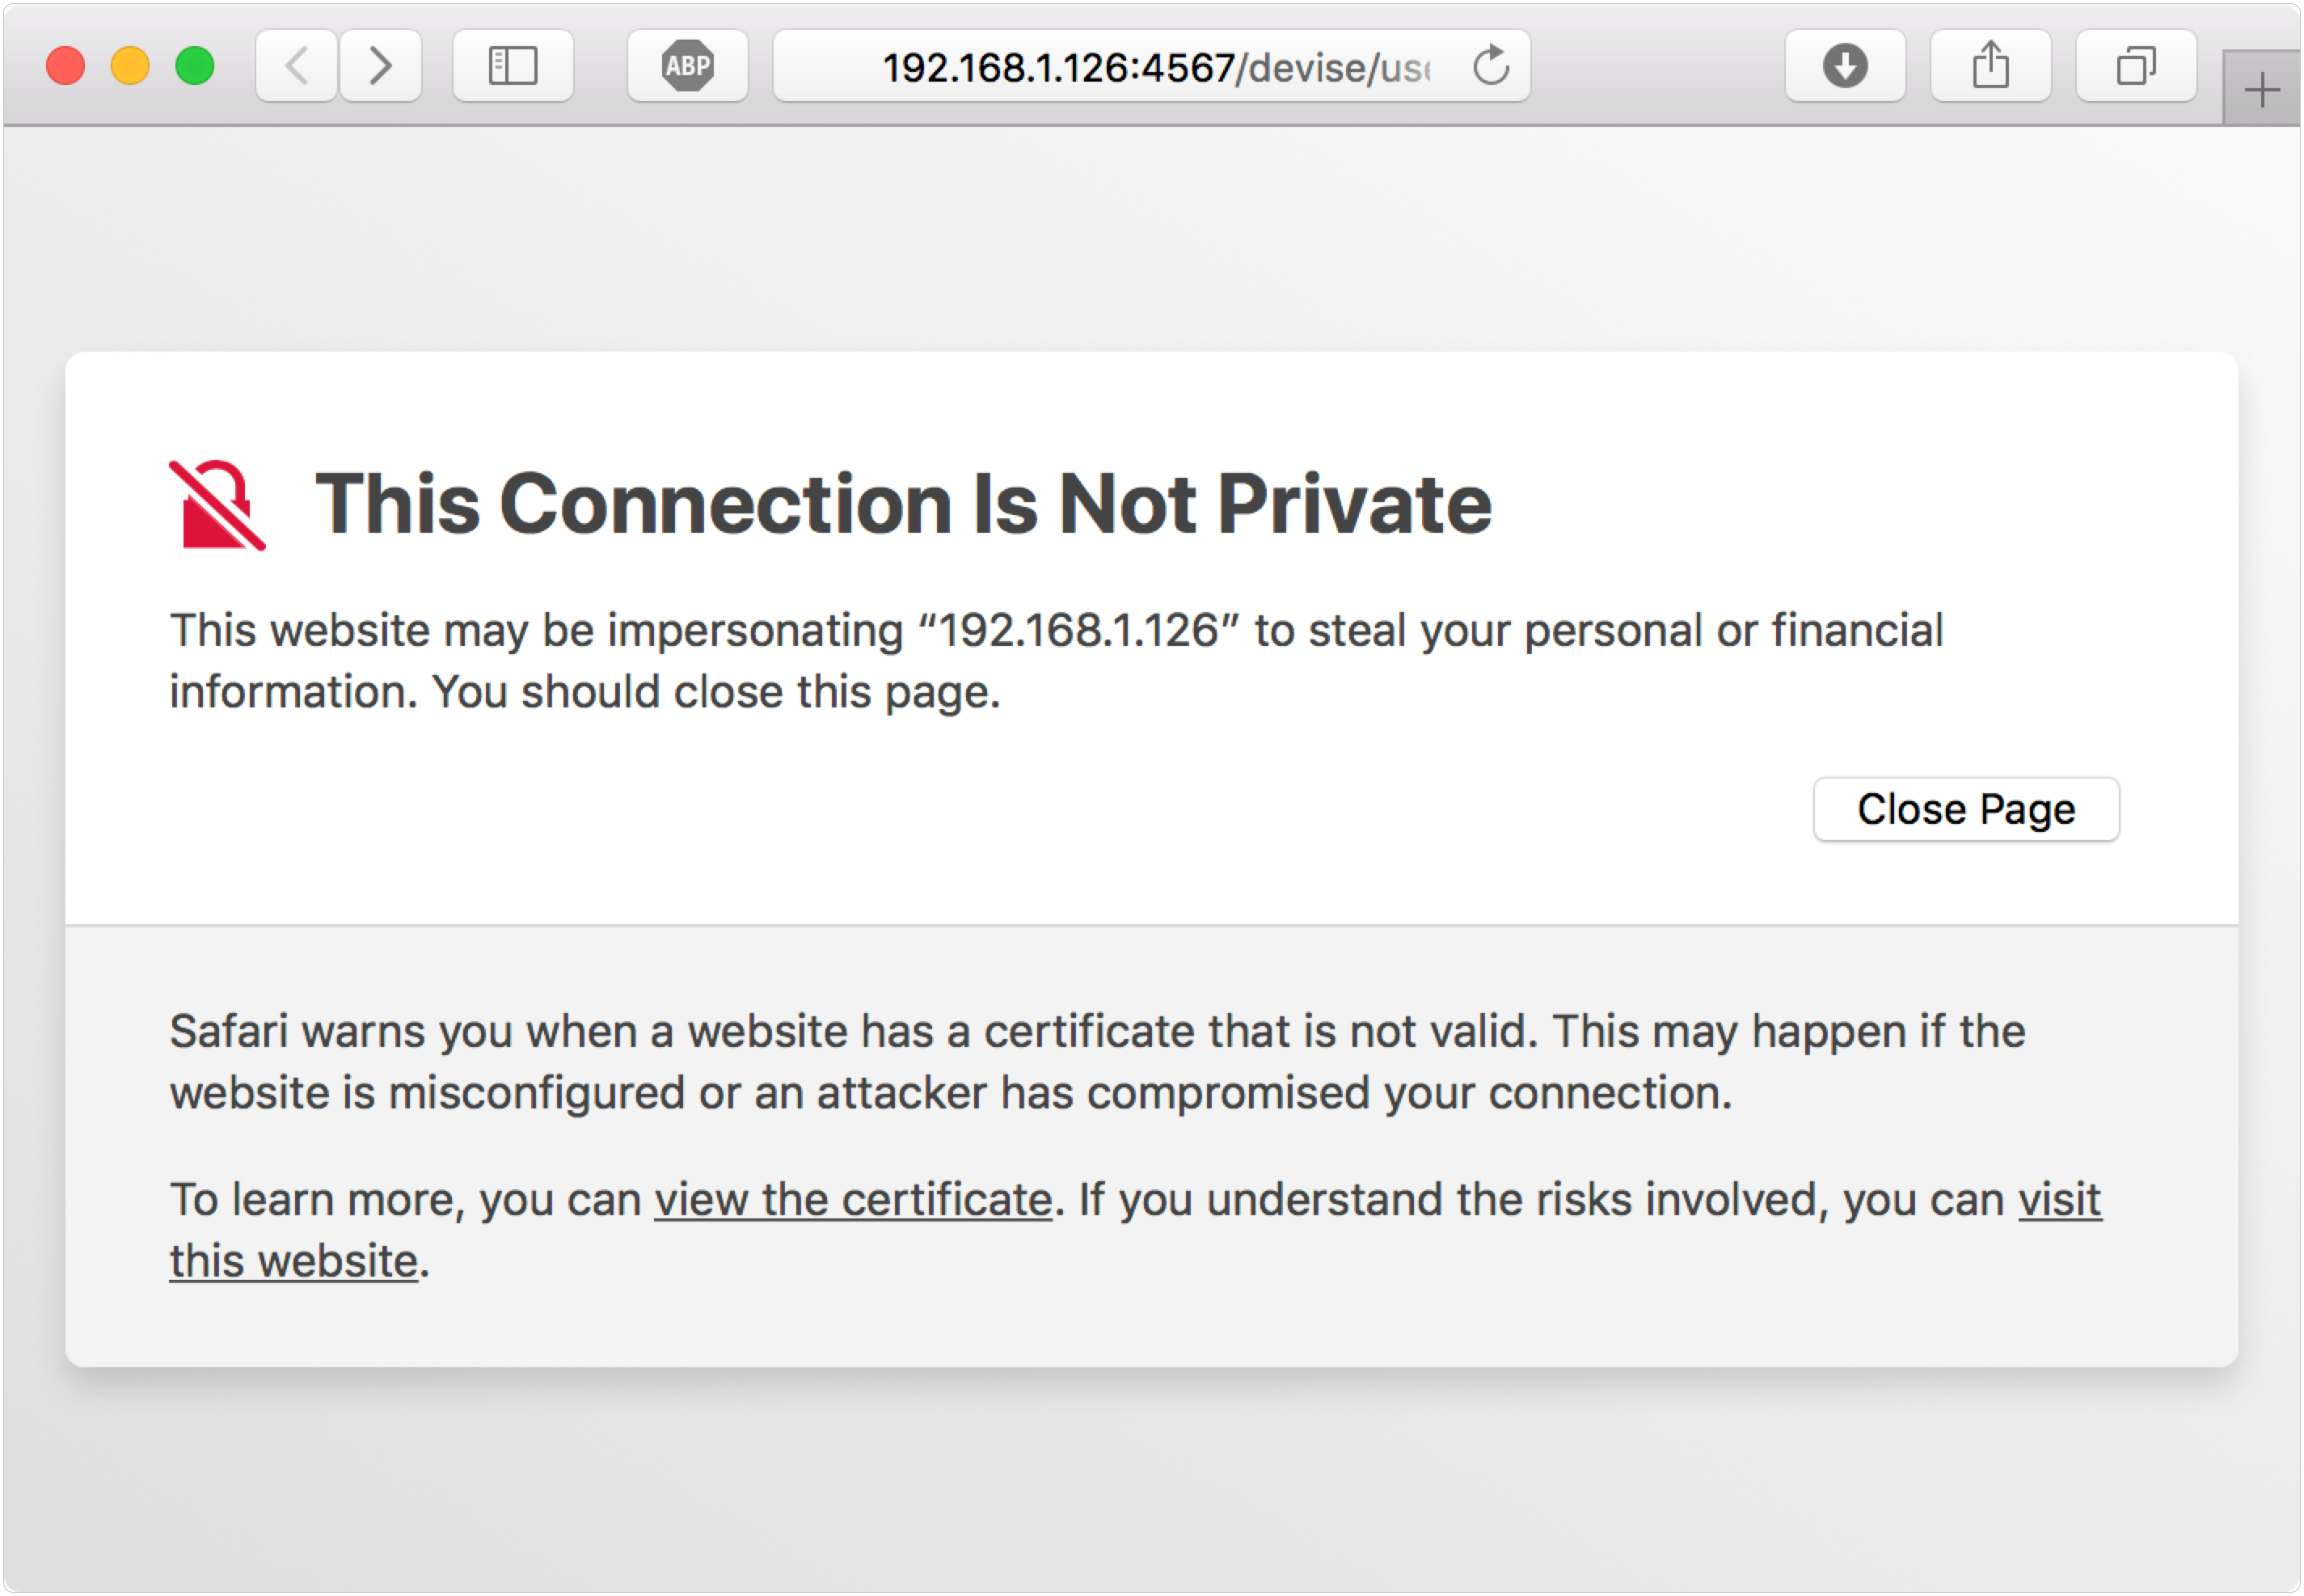
Clicking “visit this website” will prompt you to authenticate to trust the certificate. Once you have authenticated, Safari will trust the certificate in the future when connecting from this computer.
Account Setup
When you connect to TCM Console for the first time, you will be prompted to create a new user. This user will be the main administrator for the system, and will be necessary for binding the clients in the future. Make note of the usename and password you create, as you will use these in the next step to configure the client.
You’ll find out how to add additional user later in Adding Users.
TCM Client Configuration
The client uses the server to provision and connect a client. Once your server is installed and running, you’re ready to connect the client.
To connect the client, you will need:
- The username and password used during Account Setup
- An IP Address or DNS name for the console computer.
The client installer puts the TCM Client application in the system /Applications/Utilities folder. When you first open TCM Client, the system will prompt you to install a helper tool. The TCM Client reads and writes preferences in the System preferences domain and in the system keychain. It needs a privileged helper to write in these places.
Enter the configuration info for TCM Client:
Device Name: TCM Config uses the Computer Name from the Sharing Preferences to set the Device Name, but you can change it by editing it here. The Device Name is how the computer will appear in the console management page (it can be changed by an administrator on the Console later).
Server Address: Enter in an HTTPS URL for the server. TCM Console serves HTTPS on port 4567. A possible URL would be https://192.168.1.22:4567, as shown in this example. A DNS name would also work if you have DNS set up for your network.
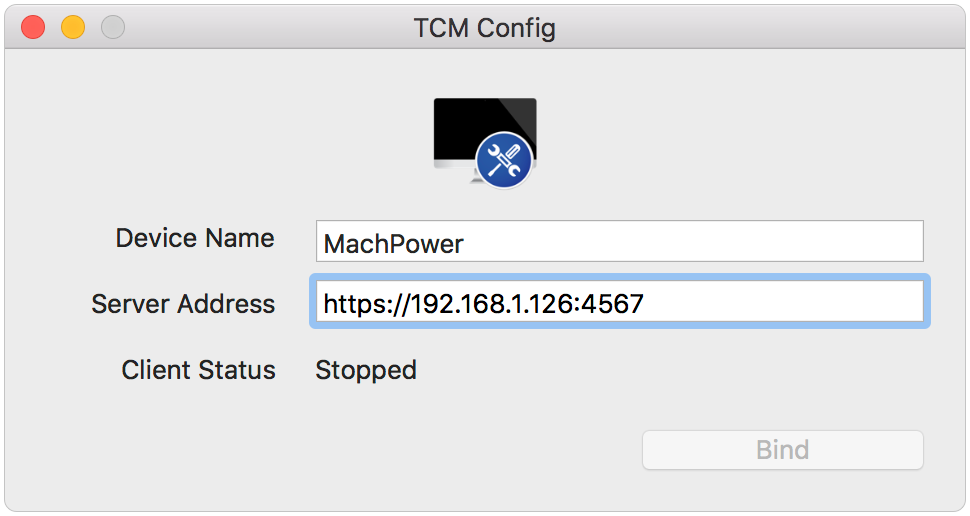
Once you click Bind, the client will request a username and password. This is the username and password you set up above during Account Setup. If you are using a self-signed SSL certificate, you must check Allow unknown certificates.
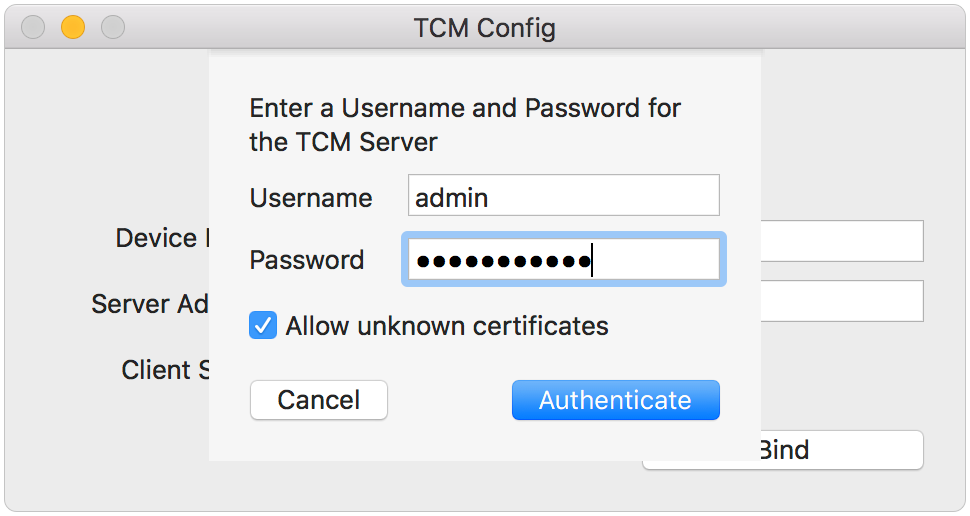
Click Authenticate to request authentication from the TCM server. If successful, it saves the device name and URL to the system preferences, and saves an authentication token to the system keychain. You will be prompted for a macOS Administrator username and password to save these items.
Once this is saved, TCM Client starts the background process. The device name and server address are disabled, and the client status shows Running.
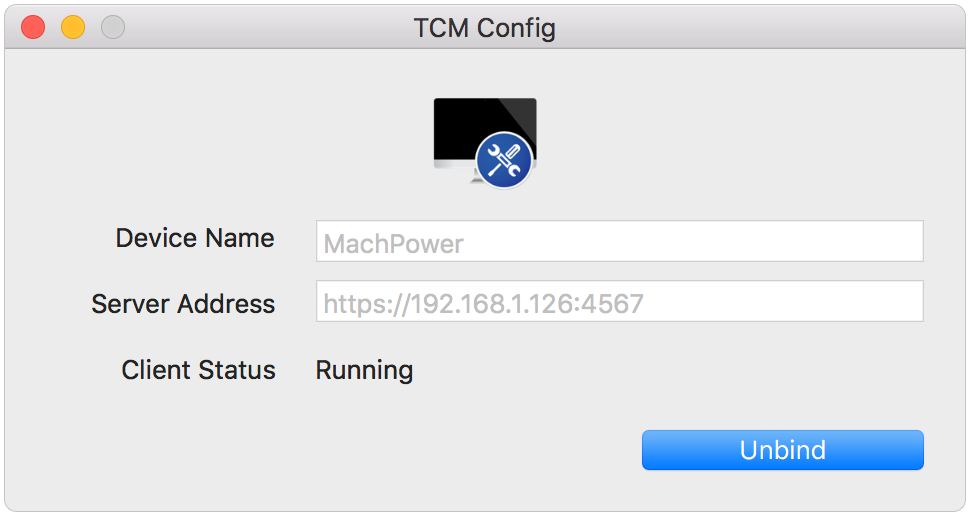
At this point the client is configured and connected to the server. The TCM client will start on system startup and run in the background. You can quit the application and the client will continue to run.
If you want to stop the client, click Unbind to delete the configuration and stop the background process.
Adding a License
You will need to add a license before you can send commands to the client. To license a client, first upload a license to TCM Console, then associate the license with a client. A single license file will often cover multiple clients.
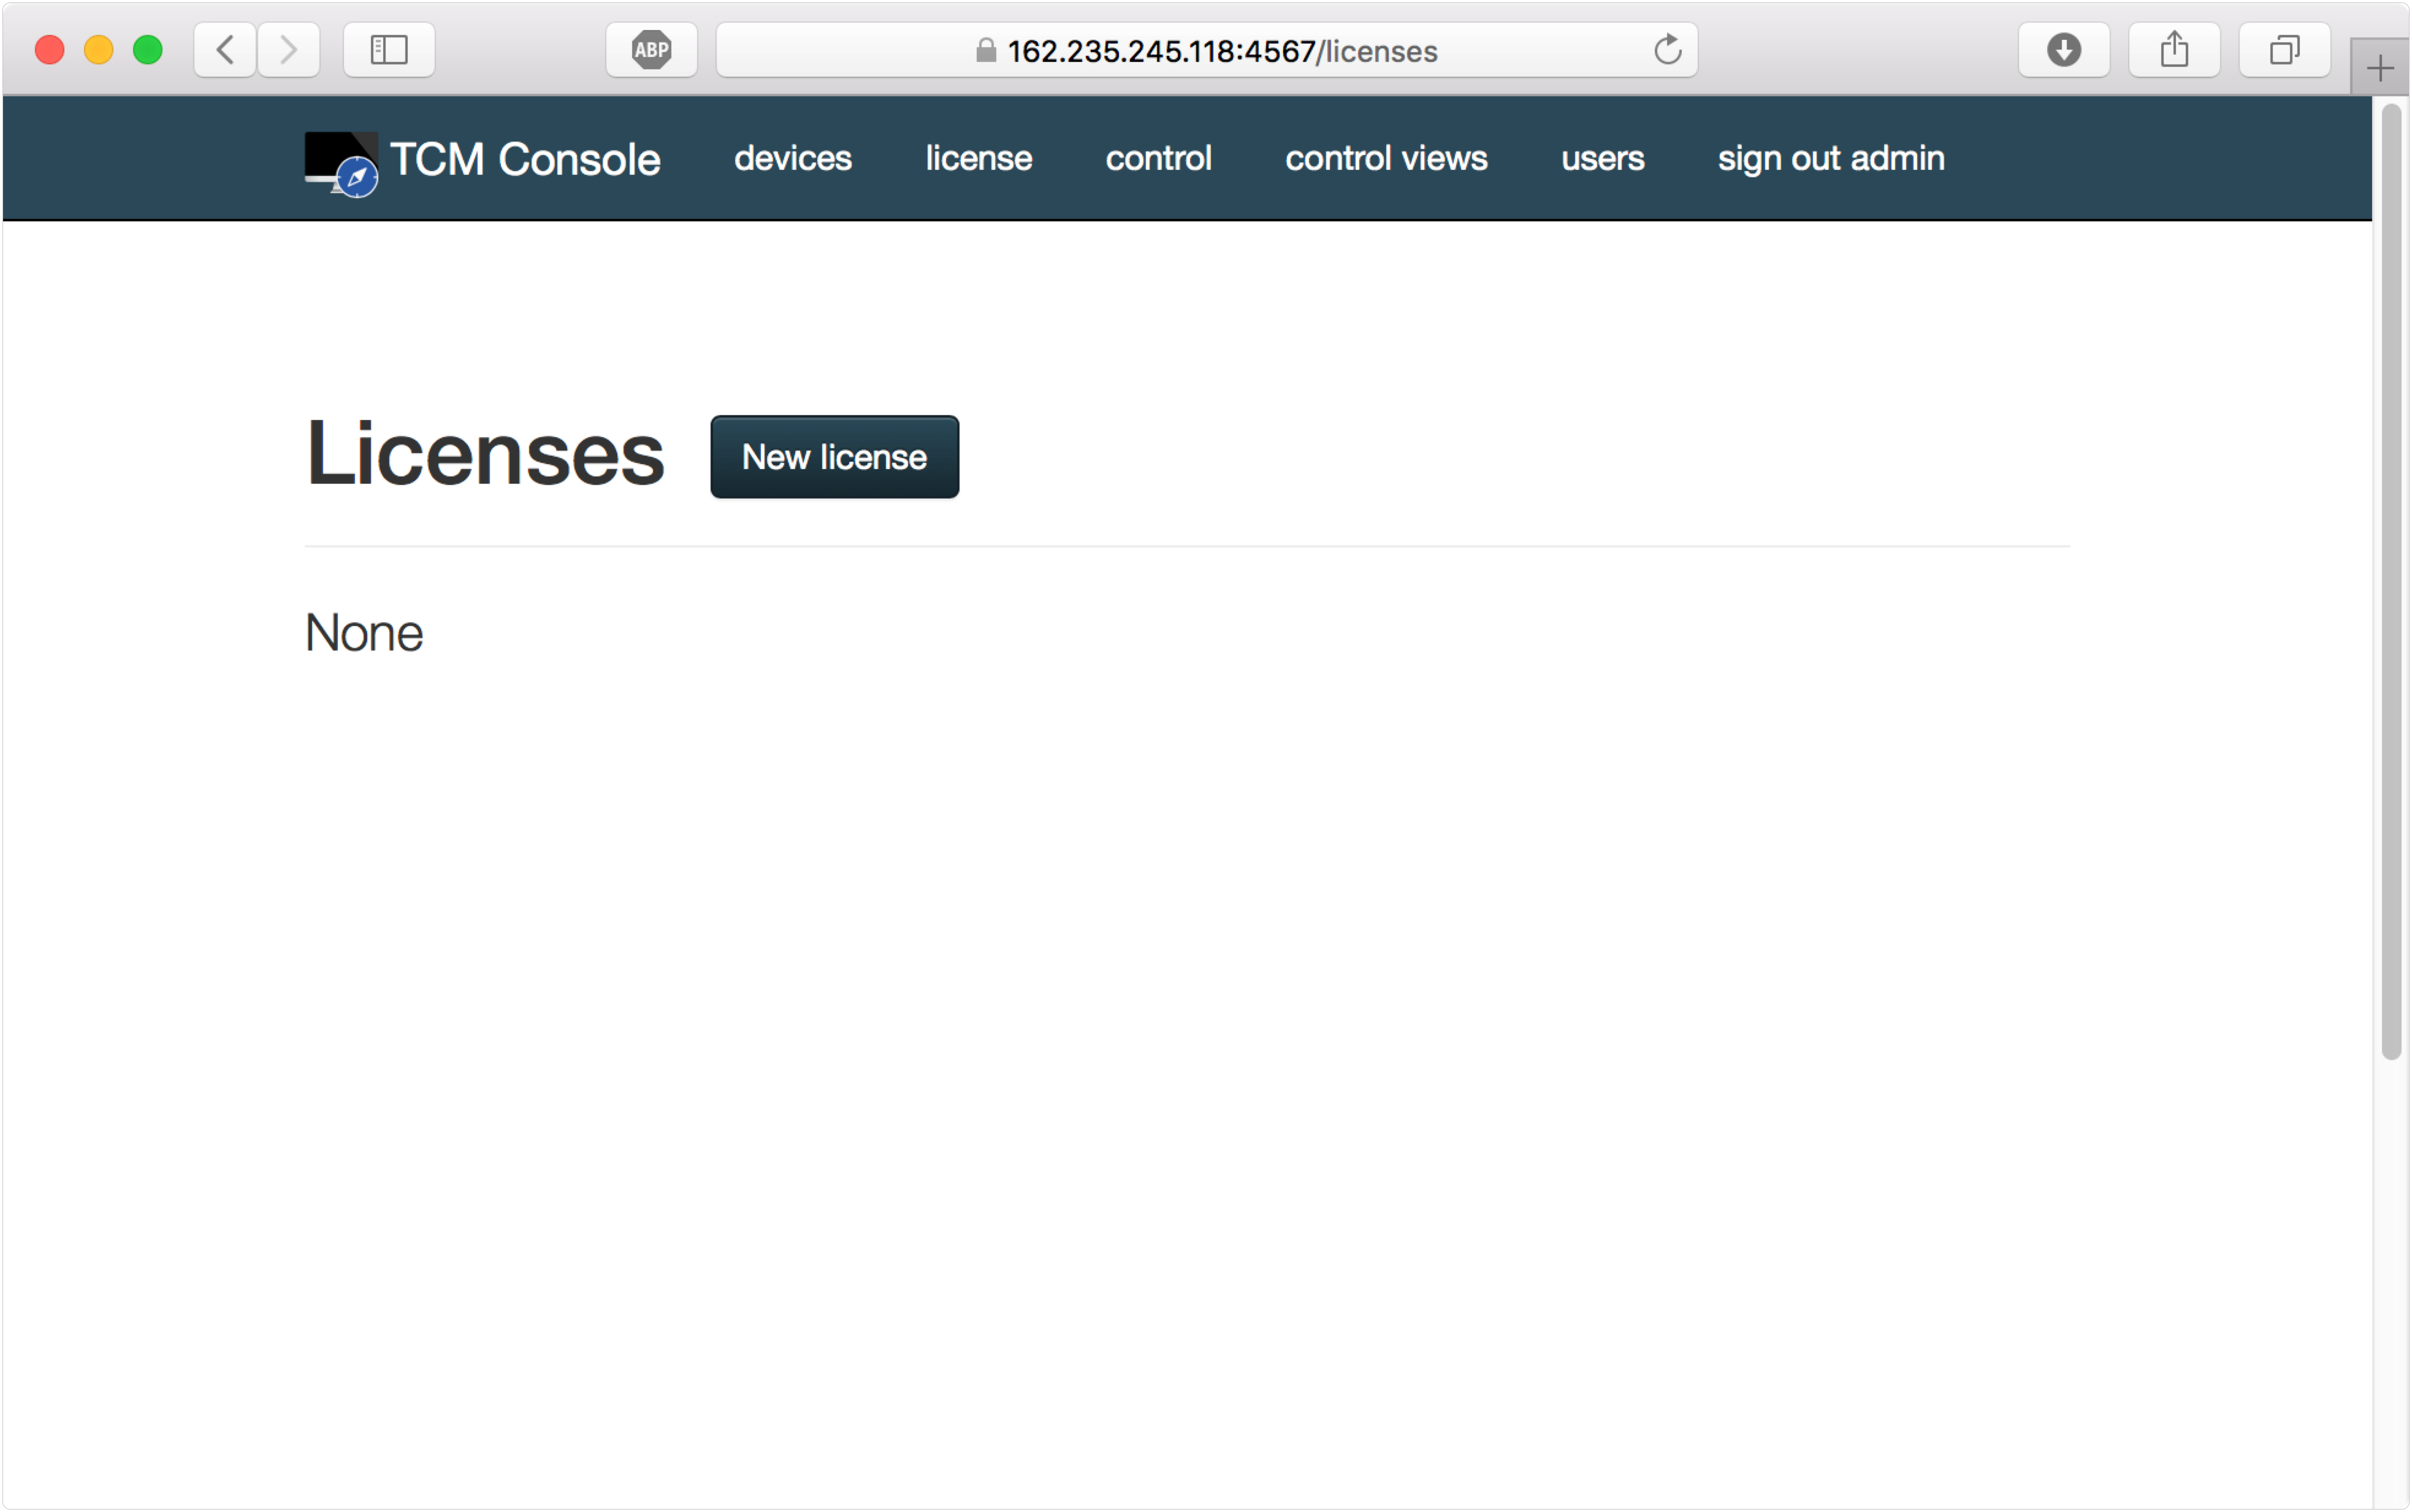
Click the license button on the toolbar. Click New license, then choose the license file and upload it to the server.
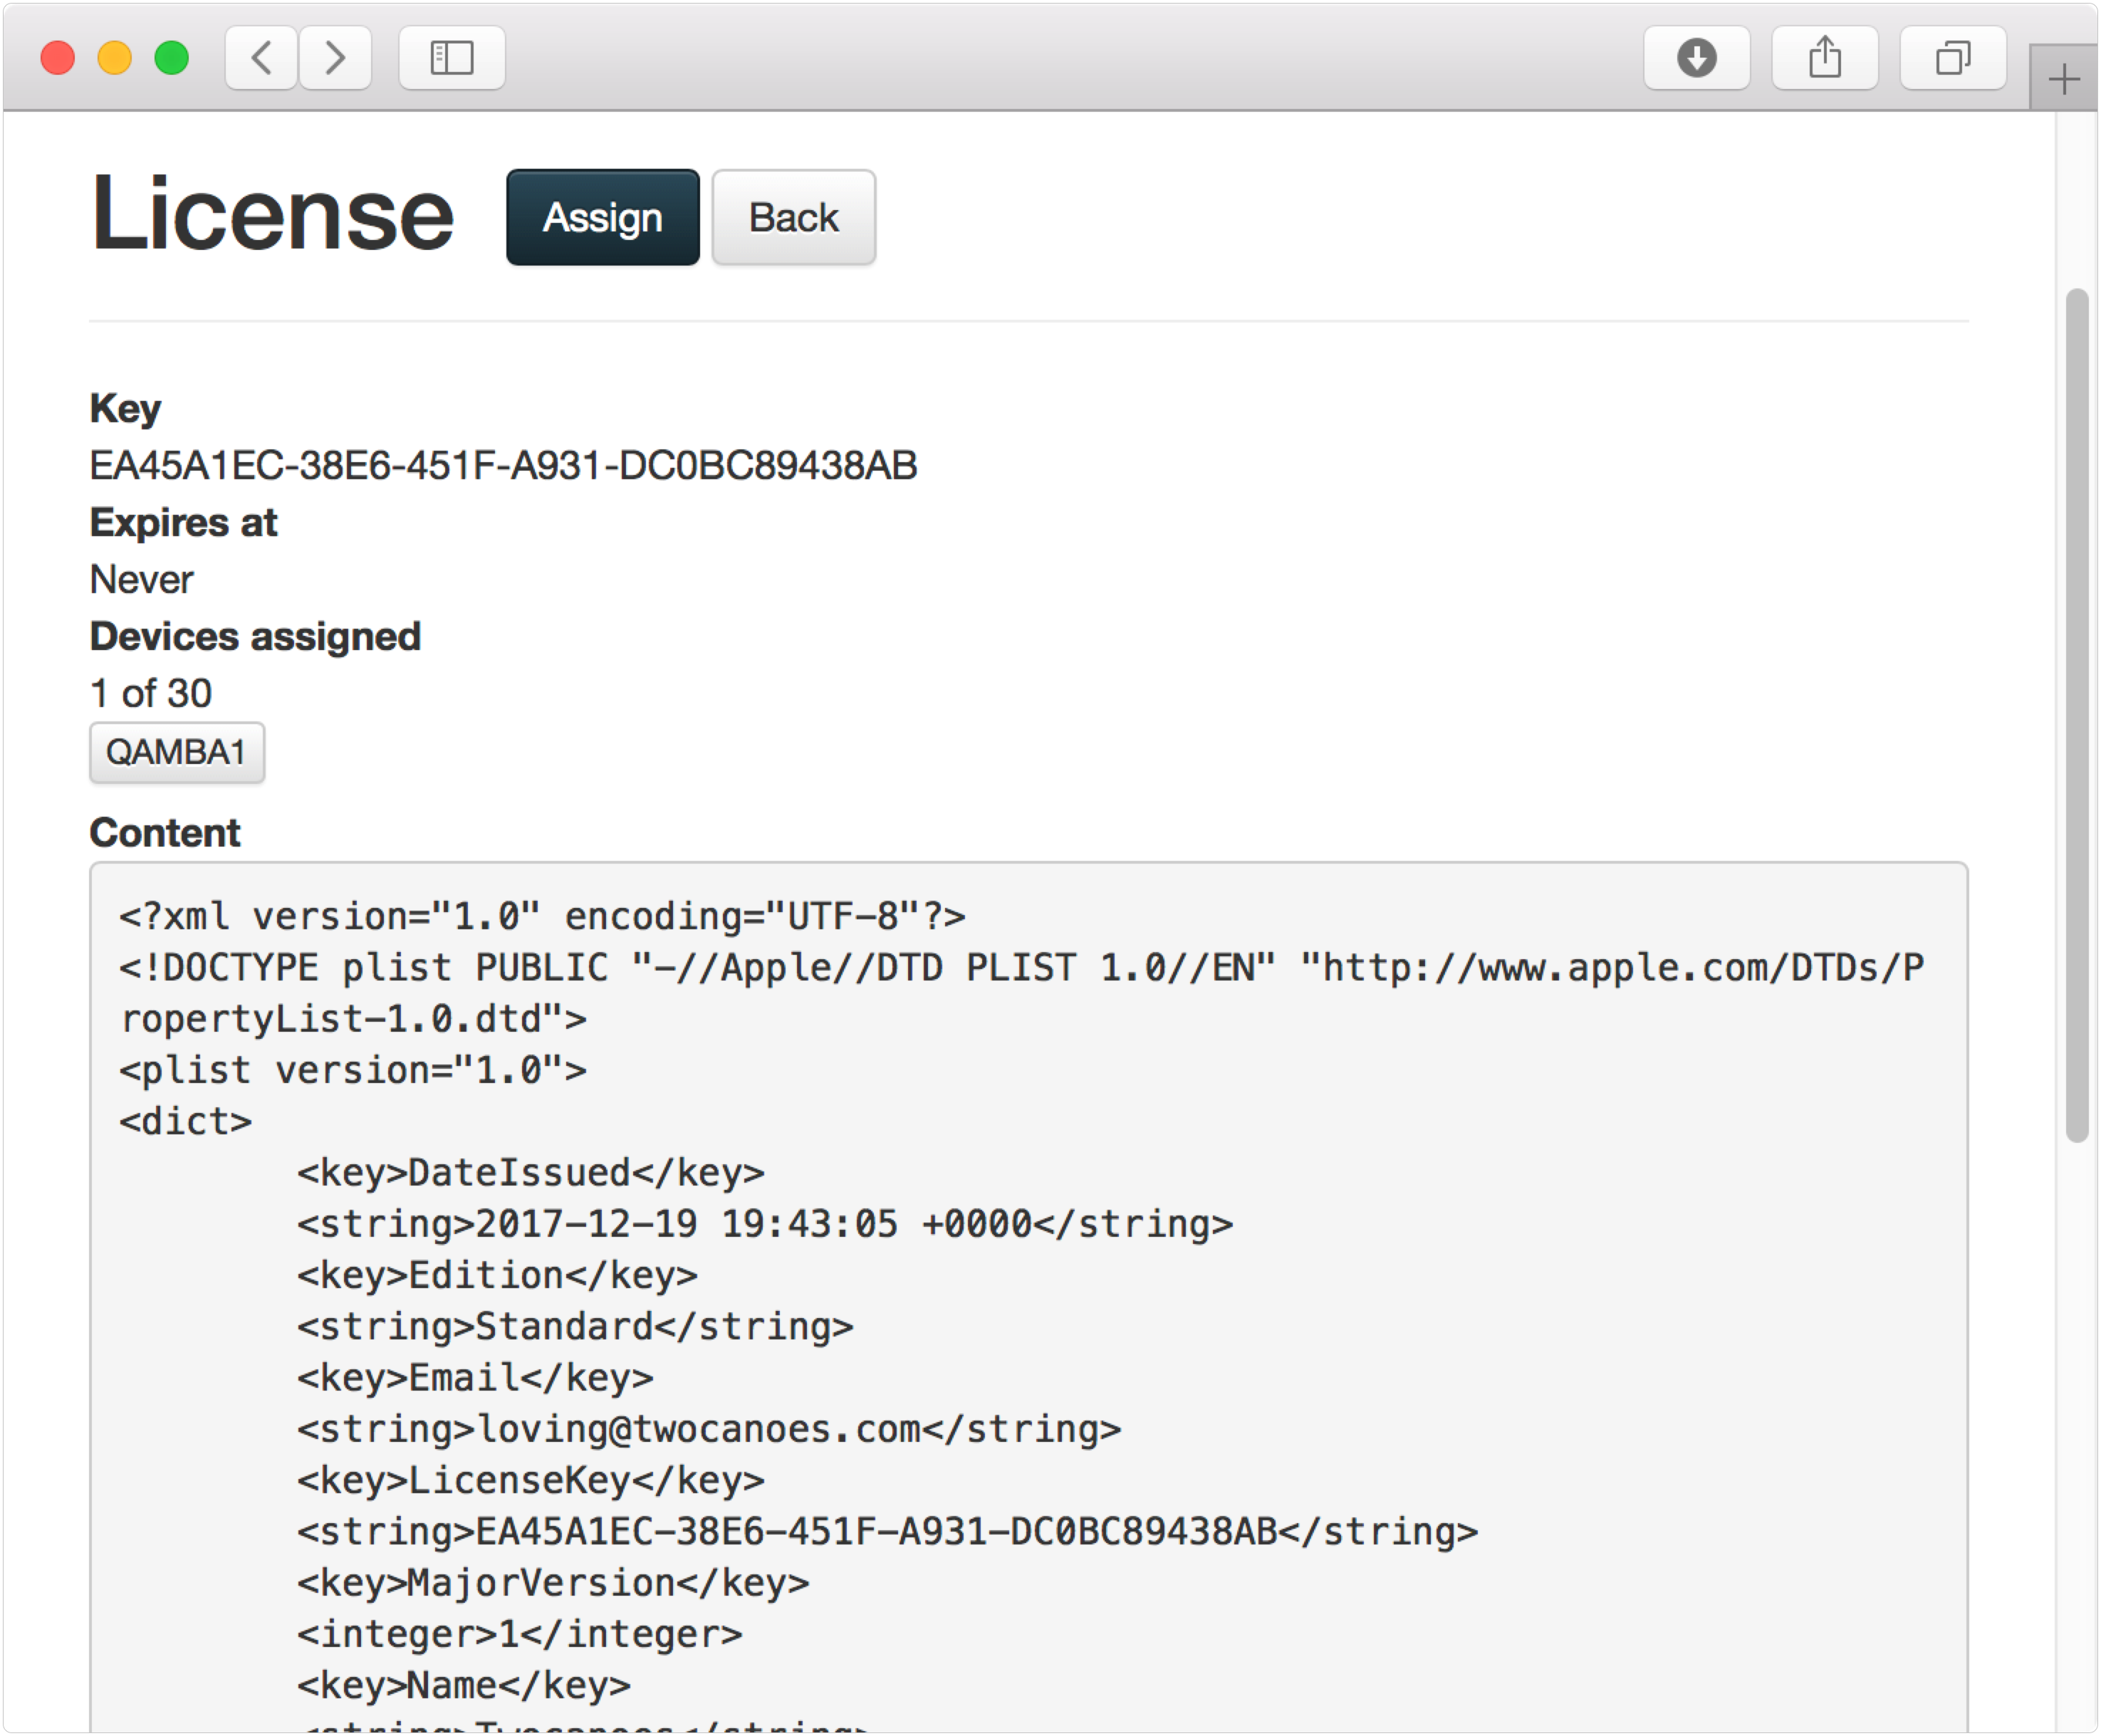
Once the license has been uploaded to the console, you need to assign it to your clients. Click Assign to view a list of clients.
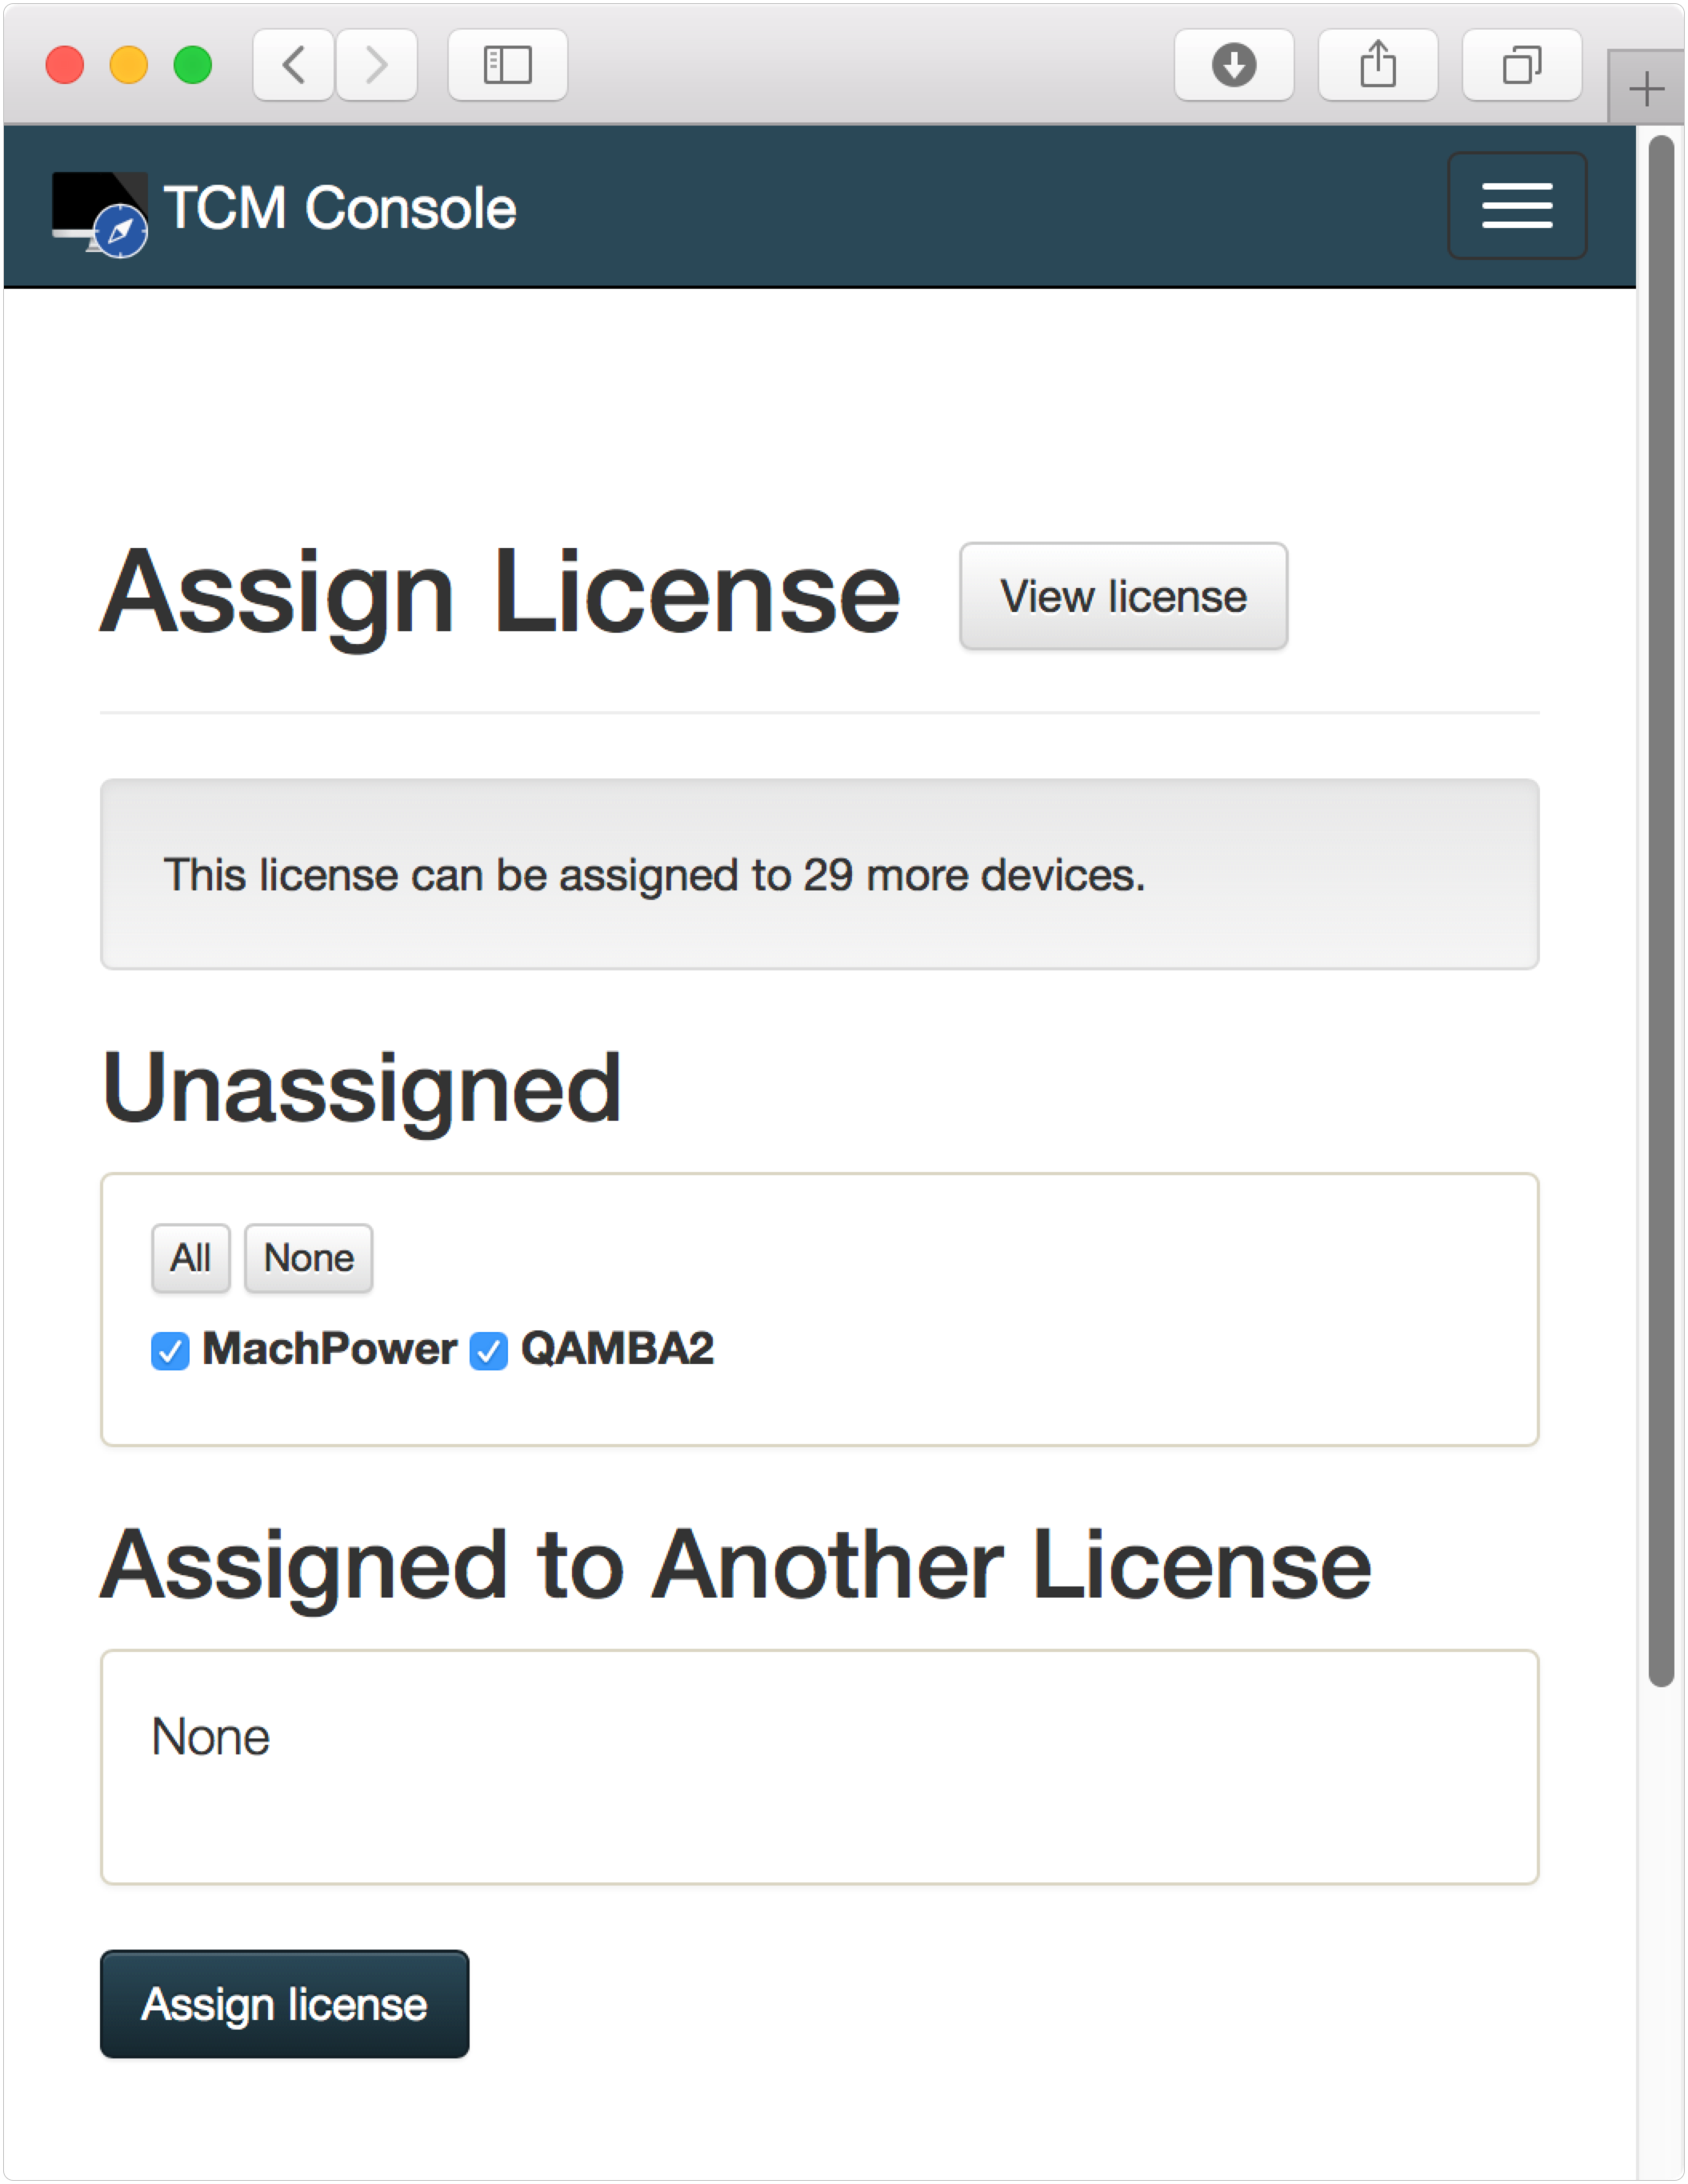
Click the checkboxes next to the clients you want to license, and click Assign license to confirm.
Window should be expanded to display web app menu bar
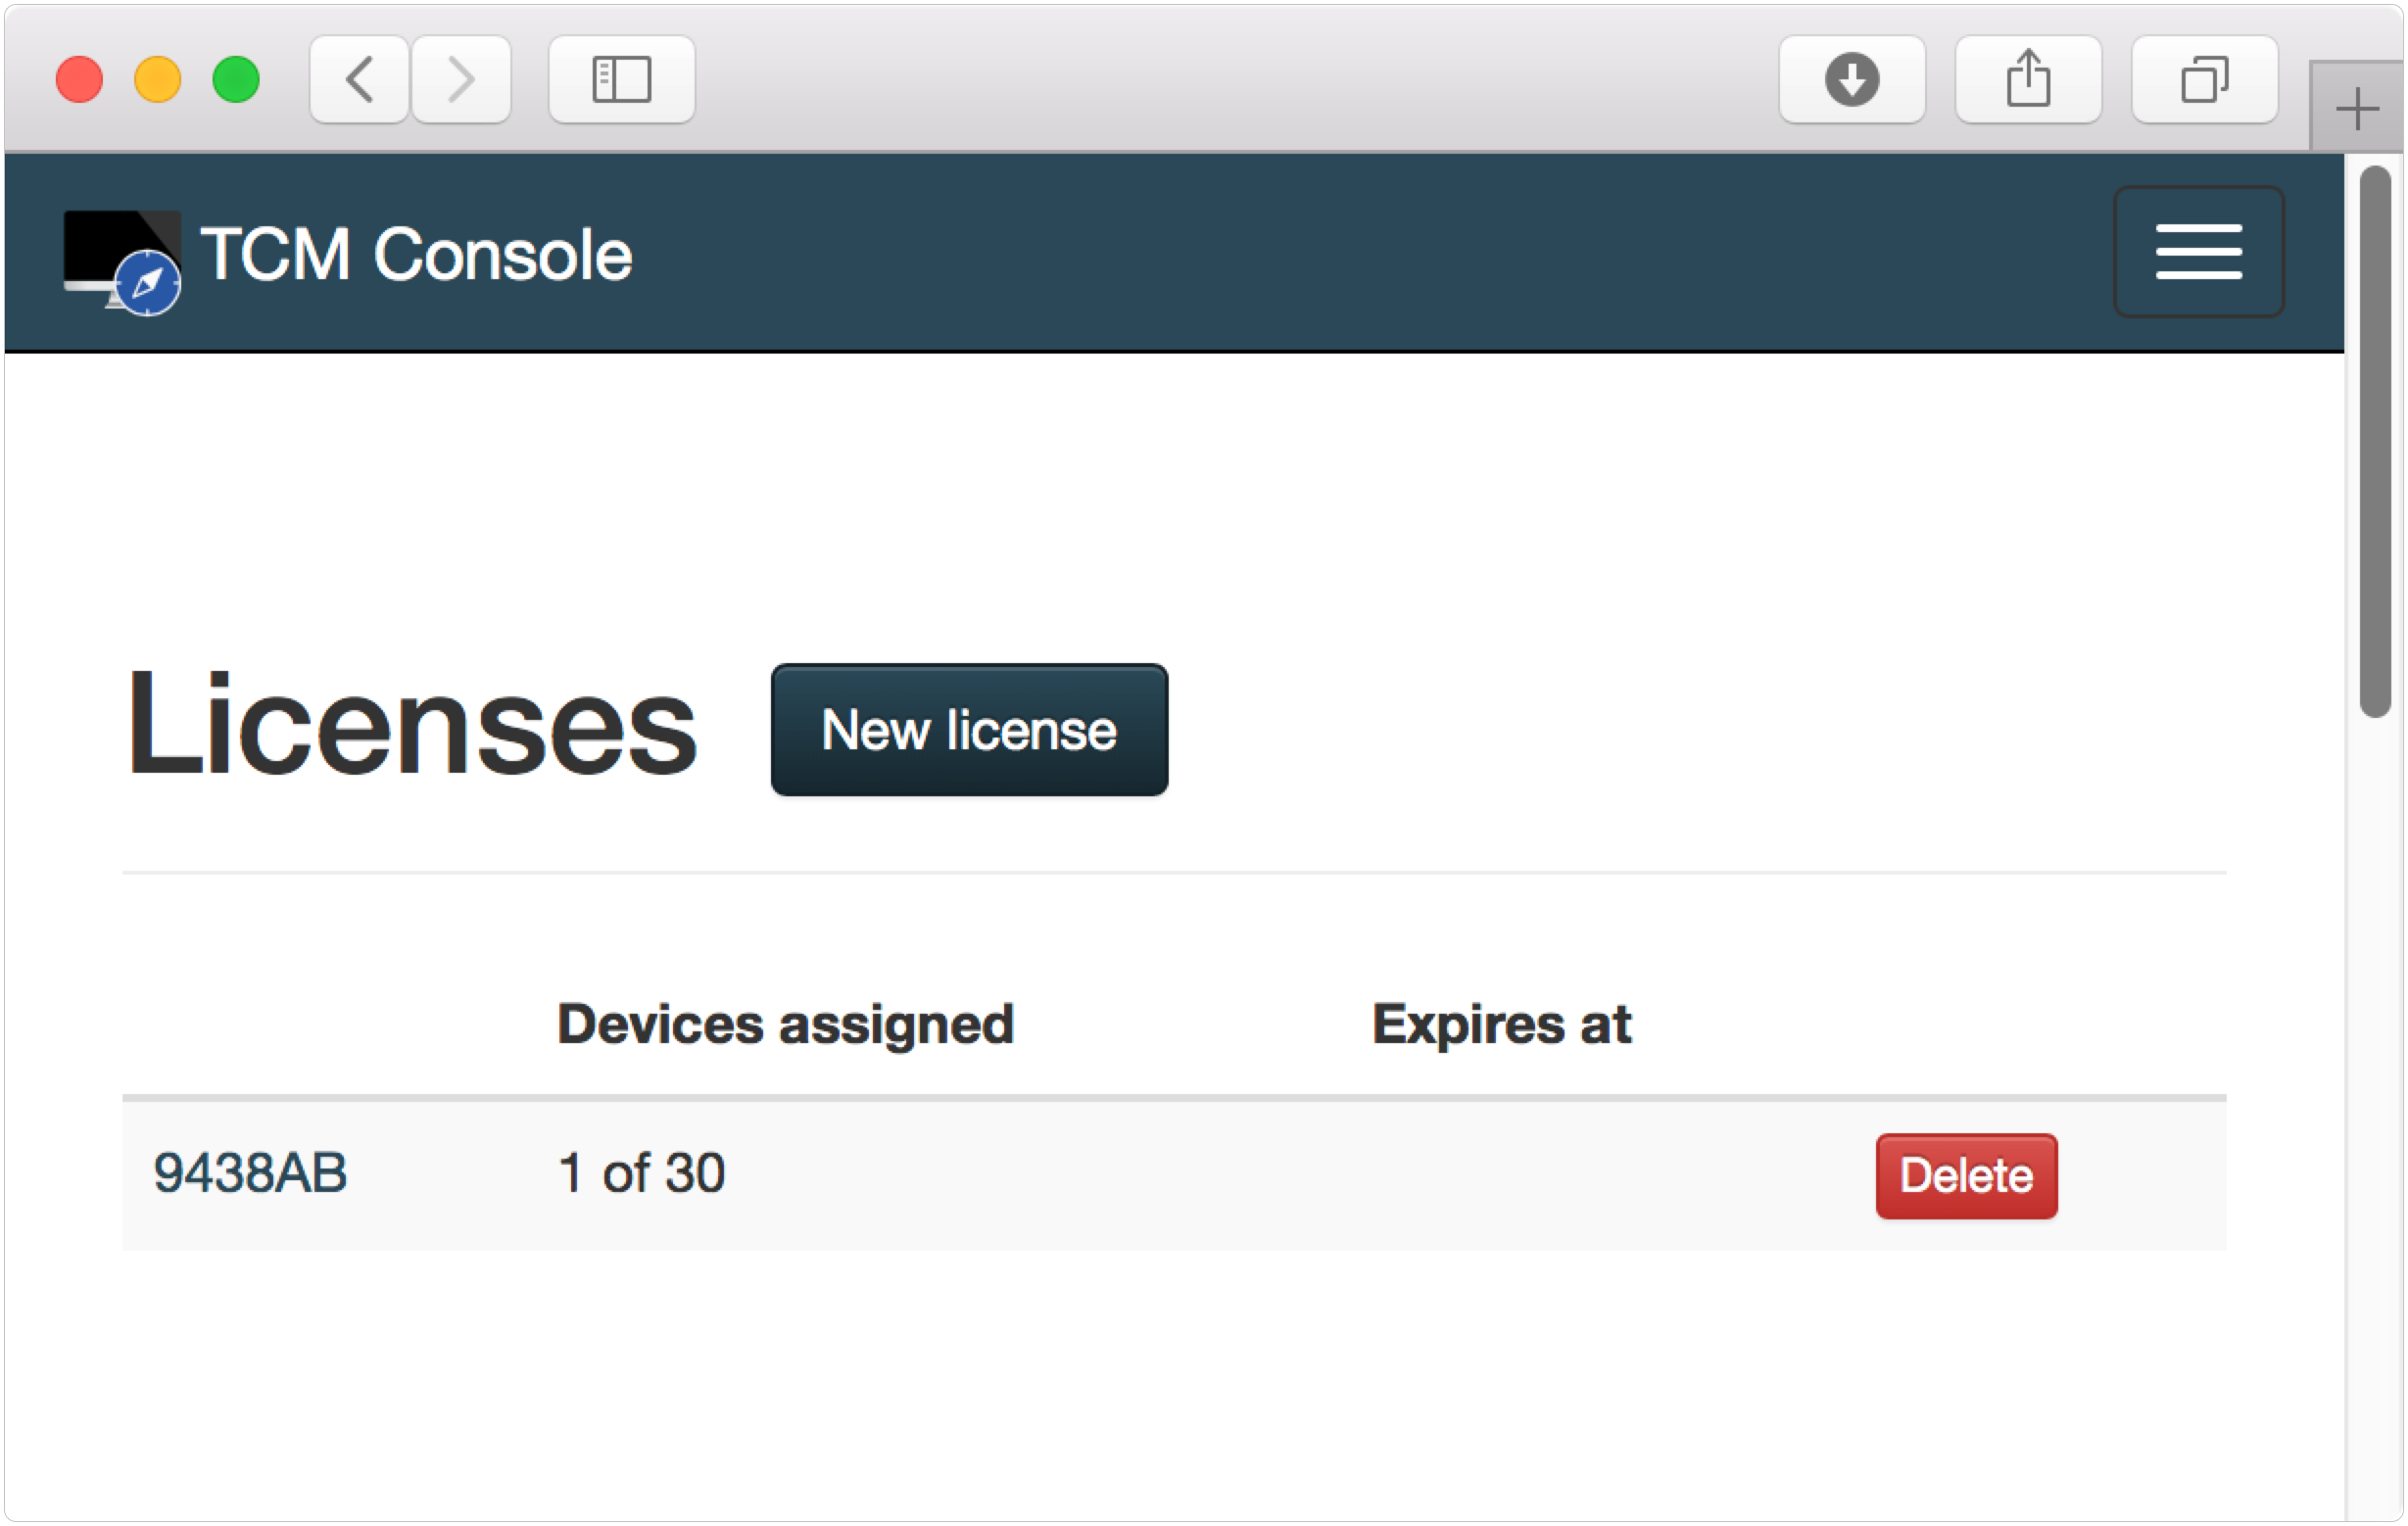
The Licenses screen will display how many licenses are available to assign to other clients.
Window should be expanded to display web app menu bar
Usage
Device Control
Once your client and server are configured and licensed, you can send commands to the clients using the web application. Here’s an overview of the commands available.
- Lock Screen – Starts the screensaver on the client. If the Mac has security setting to require a username once the scrensaver is shown, then the user will have to log in with their password to return to the desktop.
- Open Application – Launches an Application at a given path.
If specify a simple name–for example, ’TextEdit”–the client will look for a package called /Applications/TextEdit.app
If your application is not directly in the /Applications folder, you can specify the whole path. For example: /Applications/Adobe Lightroom/Adobe Lightroom.app
Open Application requires a logged in user, and cannot be at the login window.
- Open Web Page – Opens Web Page in the default web browser.
Open Web Page requires a logged in user, and cannot be at the login window.
- Reboot – Reboots to computer immediately without saving any user data.
- Reboot to Disk – Reboots to a selected disk. Useful in conjunction with Boot Runner.
- Screen Shot – Captures a screenshot of the client and sends it to the admin.
- Send Unix Command – Execute an arbitrary UNIX command. Commands are executed via the Bash shell, and should respect variables such as $HOME.
- Show Message – Display a message overlaying the users display.
Show Message requires a logged in user, and cannot be at the login window.
Advanced Setup
Limiting User Access
The user system in TCM allows for a creating users with different levels of privilege for administering specific computers. For example, suppose you want to manage two labs: the Graphic Design lab and the Computer Science Lab. The two labs have computers set up in different system configuration and their own set of applications.
You could set up TCM with the following permissions:
- Computers in the Graphic Design Lab can be managed only by the faculty of the Art Department.
- Art Department faculty sees a group of commands that are tailored the the applications and capabilities of the computers in the Graphic Design Lab
- Computers in the Computer Science Lab can be managed by the faculty of the Math department.
- Math Department faculty sees a group of commands that are tailored the the applications and capabilities of the computers in the Graphic Design Lab
- IT Department members can manage both sets of computers, and have access to additional commands that let them runs scripts for installing software.
Adding Users
The initial account you create in TCM is the account owner. The account owner has the privilege to create additional users: either standard users, or limited users. In the example below the admin as created two users: a standard user called johnny ivyseed, and a limited user called phil shilinbachker.
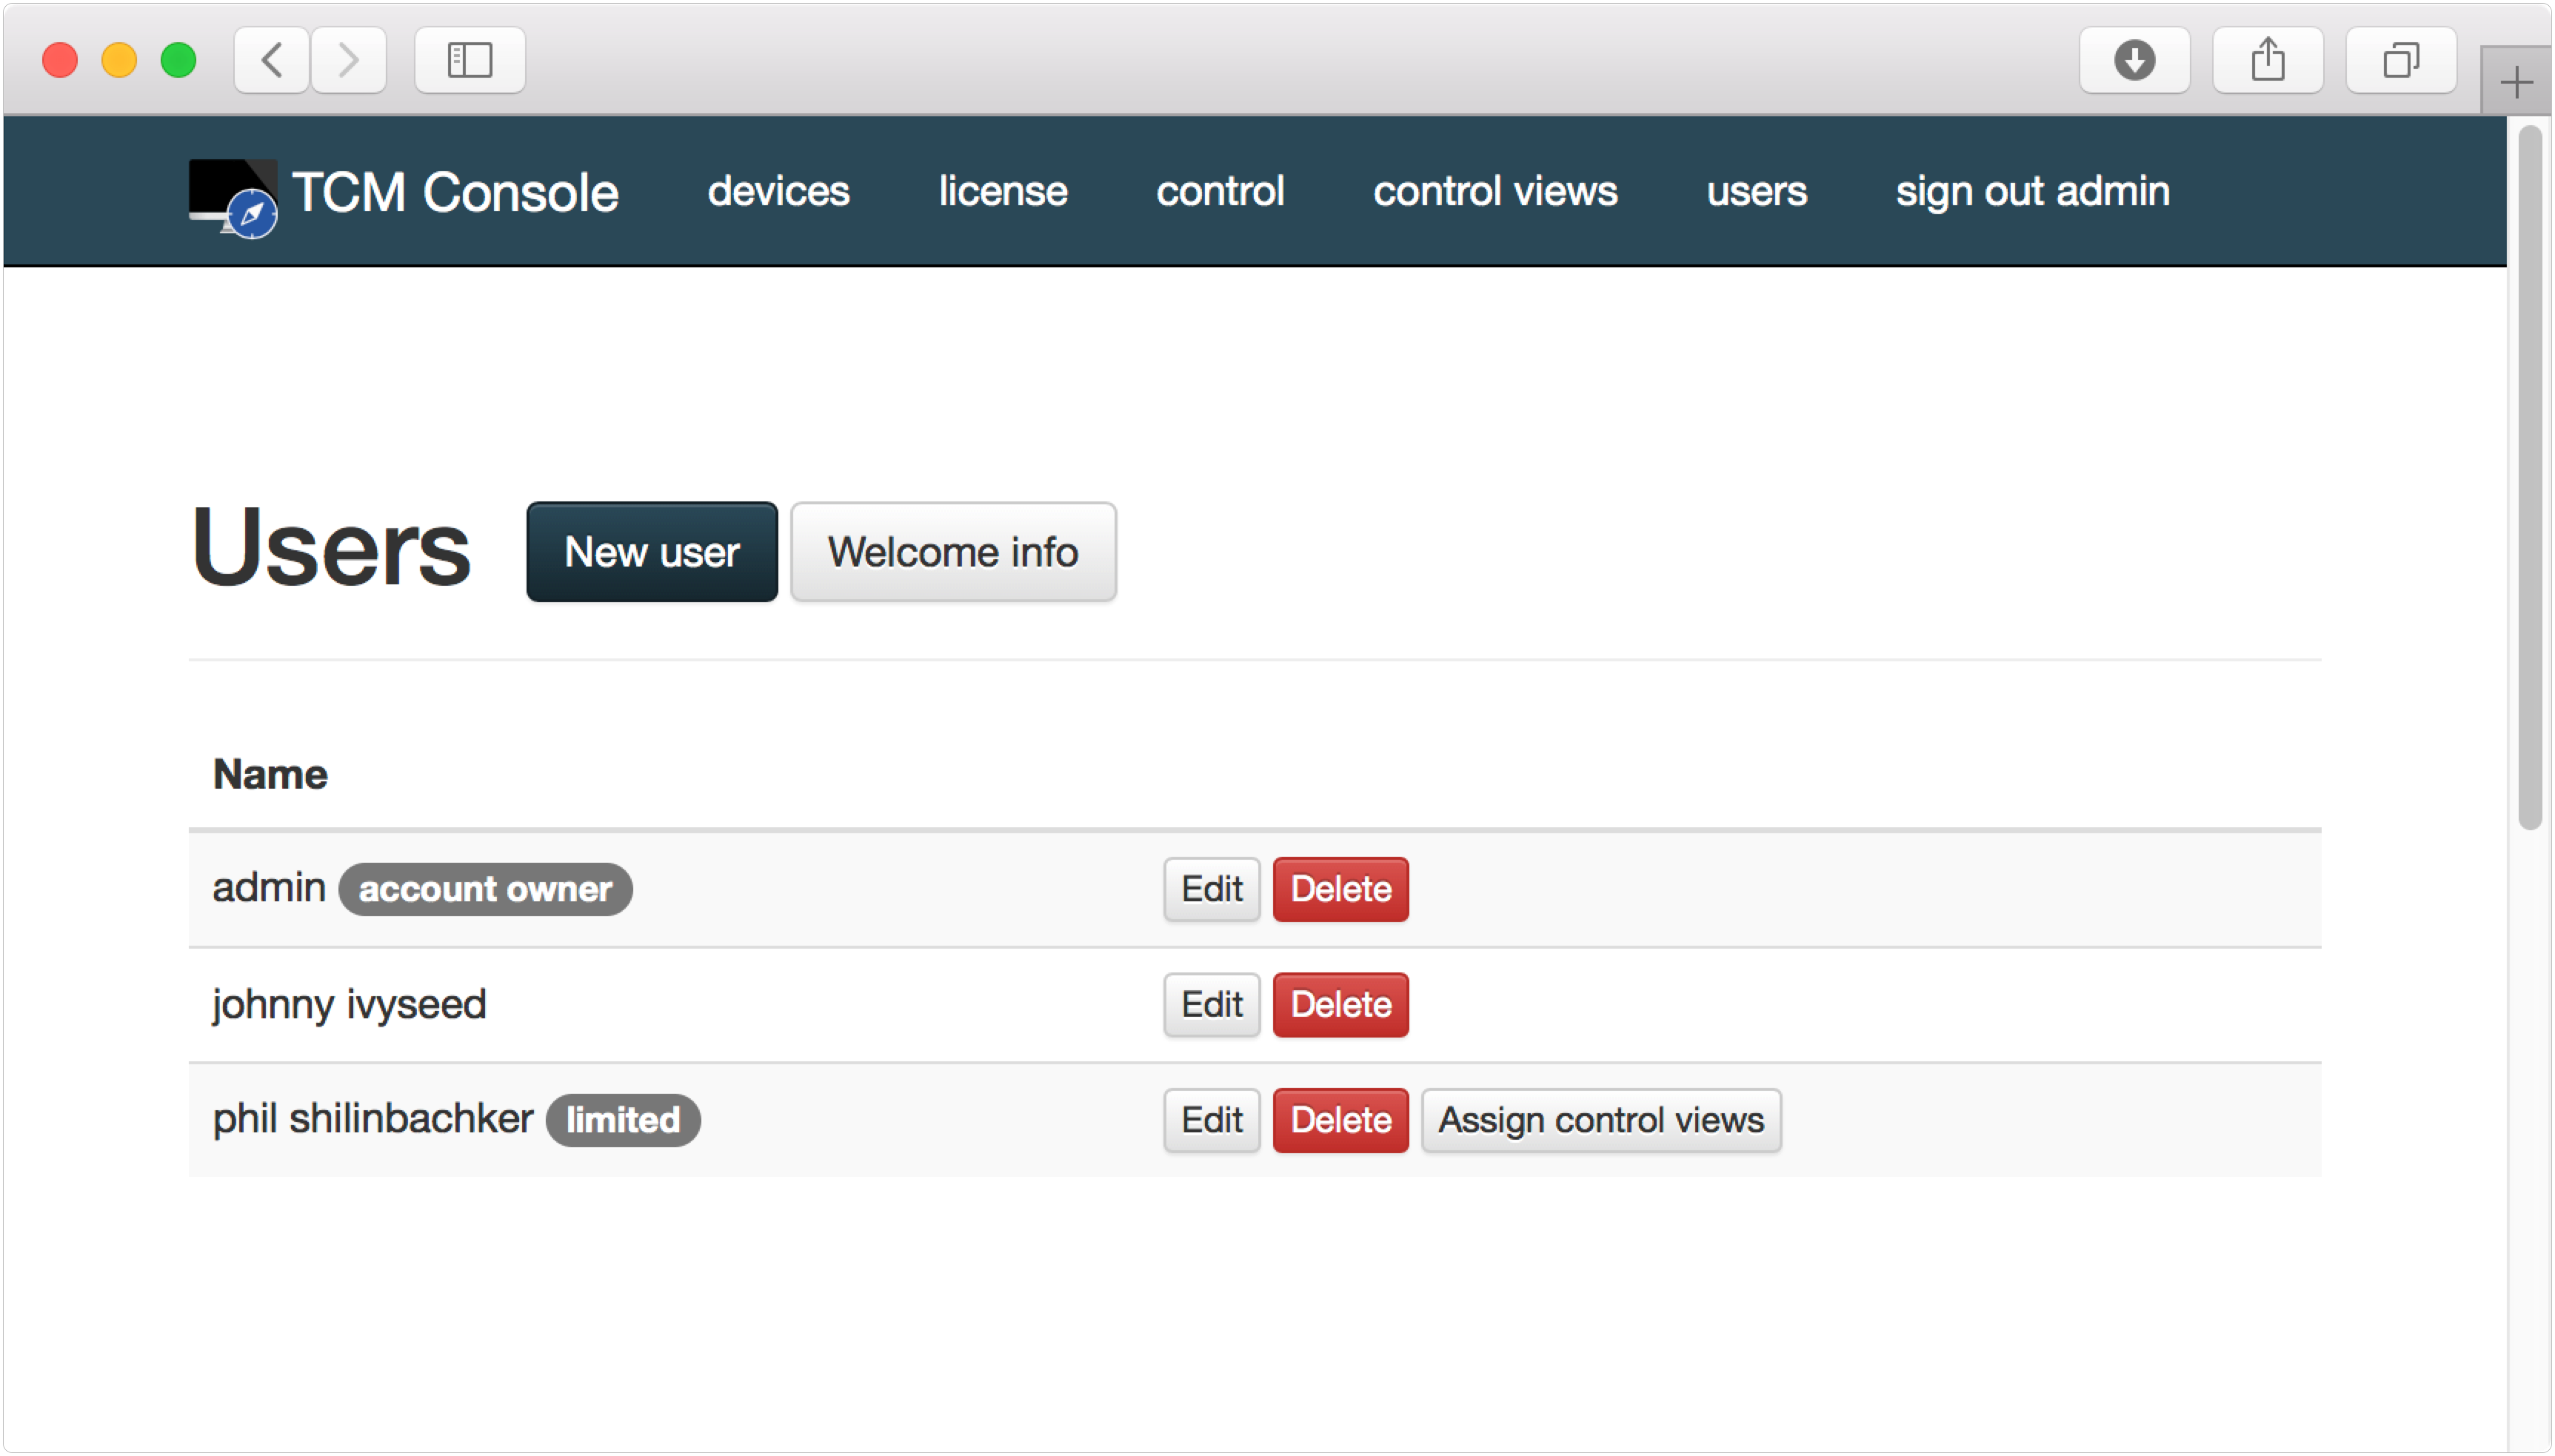
Standard users cannot create additional users, but they have the ability to send any command to any connected client. Limited users can be limited to a subset of commands and a subset of clients.
Limited users must be given access to computers and commands using Control Views.
Control Views
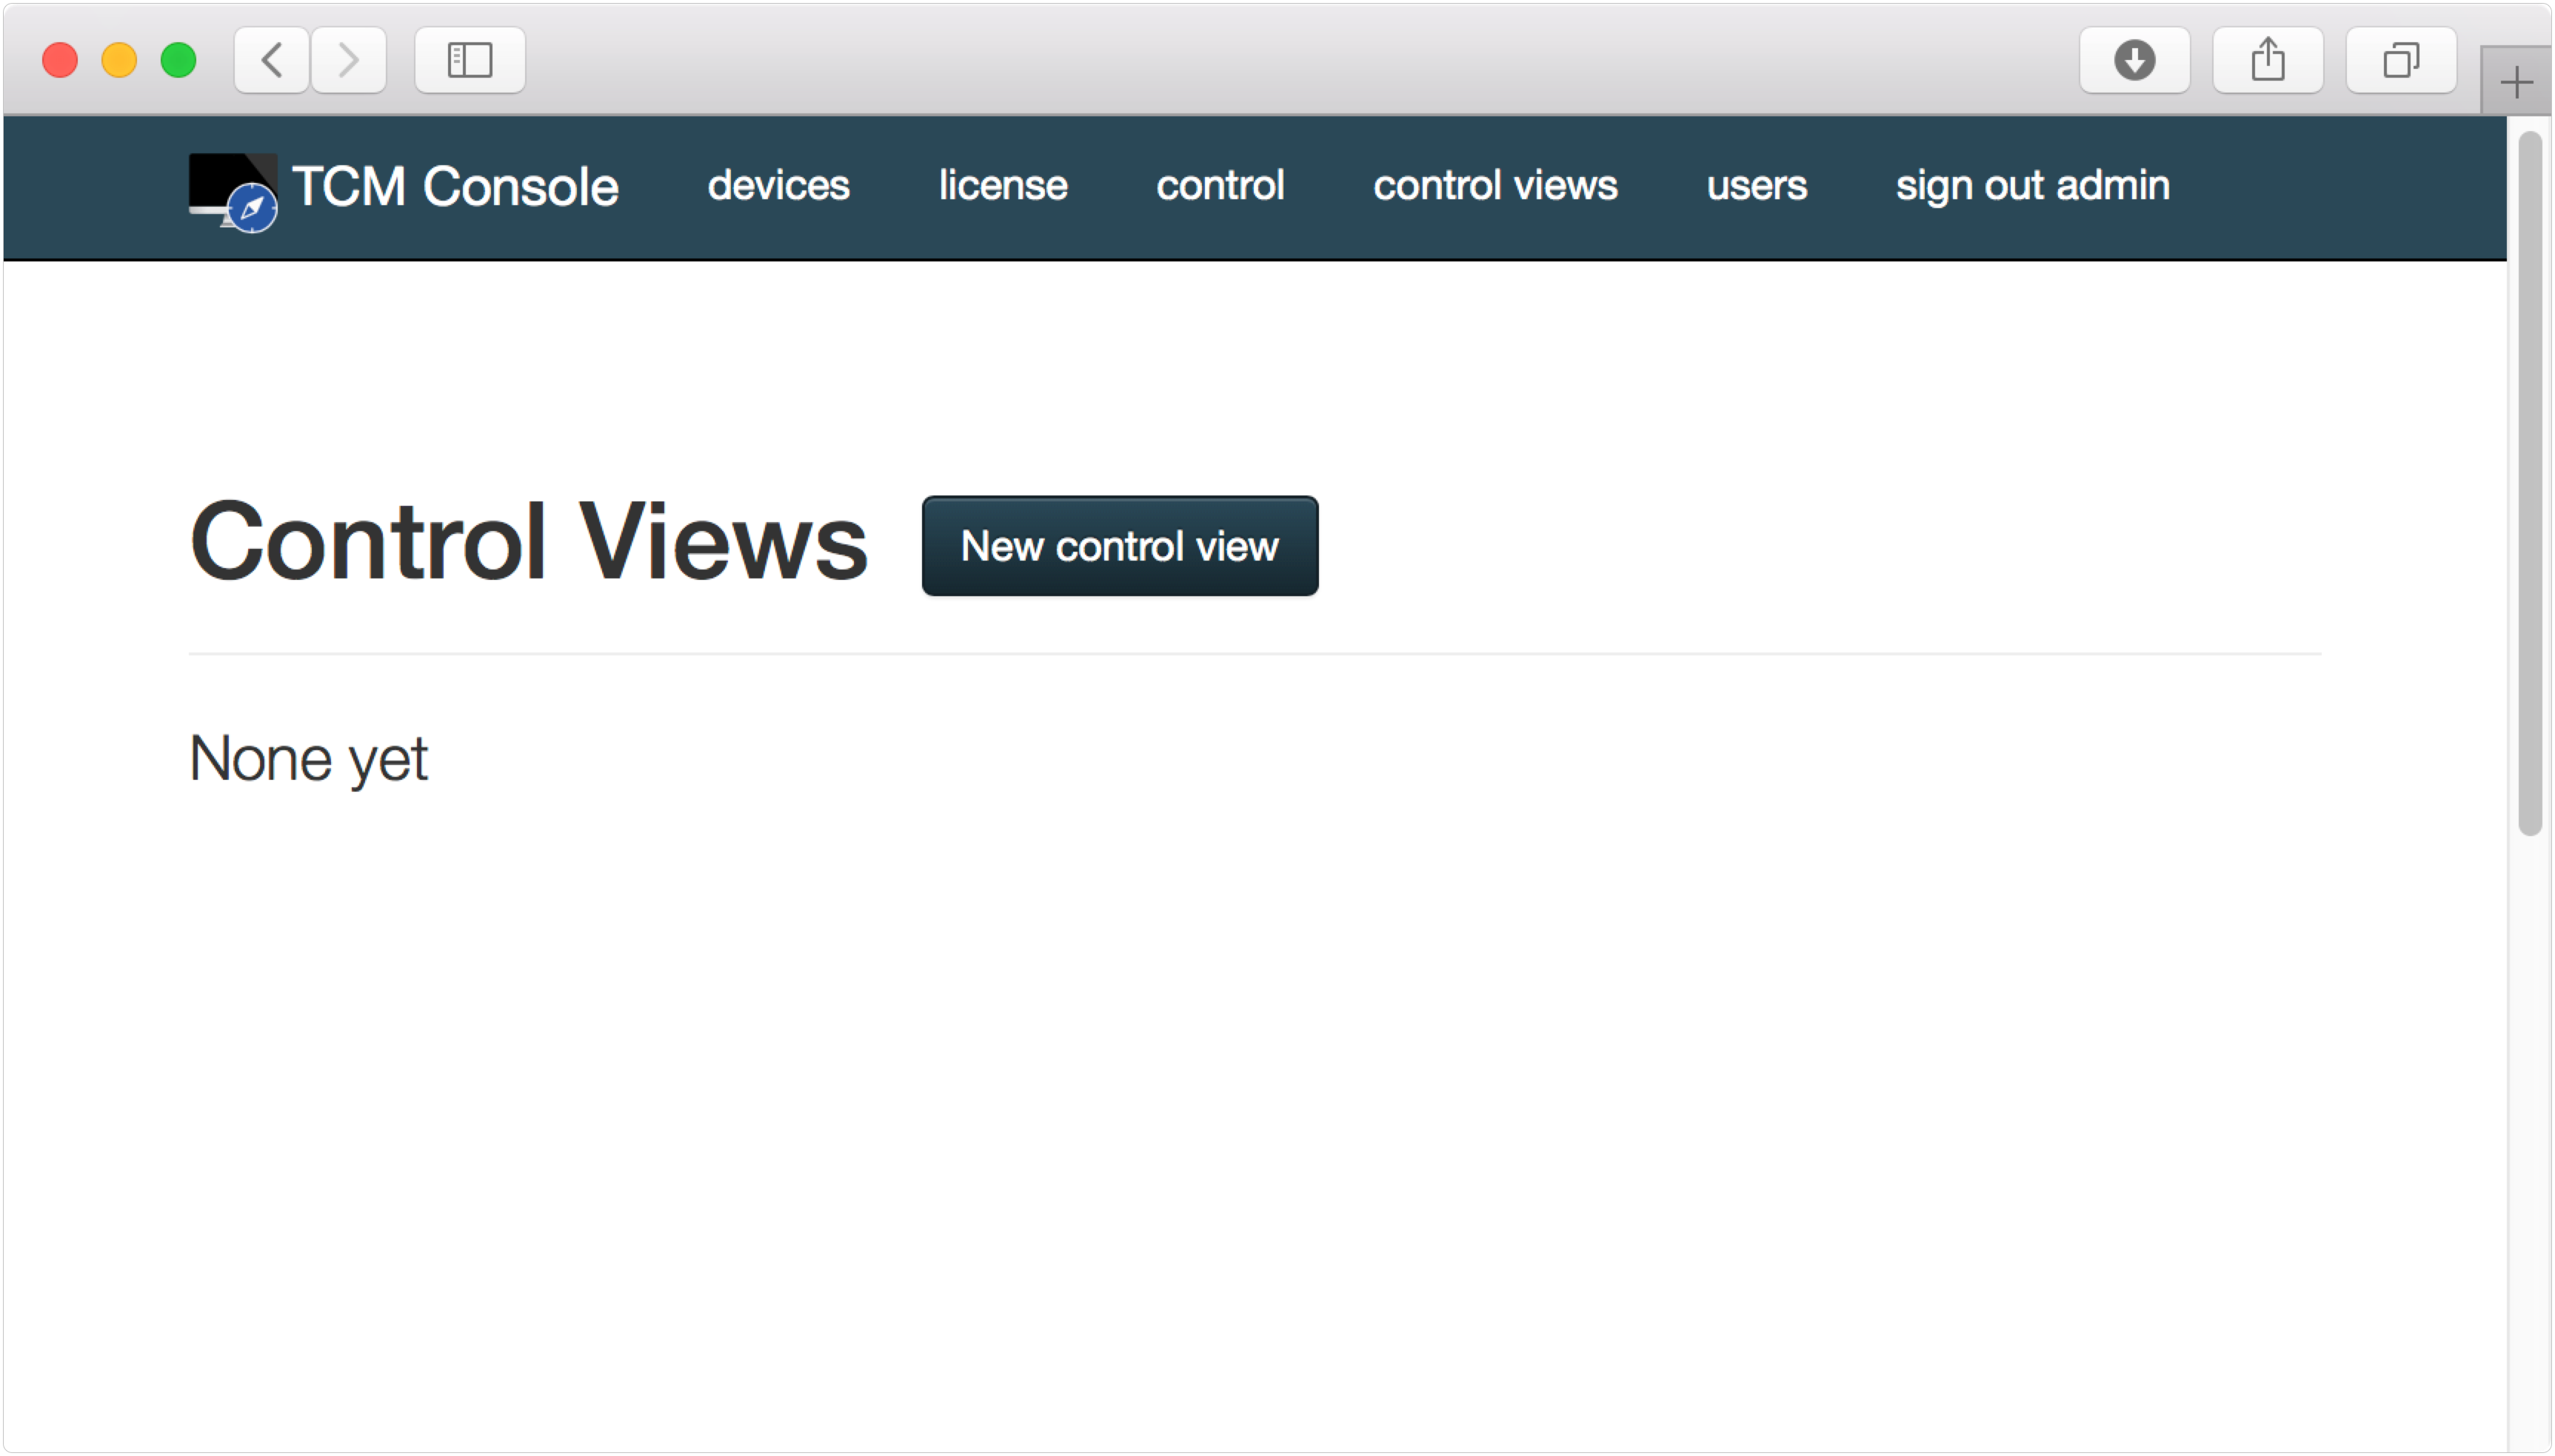
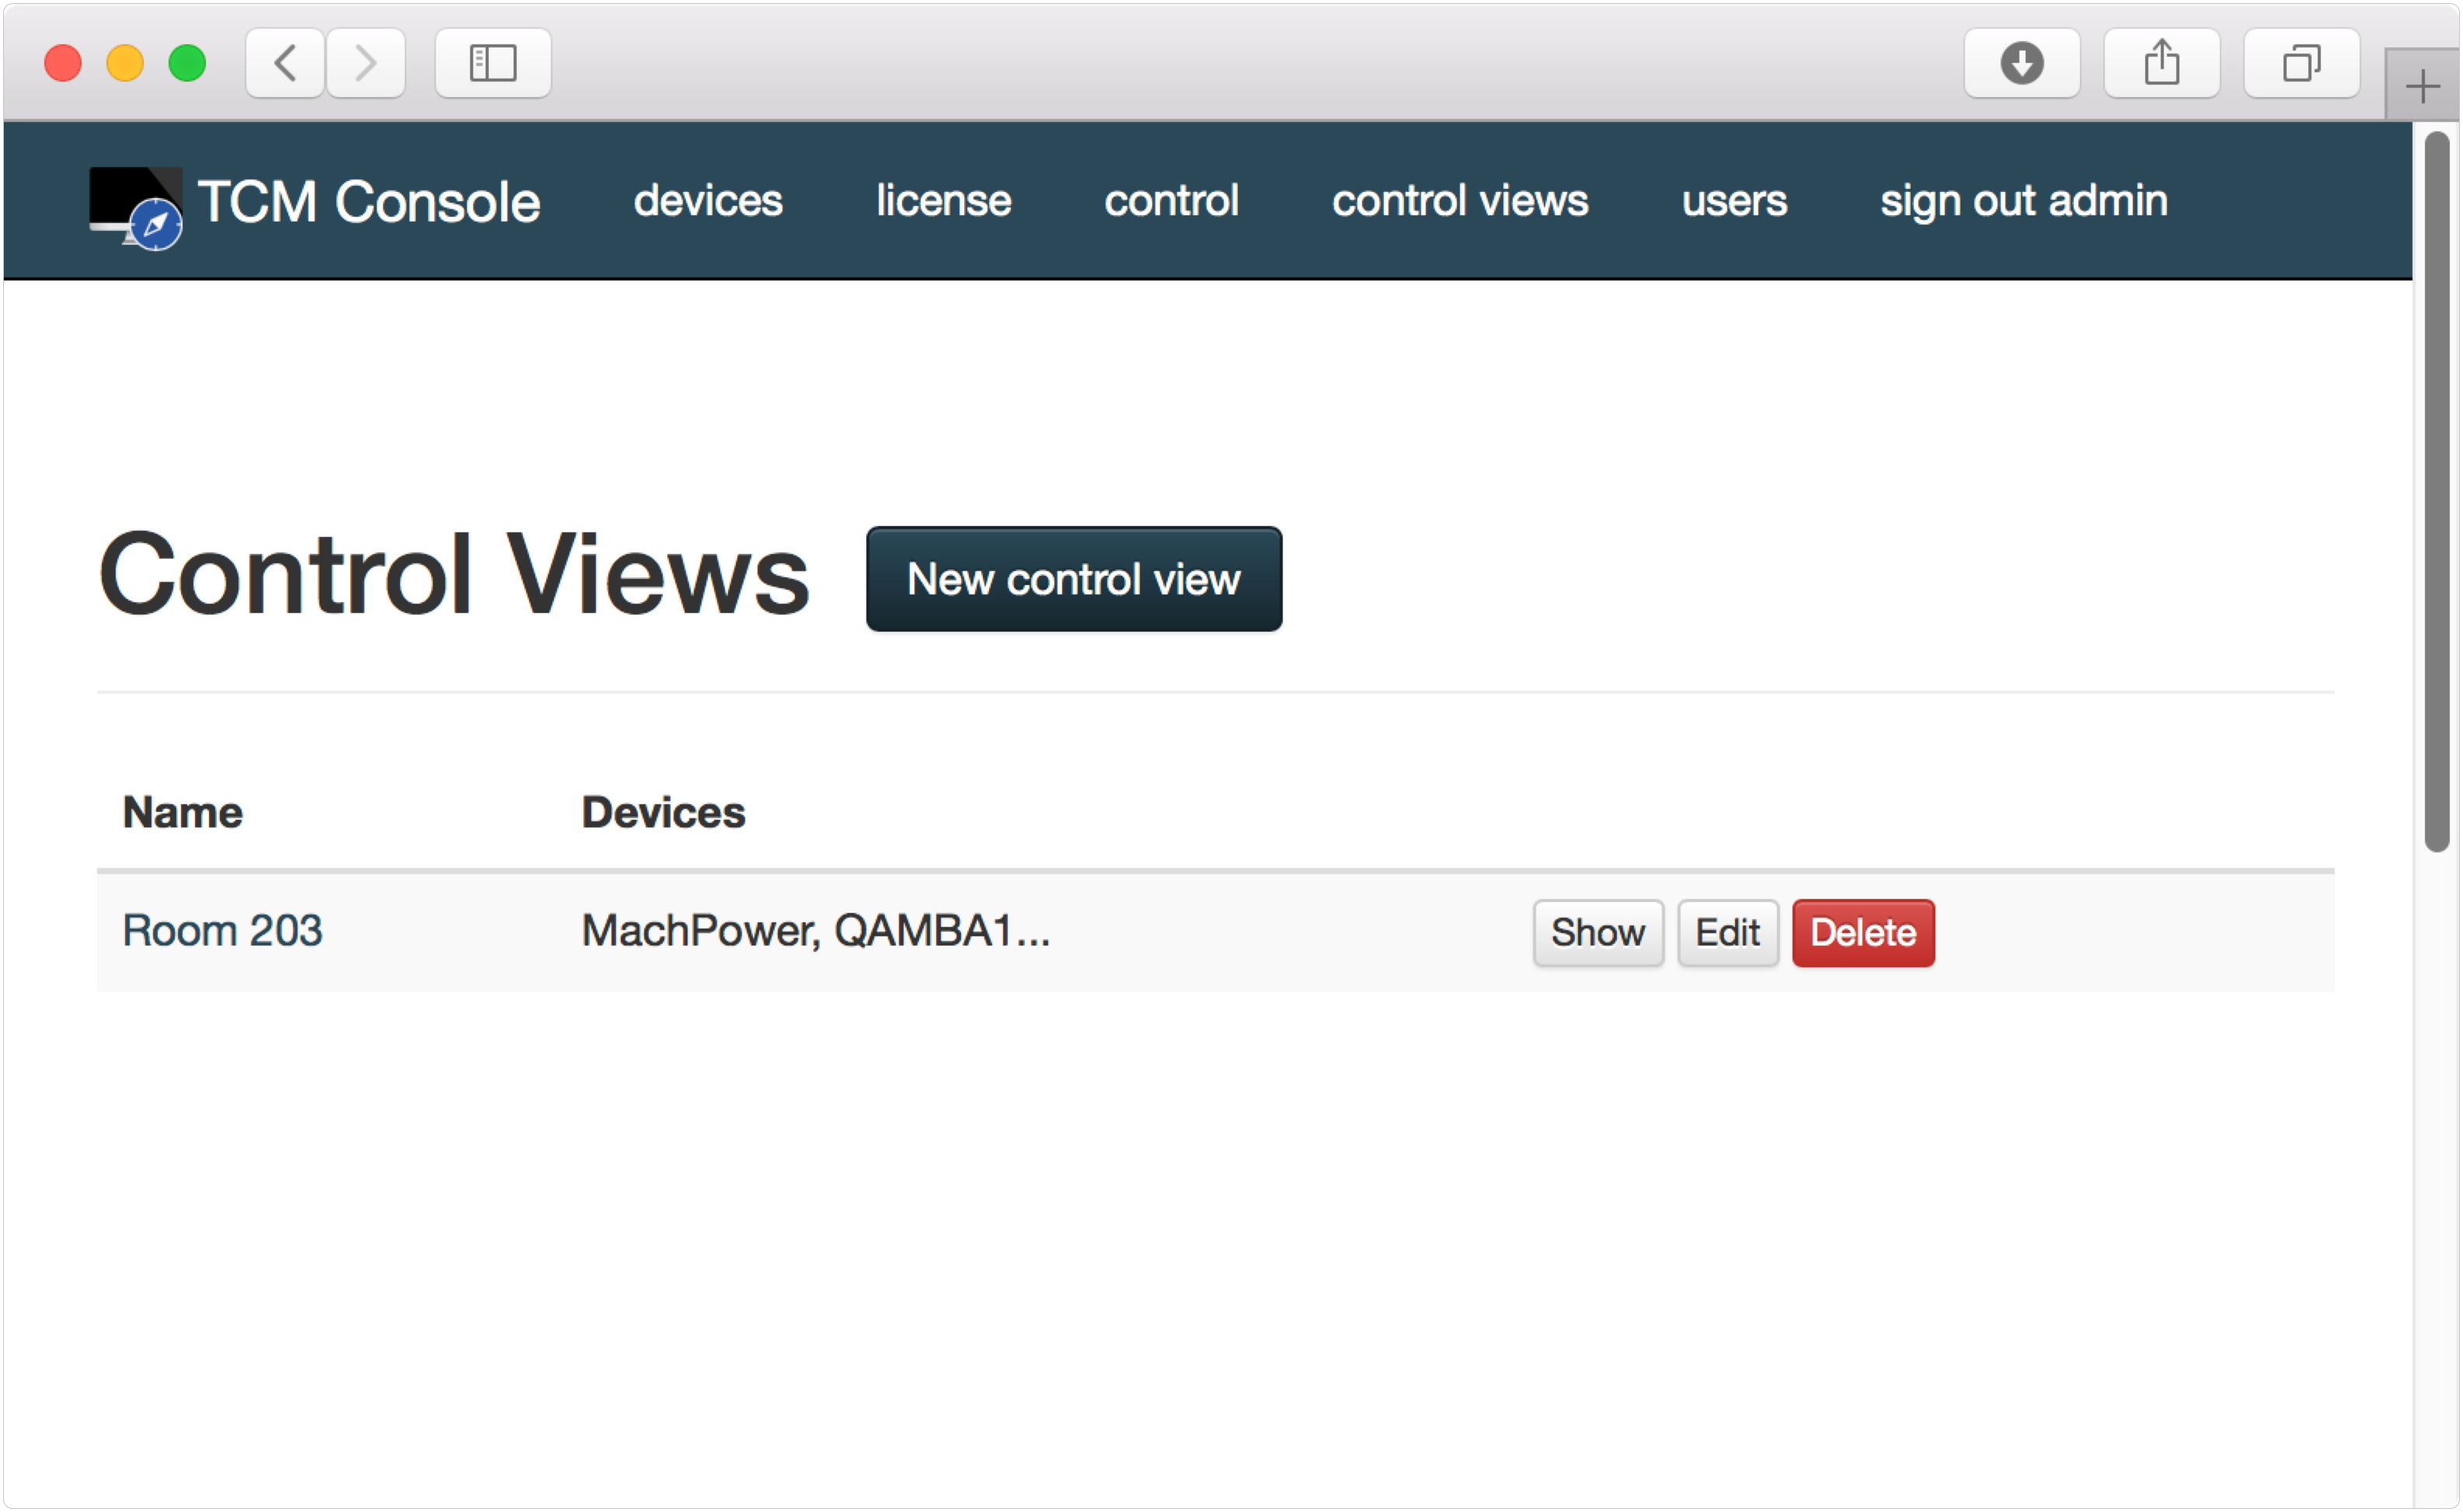
A control view is the way to assign privileges to a limited user. Click Control View in the menu bar to view configured control views. When you install TCM, there will be no control views by default, so you will see an empty list. Click New control view to create one.
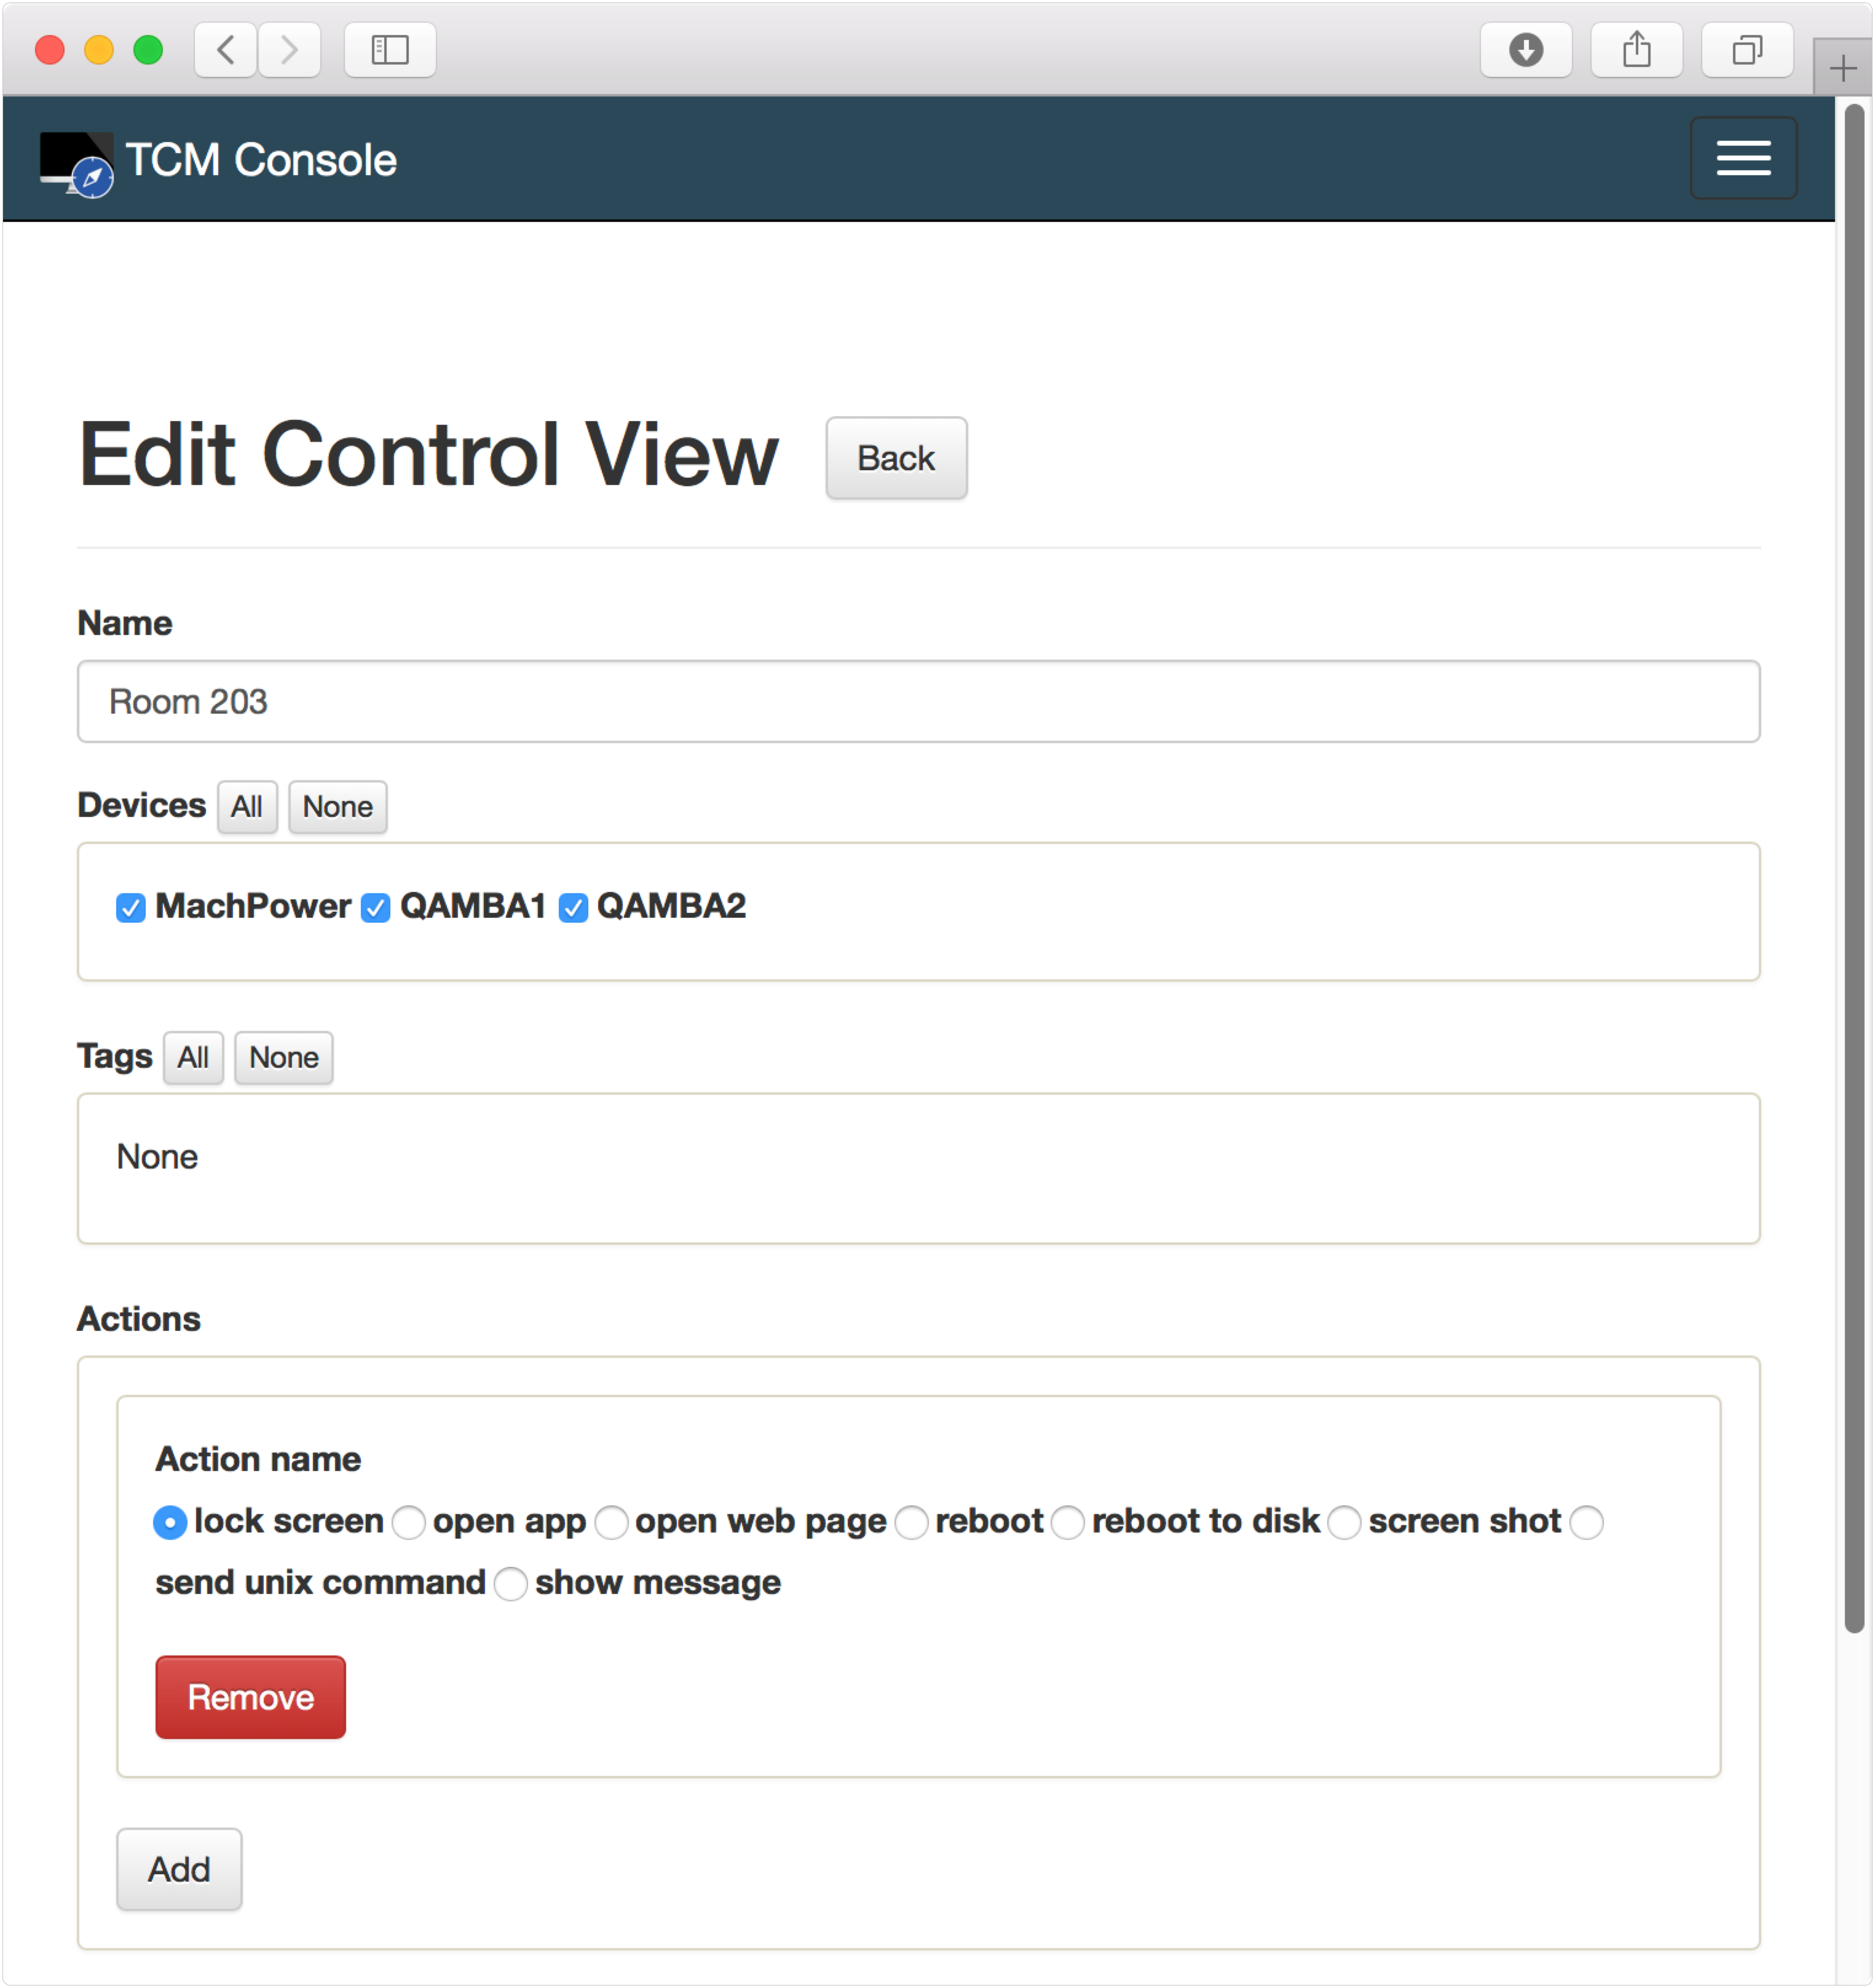
Creating a control view takes the following options:
- Name: The name of the control view, so that the administrator can refer to it later.
- Devices: Choose the client devices you want this control view to manage.
- Tags: Use tags on a control view to include devices with a matching tag.
- Actions: Choose one or more actions to assign to the control view. These are the only actions members of this view will be able to send to the selected devices.
Screencap below needs to be “New” instead of “Edit”
Window should be expanded to display web app menu bar
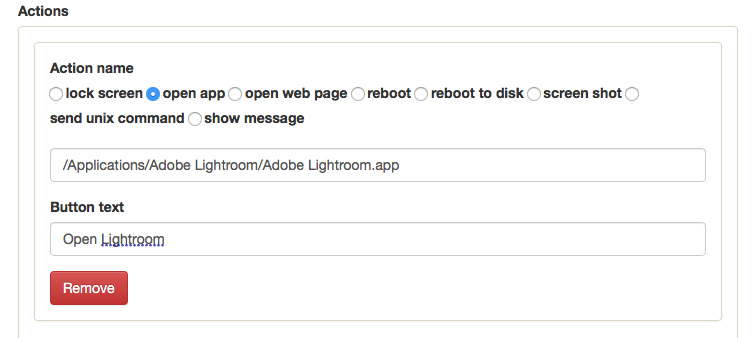
You can configure an action to be as specific as you need. Below we have configured the open app command to open a specific application. This frees the user from knowing exactly where the application binary is located. It also has the effect of preventing the user from opening any arbitrary binary path.
I am leaving the original screenshot here because it reflects the actual location of Lightroom.
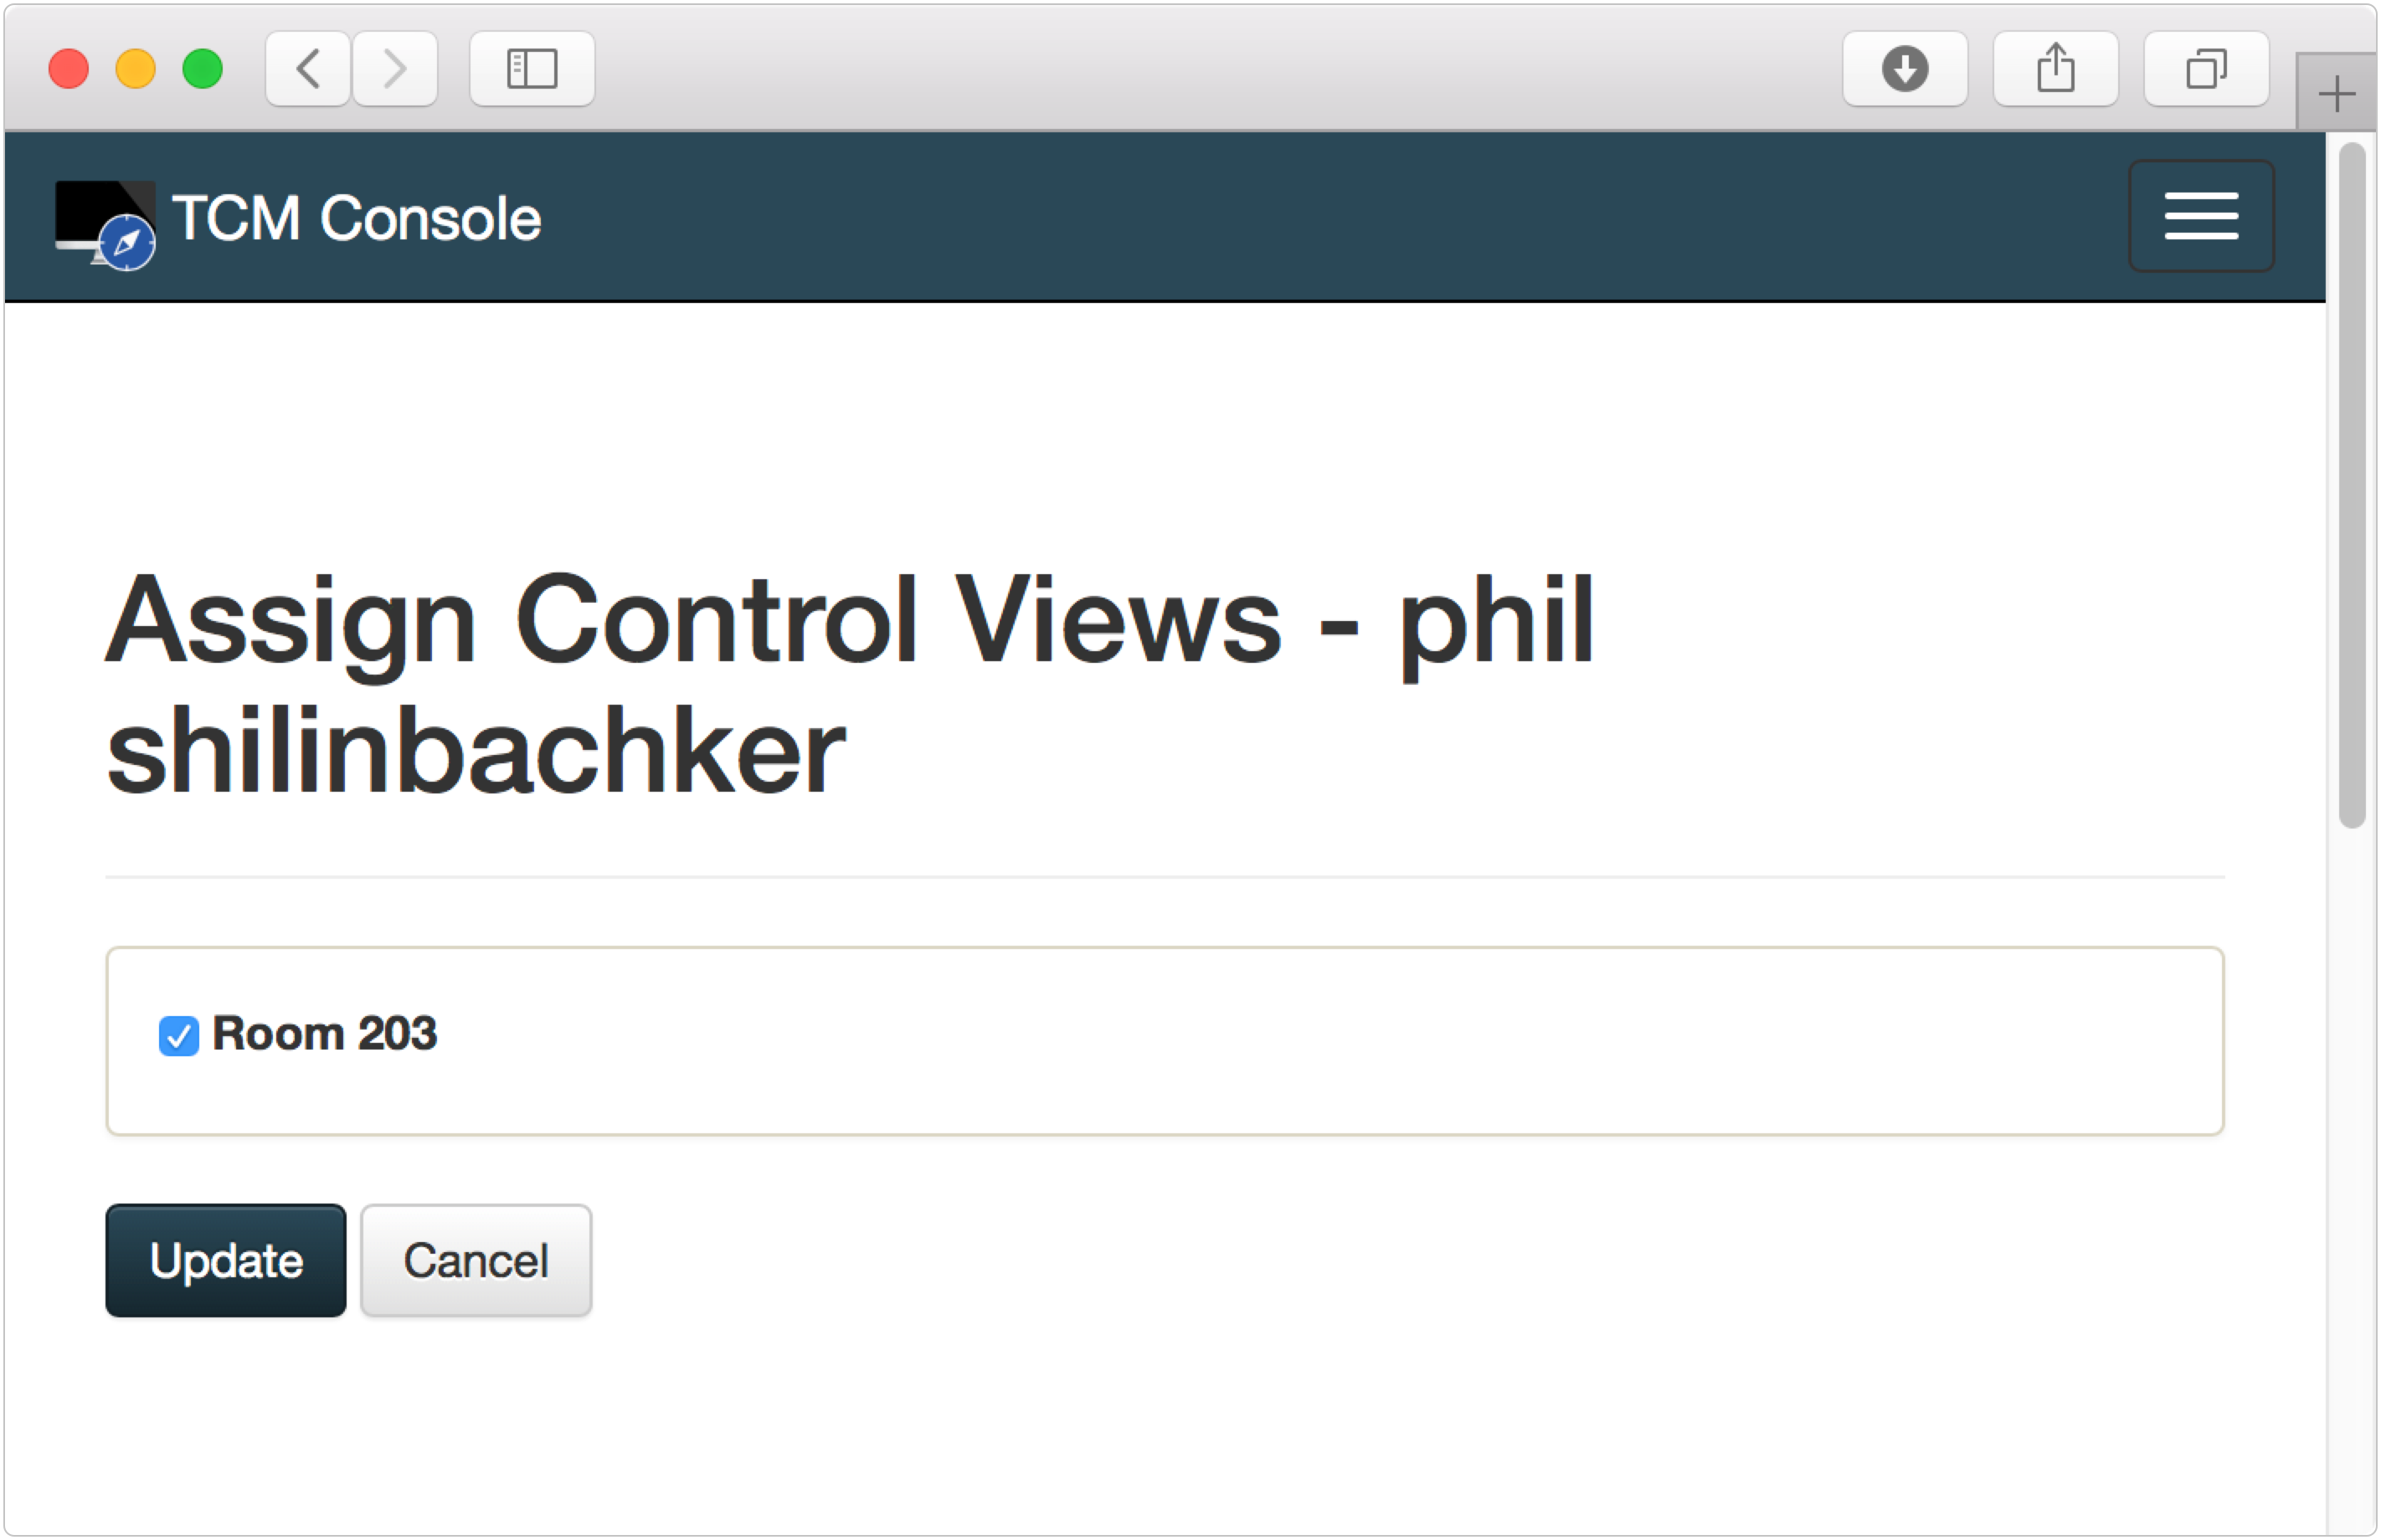
Once your control view is created, click users in the top menu bar to show the user list. Limited users will have a button to “Assign control views.” Click assign control view to see a list of available control views.

Select the control views you want to grant access to the selected user, and click Update.
When a limited user logs in, she will be able to chose from the available assigned control views. Note that the control menu item in the web application is not shown.
Screenshot is not of a limited user — control menu items is visible
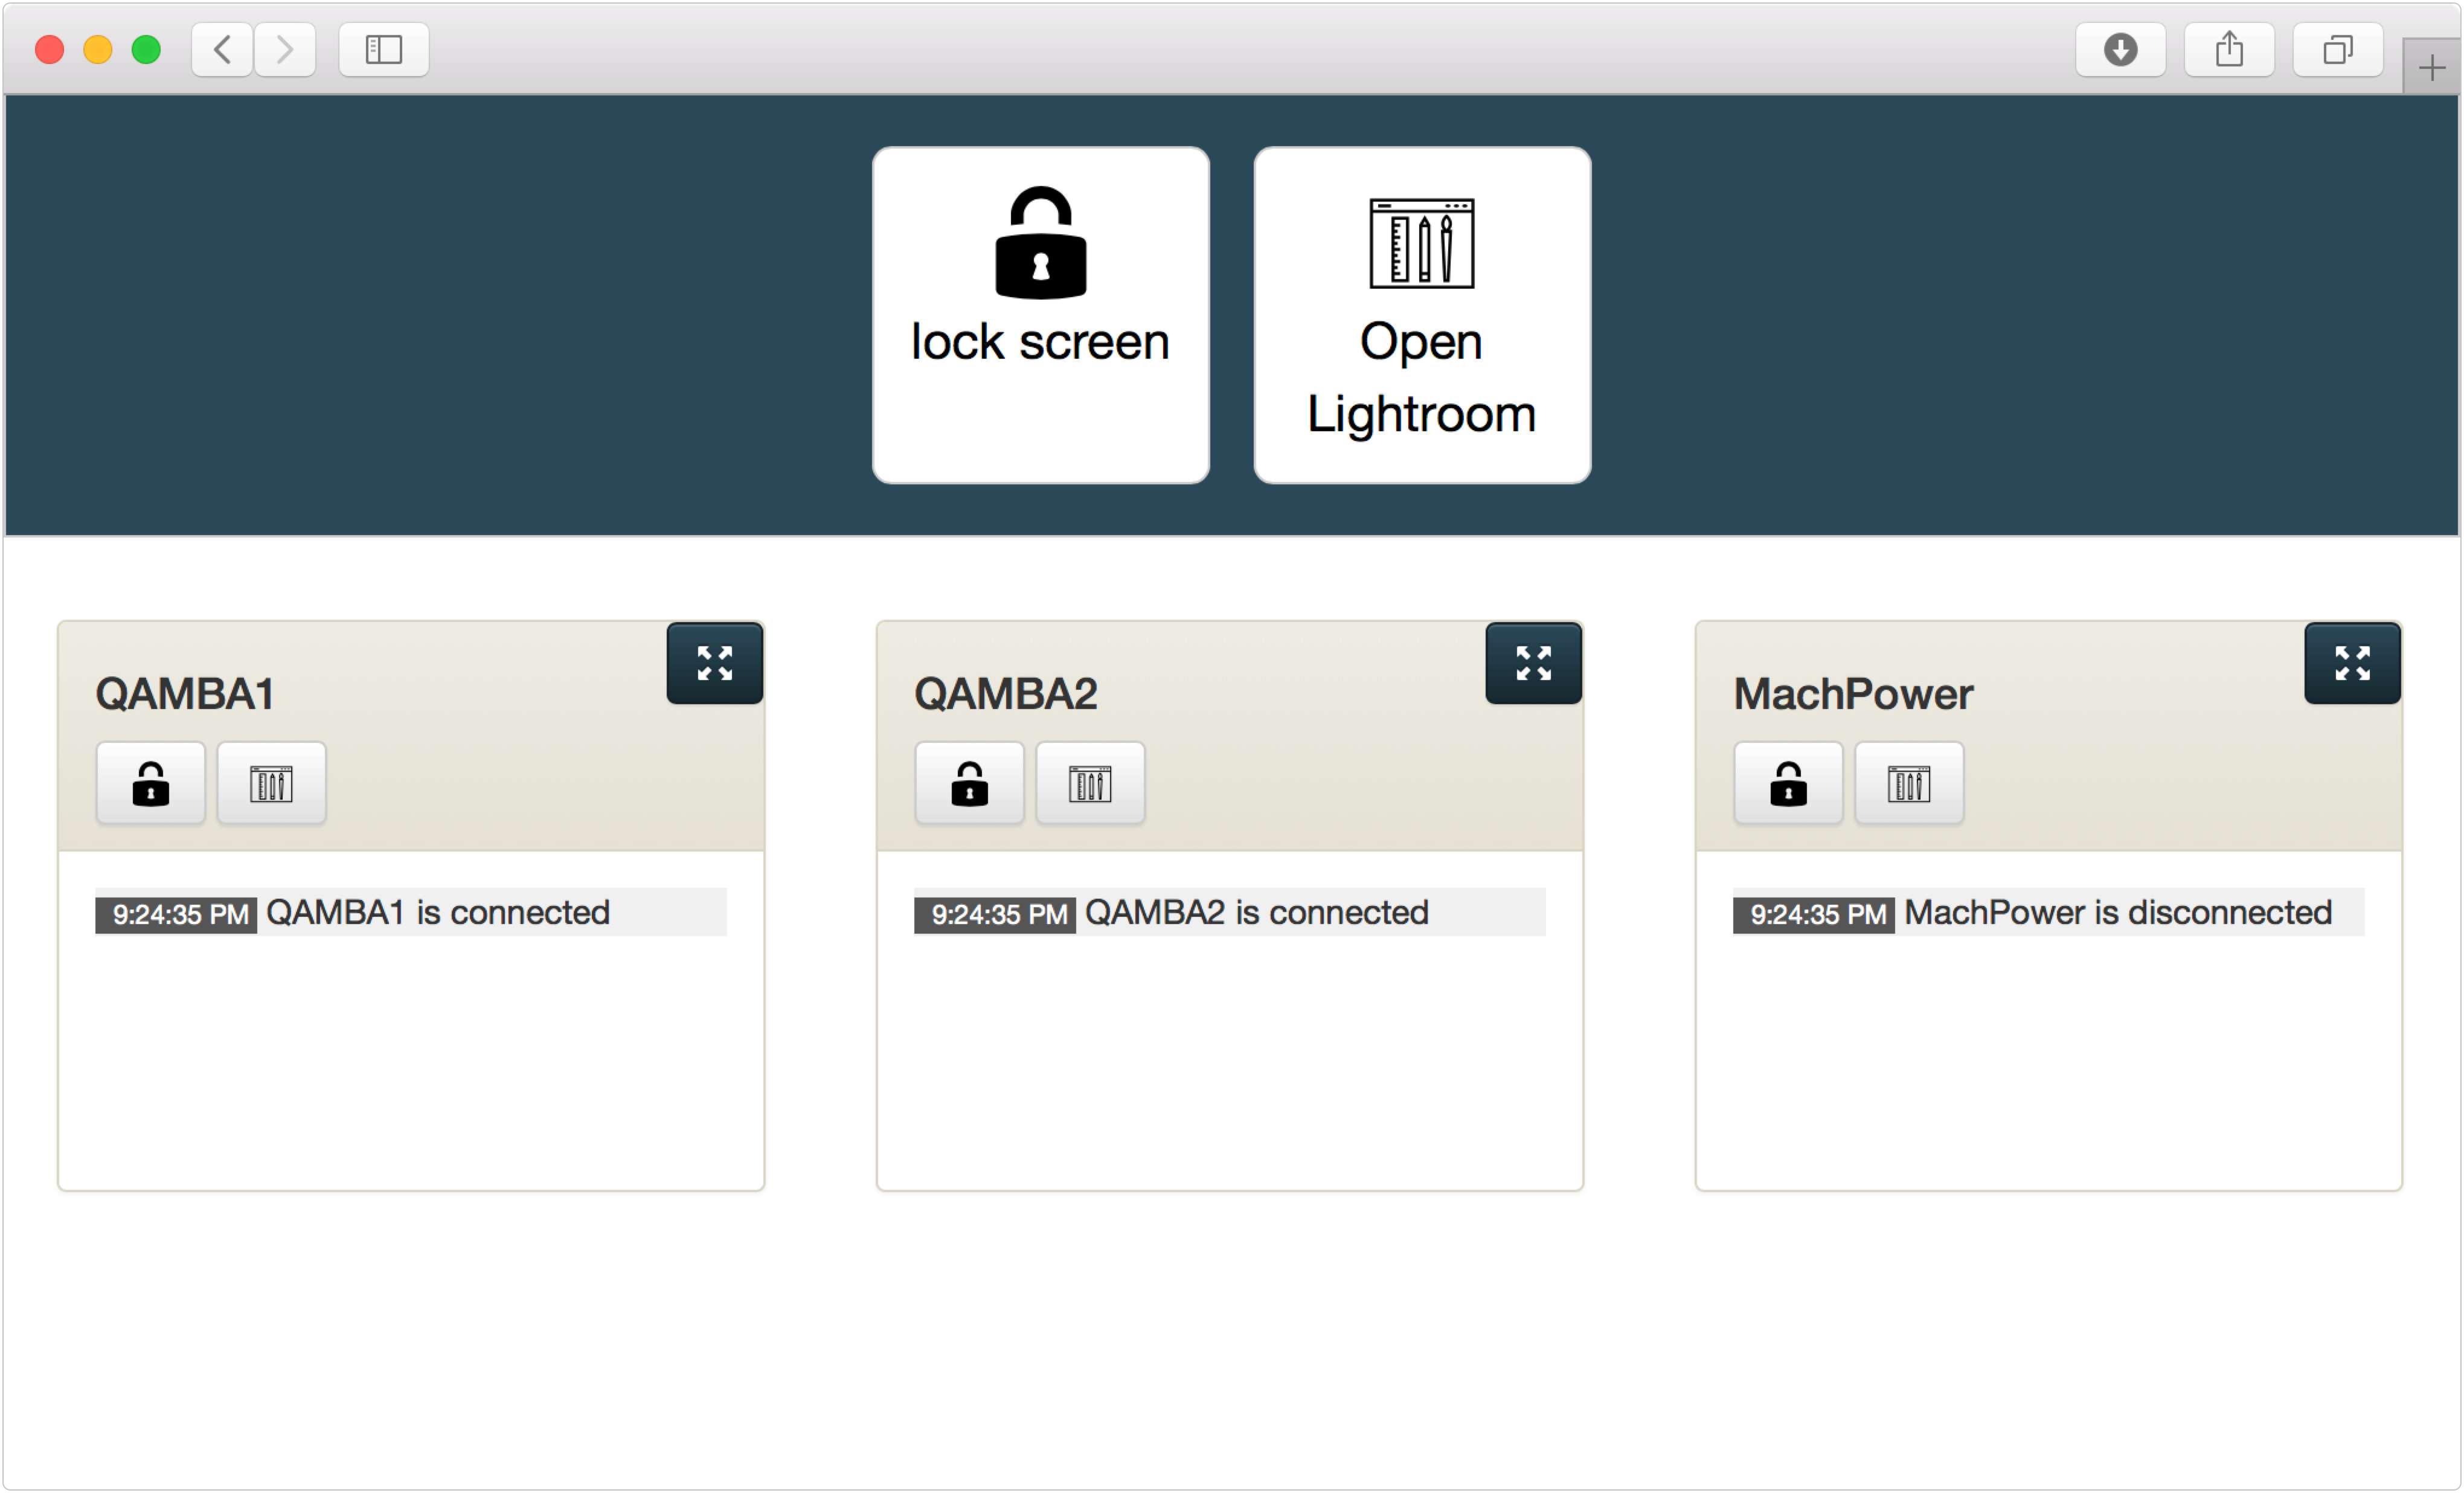
When a limited user clicks on an available control view, she will see buttons for the actions that the administrator has configured in the control view. Below that will be a list of clients that are available for the control view. The limited user can easily send the configured commands to all computers using the buttons on the top, or to individual computers using the small buttons inside the client display area.
Using Your Own SSL Certificates
TCM creates and accepts self-signed SSL certificates for ease of deployment in small environments. If you have valid certificates in your environment, TCM can take advantage of them.
If you are going to use your own certificates, you should set up the certificate before binding the client. If your client is already bound, unbind it and bind again once the certificate is installed. The binding process for a self-signed certificate saves the certificate found during the binding process.
TCM server uses the certificate in /Library/Application Support/Twocanoes/TCM Console/ssl
- server.crt – The certificate
- server.key – The private key
Additionally, clients must trust the signing authority for this certificate. If you are using an internal certificate authority, you may need install the certificate authority in the client’s keychain.
Using the command-line configuration tool
TCM Client comes with a command-line tool that can bind and unbind the client the same as the GUI application. This allows you to bind and unbind client as part of an unattended workflow, such as an post-install script. The command line binary is located inside the application bundle in Contents/Resoruces. Starting the tool with no arguments will give you usage information.
Here is an example of using the command line tool tool to bind:
/Applications/Utilities/TCM\ Client/Contents/Resources/tcmconfig \
-URL https://192.168.0.100:4567 \
-username admin \
-password s3cr3t \
-devicename 'Graphics Lab 1' \
-forceTrustedCertificate YES
Here is an example of using the command line tool to unbind:
/Applications/Utilities/TCM\ Client/Contents/Resources/tcmconfig \
-unbind YES
