Smart Card Utility Desktop Reader Quick Start
Note: Your iOS device must be on iOS 16.2 or later for the Desktop Reader to work.
Update to iOS 16 or later
The Desktop Reader requires iOS 16.2 or later. To check if you have iOS 16.2 installed, see the Find the software version on your iPhone or iPad. If you do not have iOS 16.2 or later installed, see the Update your iPhone or iPad article to update your device to the latest version of iOS.
In order to get up and running to authenticate to a website, there is some setup that needs to be done.
Verify iOS Version
Verify that the Smart Card Utility version is supported on your device and check the version requirements.
Installing Root and/or Intermediate Certificates
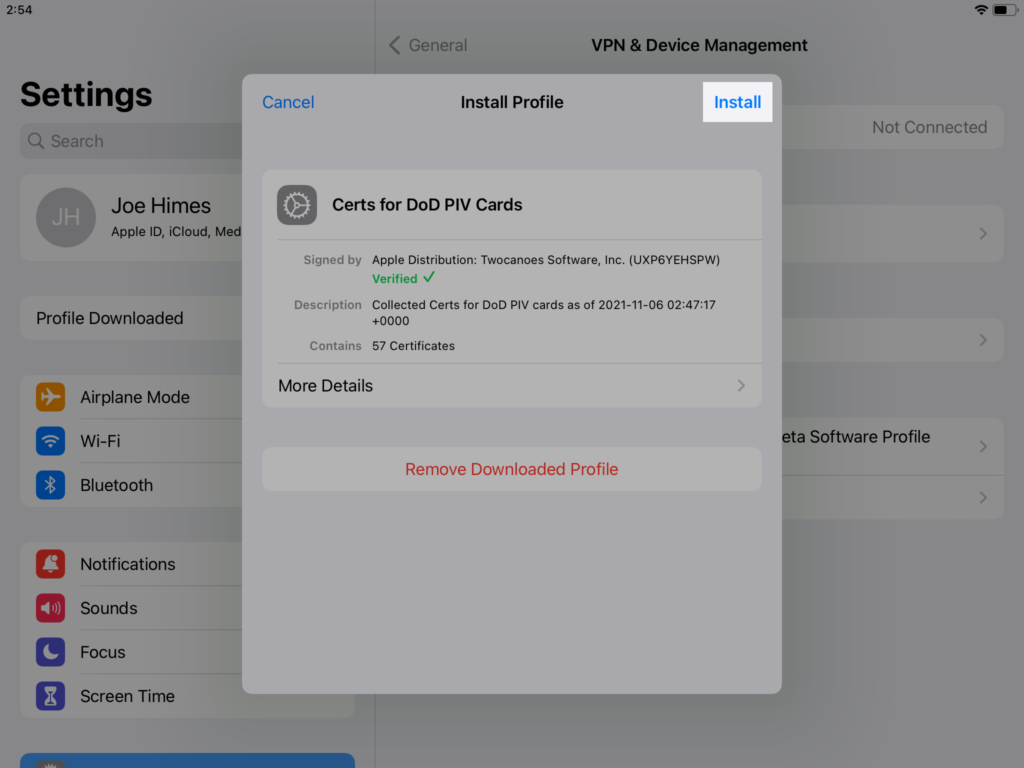
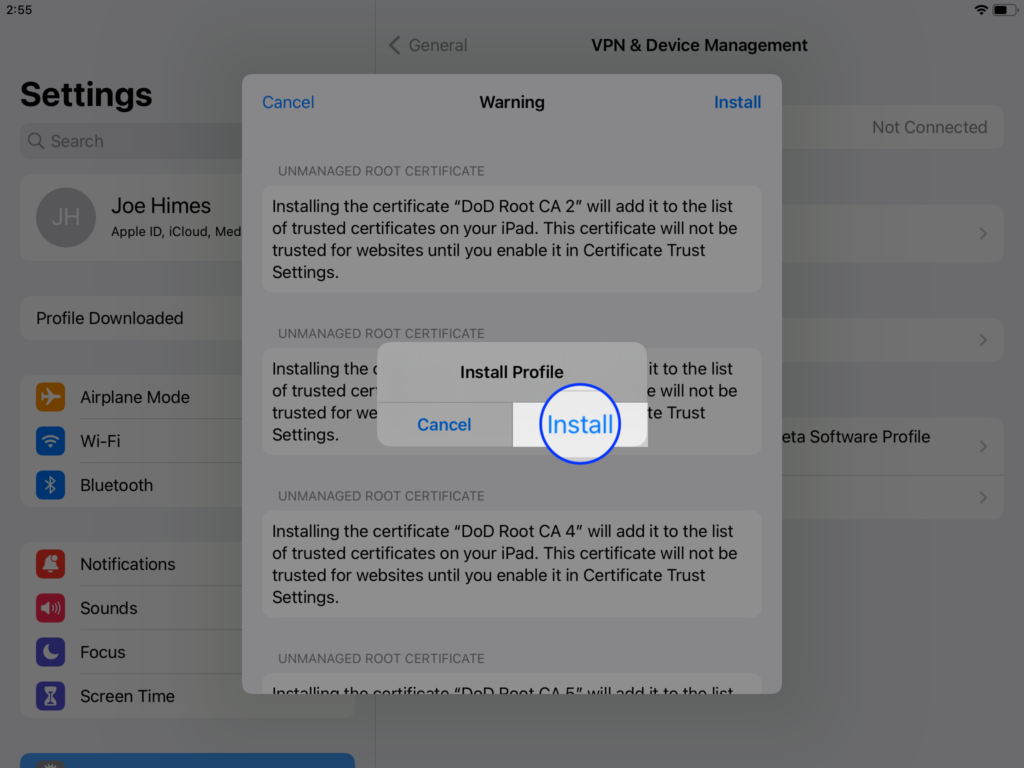
Many Department of Defense websites require specific Root and Intermediate certificates to be installed for US Government and Military Personnel use. We have created a profile to make this easy to install. To install the certificates, download DoD Certificate Profile using the link below.
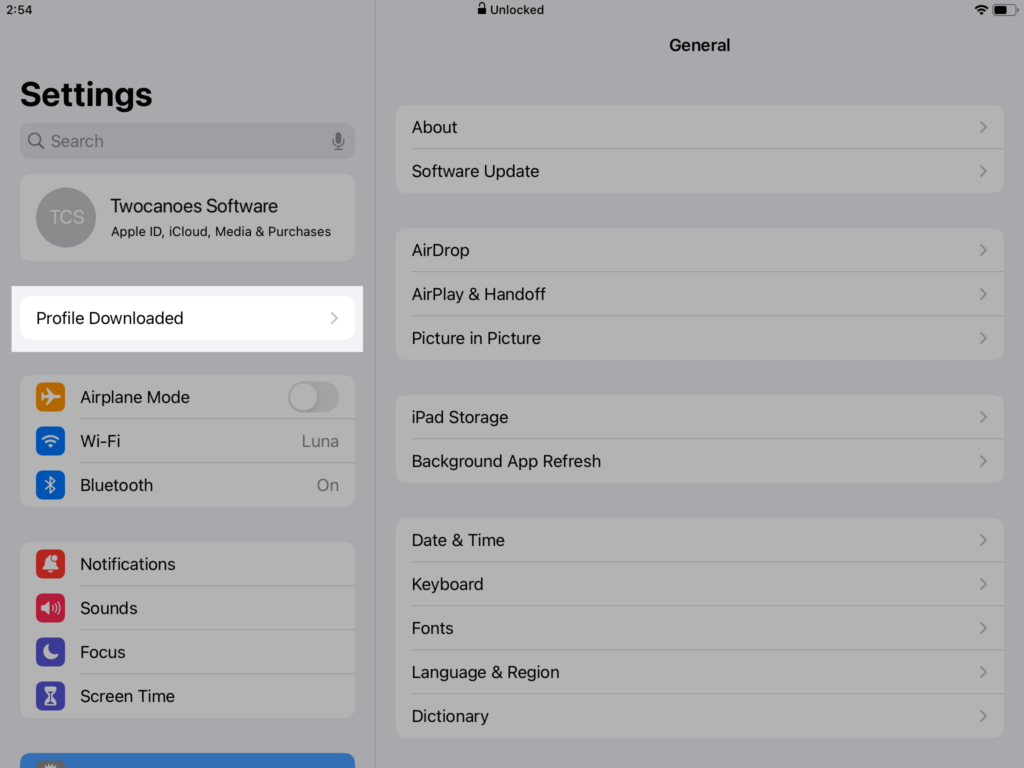
Once you’ve downloaded the Profile, install the Profile on your device:
Open your Settings App and Tap “Profile Downloaded” or Go to Settings > General > VPN & Device Management:
Follow the instructions to install the profile and certificates.
Download Smart Card Utility
Though you have the necessary hardware, it’s important to download Smart Card Utility on your iOS or iPadOS device. To download Smart Card Utility, search for “smart card utility” in the App Store.
Tap “Search” in the bottom-right corner, then use the search bar at the top to search for Smart Card Utility:
Tap “Get” to download.
Once the app completes downloading, open it to continue your setup:
Complete Initial Setup
Before jumping in to using Smart Card Utility, you must first complete Initial Setup of the app. We’ll take you step-by-step so you don’t miss a thing.
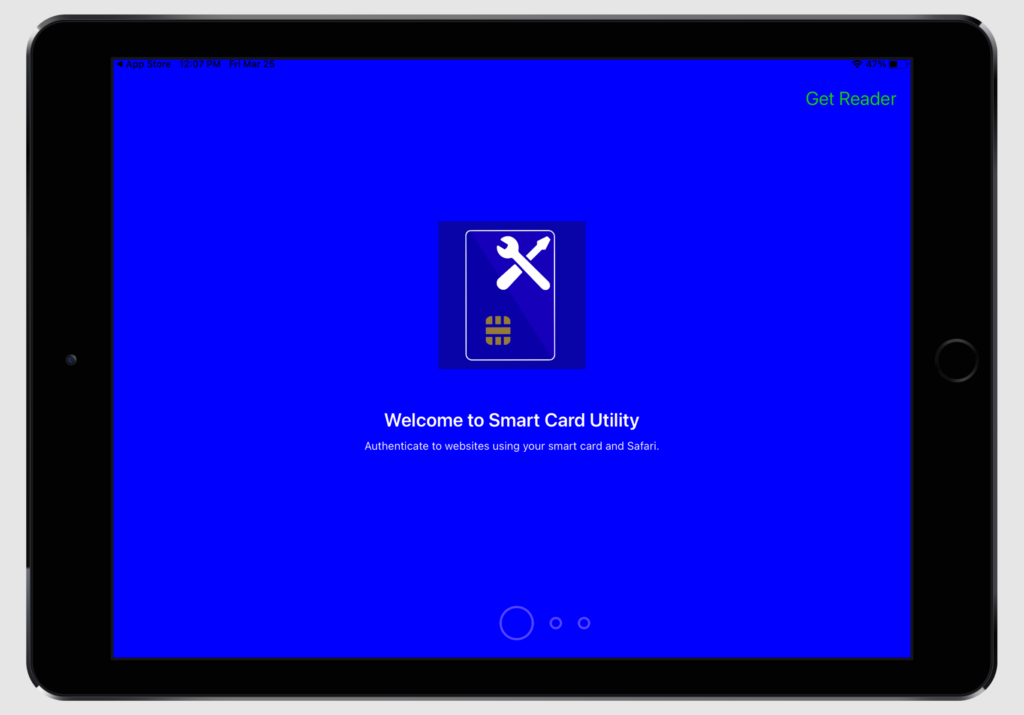
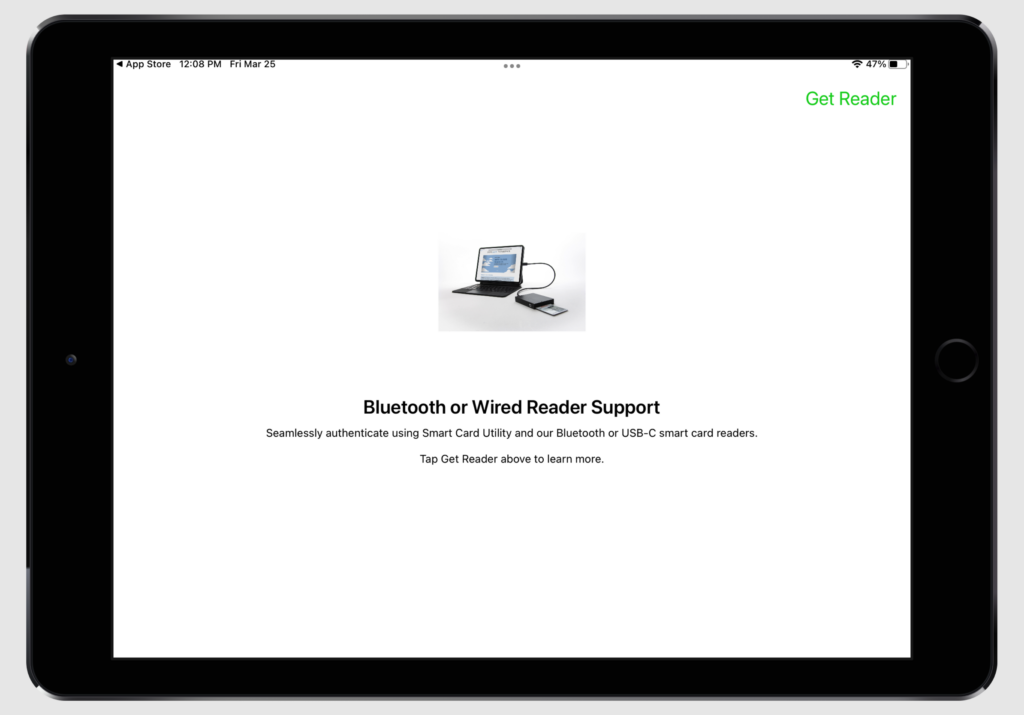
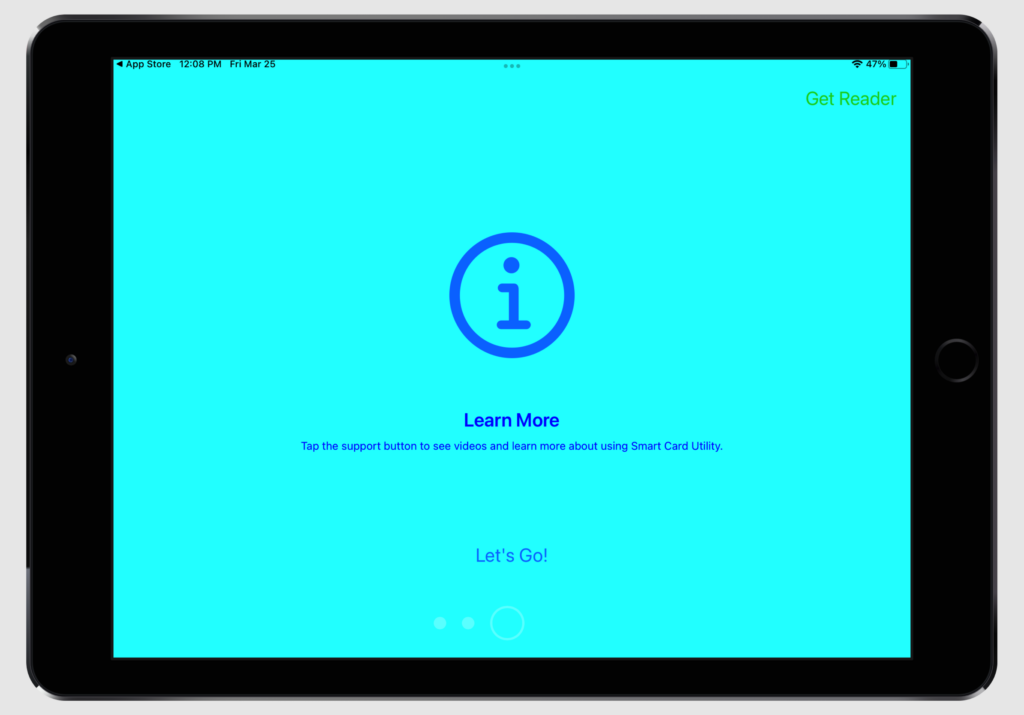
Opening Prompts
When opening Smart Card Utility, you’ll see these prompts. Swipe through the first two prompts and Tap “Let’s Go!” in the last one to enter the app.
Enable Notifications
Next, you’ll see a prompt for Notifications. Make sure to tap “Allow” to enable Status Updates. Local push notifications are sent when you are using your smart card to give you informative and error messages.
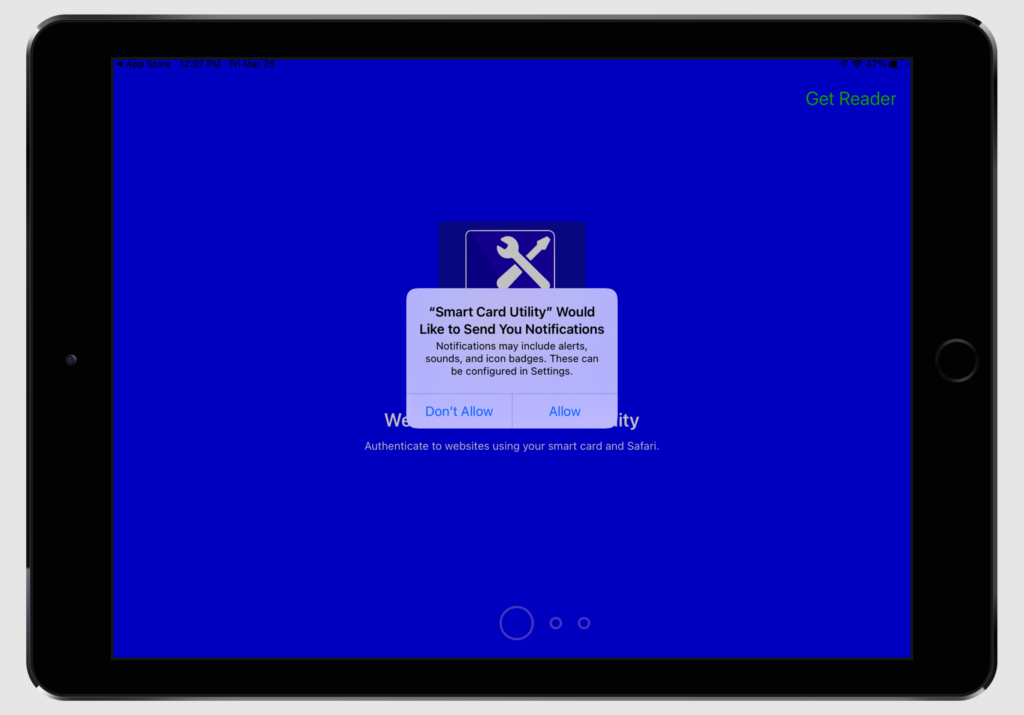
If you tap “Don’t Allow”, see the Notifications section of our User Guide for instructions on how to allow them in your Settings.
Connecting your reader and inserting card
The Desktop Reader comes with two USB-A adapters. Which adapter you use will depend on the type of device you are using the reader with. You can read more on this Here. Once you know which adapter to use with the attached USB-A cable on you reader, connect your reader into your device’s charging port.
Additionally, check that your smart card is fully inserted into your reader.
Smart Card Utility Desktop Reader
The first section shows the connected reader; the second section shows certificates available for use in iOS. To manage the reader or read the certificates directly, tap the reader name in “Connect and Added Readers”. The reader view will open and show the certificates and other options on the reader page:
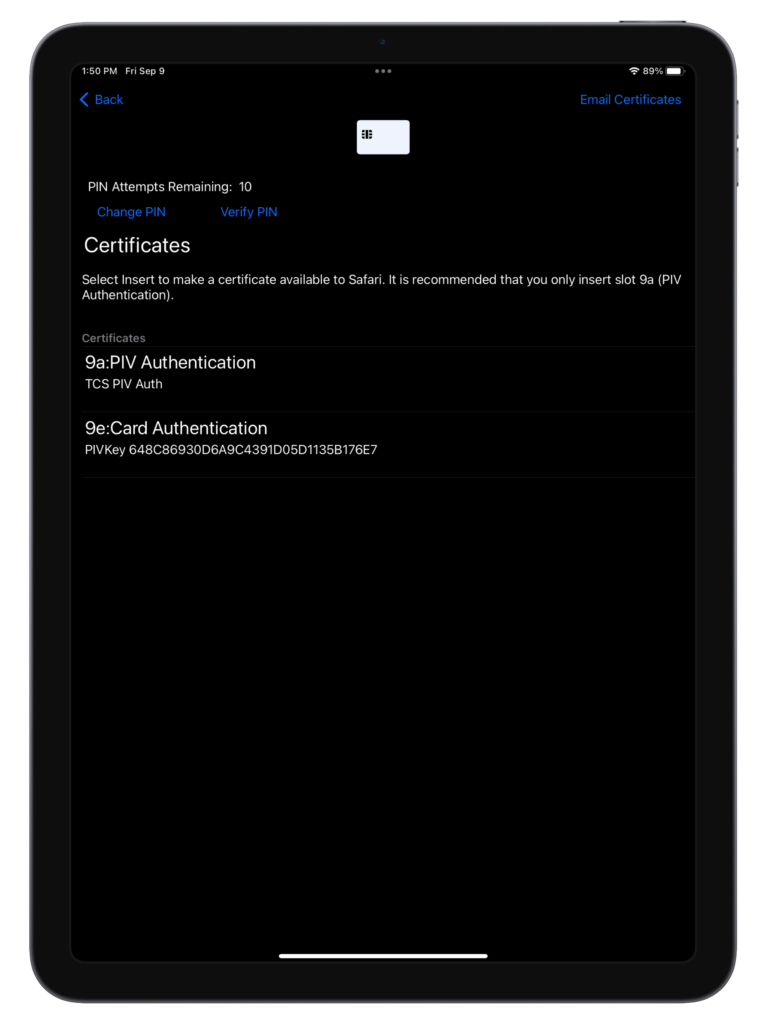
From the reader info view, you can see the inserted certificates. You can tap on the certificates to view details. You can also verify the PIN and change the PIN by tapping the appropriate button.
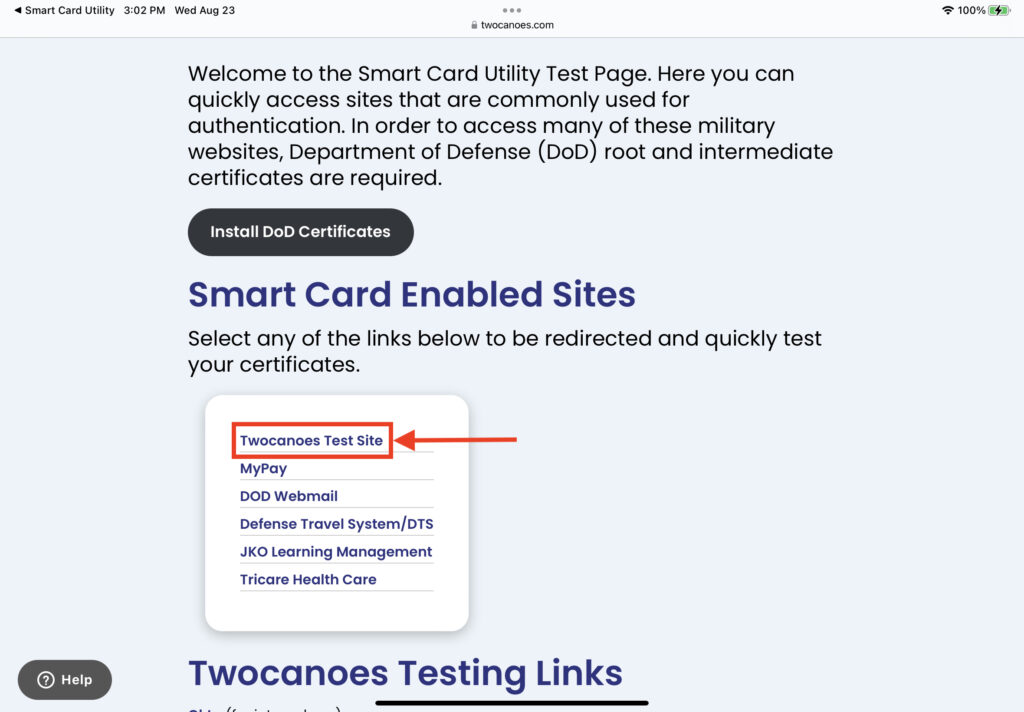
Testing
Use the Test button in the center of the bottom bar of Smart Card Utility, to take you to the”Smart Card Utility Test Links” page.
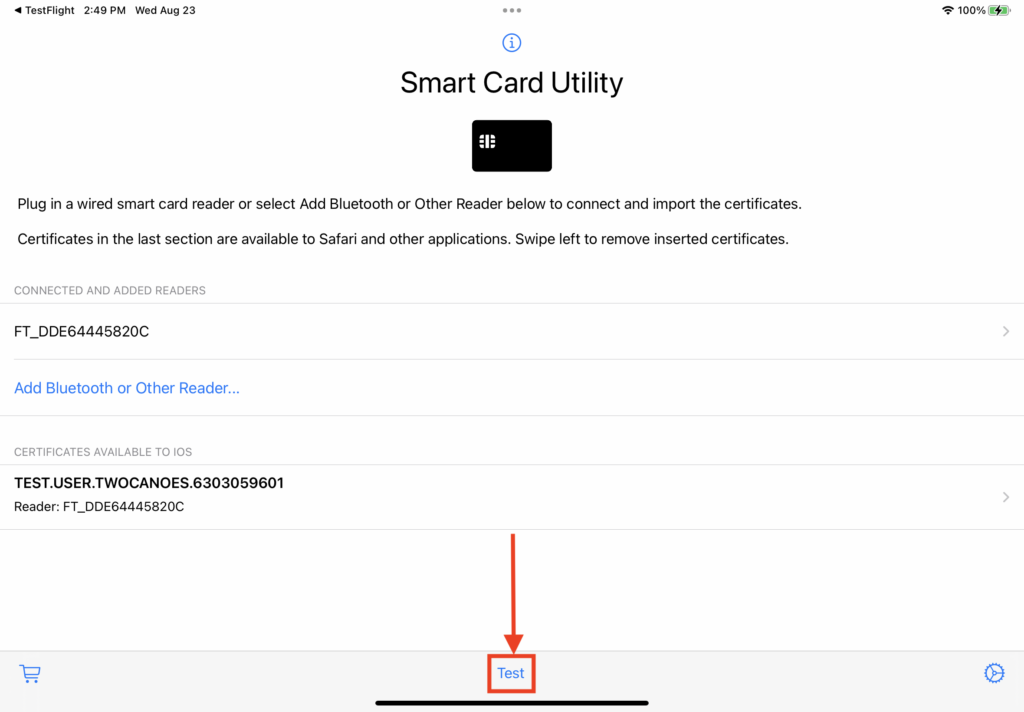
A list of test links will be shown. Select the first link named Twocanoes Test Site and verify that you can authenticate with that website.