Smart Card Utility USB-C Reader Quick Start
In order to get up and running to authenticate to a website, there is some setup that needs to be done.
Verify iOS Version
Verify that the Smart Card Utility version is supported on your device and check the version requirements.
Installing Root and/or Intermediate Certificates
Many Department of Defense websites require specific Root and Intermediate certificates to be installed for US Government and Military Personnel use. We have created a profile to make this easy to install. To install the certificates, download DoD Certificate Profile using the link below.
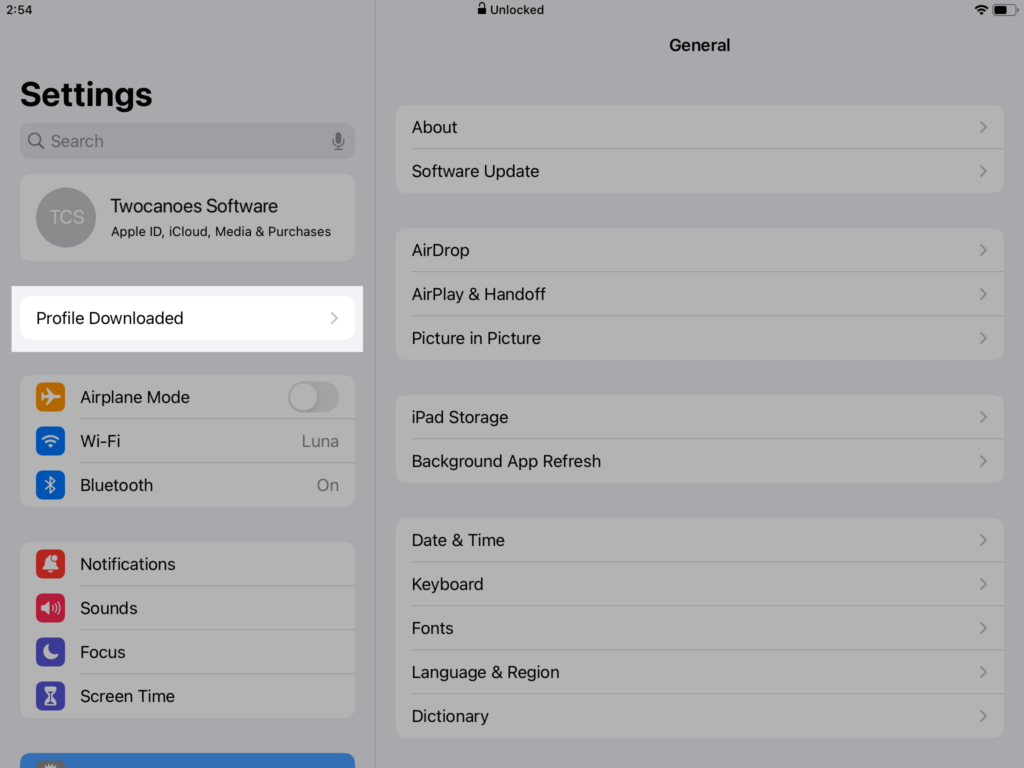
Once you’ve downloaded the Profile, install the Profile on your device:
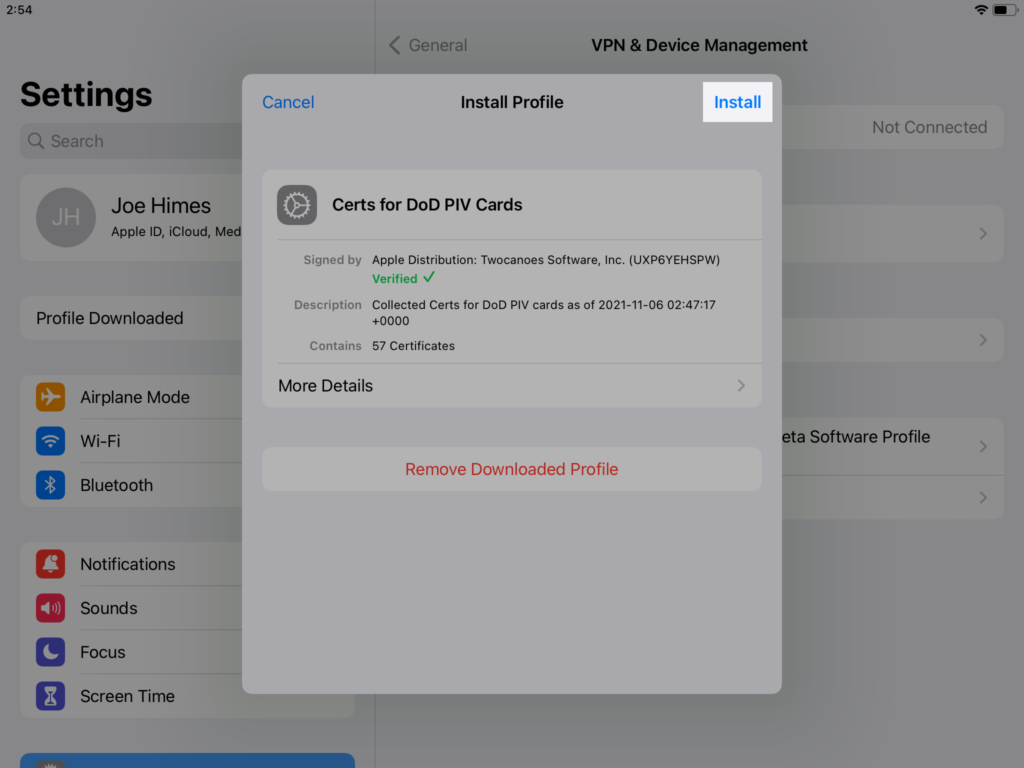
Open your Settings App and Tap “Profile Downloaded” or Go to Settings > General > VPN & Device Management:
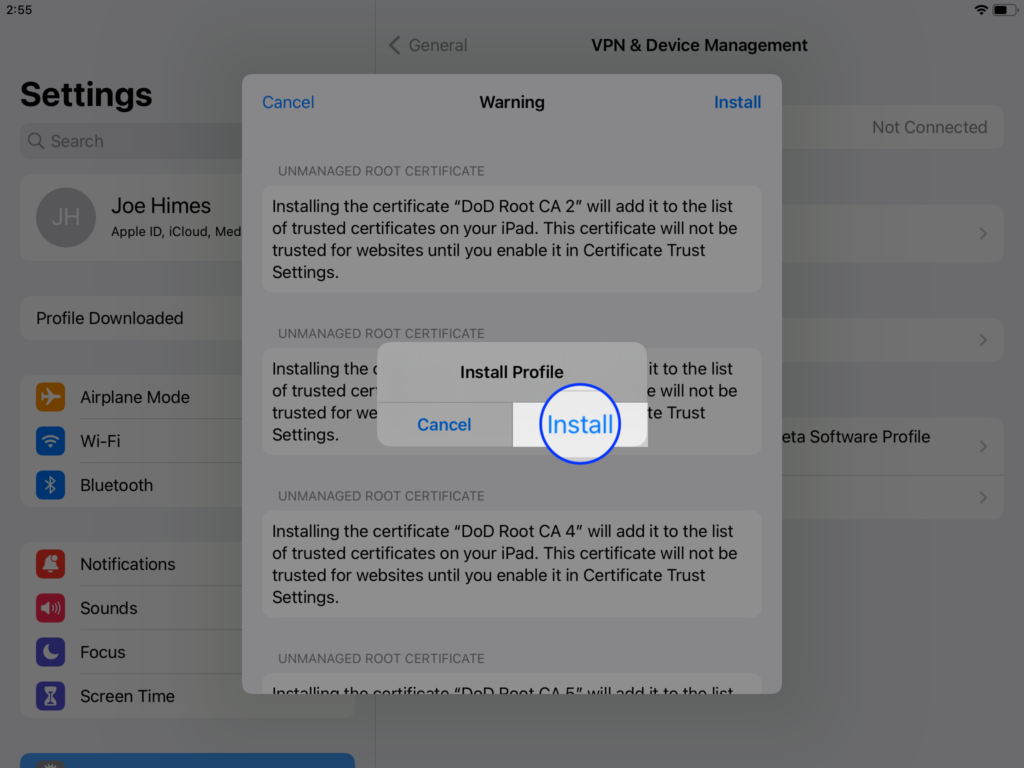
Follow the instructions to install the profile and certificates.
Download Smart Card Utility
Though you have the necessary hardware, it’s important to download Smart Card Utility on your iOS or iPadOS device. To download Smart Card Utility, search for “smart card utility” in the App Store.
Tap “Search” in the bottom-right corner, then use the search bar at the top to search for Smart Card Utility:
Tap “Get” to download.
Once the app completes downloading, open it to continue your setup:
Complete Initial Setup
Before jumping in to using Smart Card Utility, you must first complete Initial Setup of the app. We’ll take you step-by-step so you don’t miss a thing.
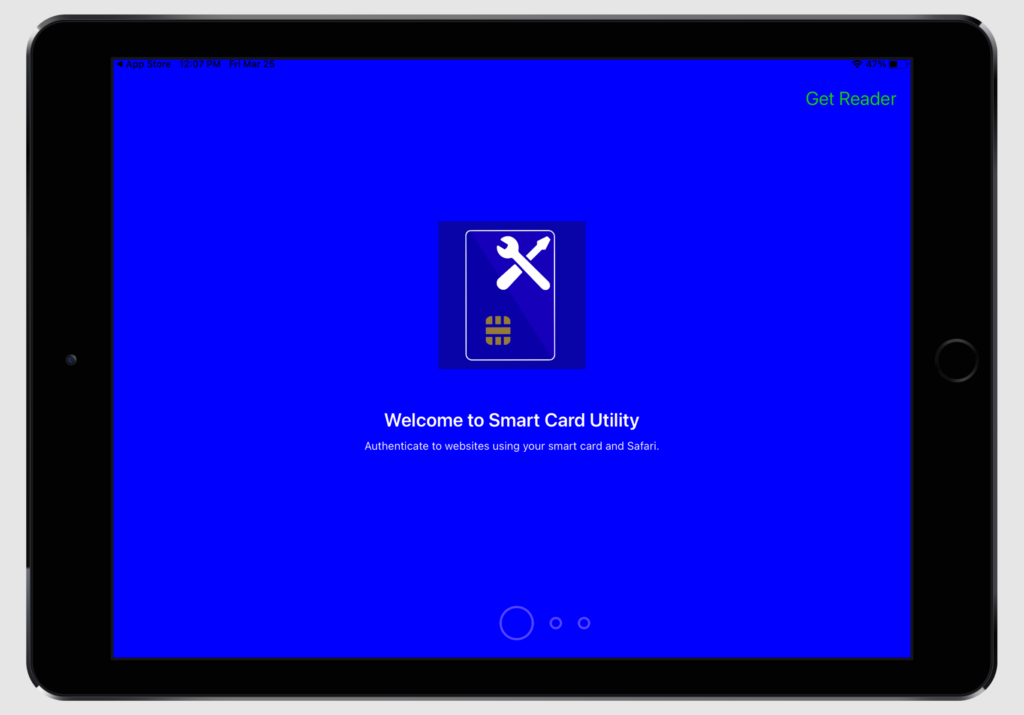
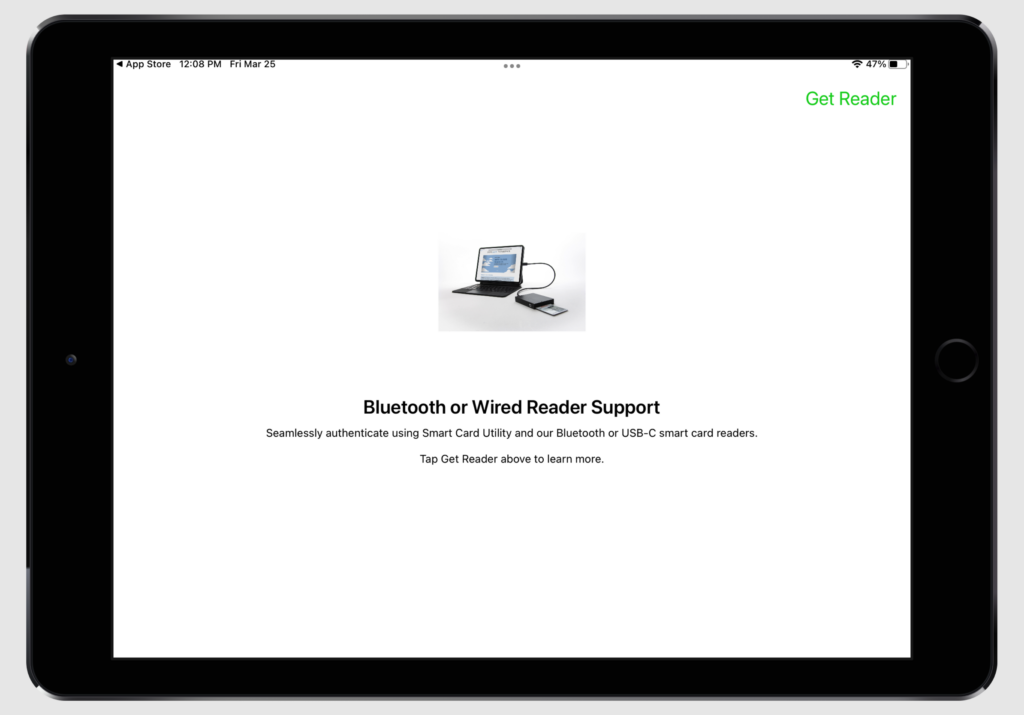
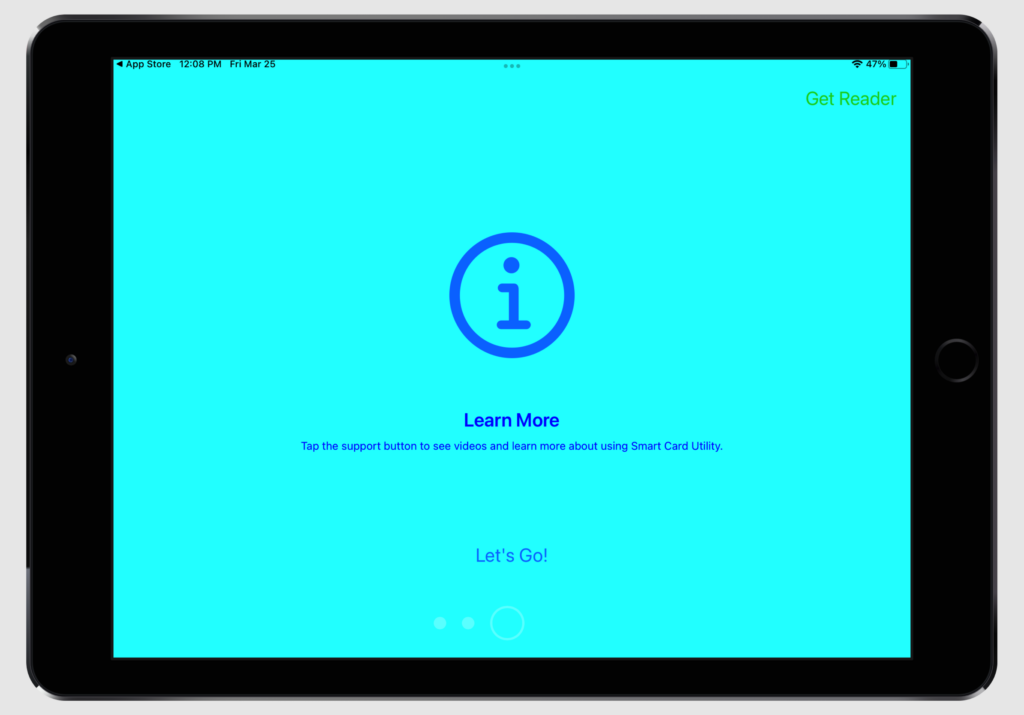
Opening Prompts
When opening Smart Card Utility, you’ll see these prompts. Swipe through the first two prompts and Tap “Let’s Go!” in the last one to enter the app.
Enable Notifications
Next, you’ll see a prompt for Notifications. Make sure to tap “Allow” to enable Status Updates. Local push notifications are sent when you are using your smart card to give you informative and error messages.
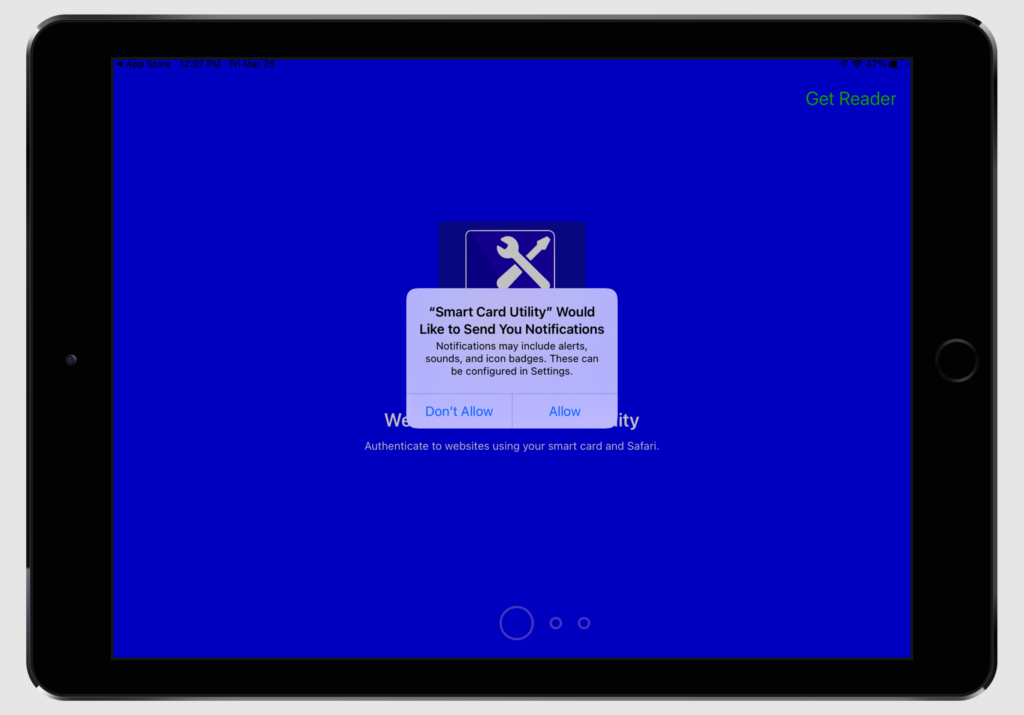
If you tap “Don’t Allow”, see the Notifications section of our User Guide for instructions on how to allow them in your Settings.
Inserting Certificates
To use the Bluetooth, Lightning, or USB-C reader from Twocanoes, you read in only the certificate you want to use.
Full instructions on scanning are available in the Scan section of the User Guide, but this Quick Setup guide will provide condensed instructions for scanning so you can start using Smart Card Utility right away:
1. Insert Reader & Card
Regardless of the type of device you’re using, make sure to fully connect all readers. Insert the USB-C reader into your iPad’s USB-C port.
Additionally, check that your smart card is fully inserted into your reader.
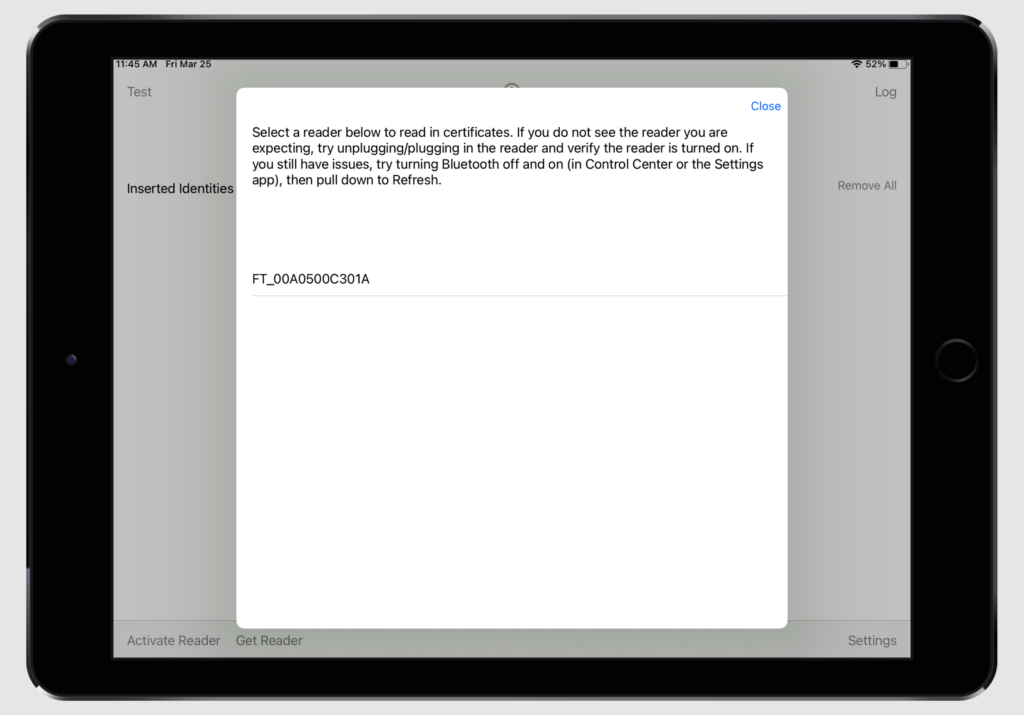
2. Tap Add Bluetooth or Other Reader… and Select your Reader
When your hardware is all set, you may begin your scan. Tap “Add Bluetooth or Other Reader…” at the top of the screen to begin.
Then, select the type of reader from the list shown.
3. Start your Scan & View Certificates
Once you tap “Add Bluetooth or Other Reader…”, you’ll be prompted to select a reader from a list of nearby or plugged-in readers:
Once you’ve finished selecting your reader, initiate your scan to be taken to the “Certificates” screen. You should see a list of certificates:
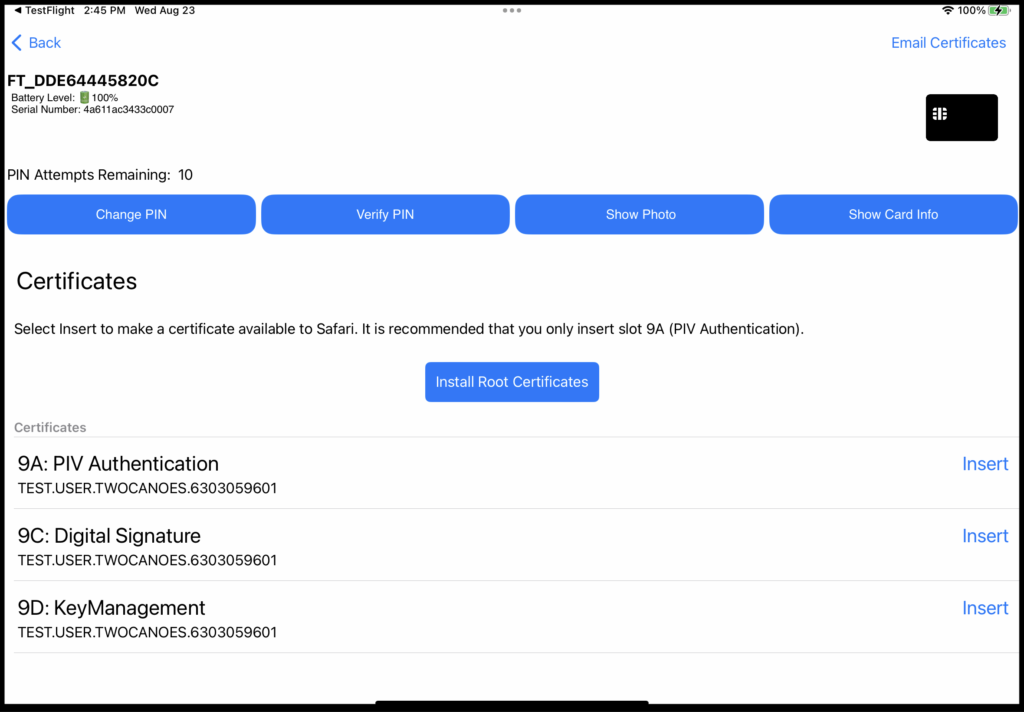
It is recommended that you only select the 9a:PIV authentication certificate since this is the certificate that is used for authentication in Safari.
After you tap Insert, a success message should pop up.
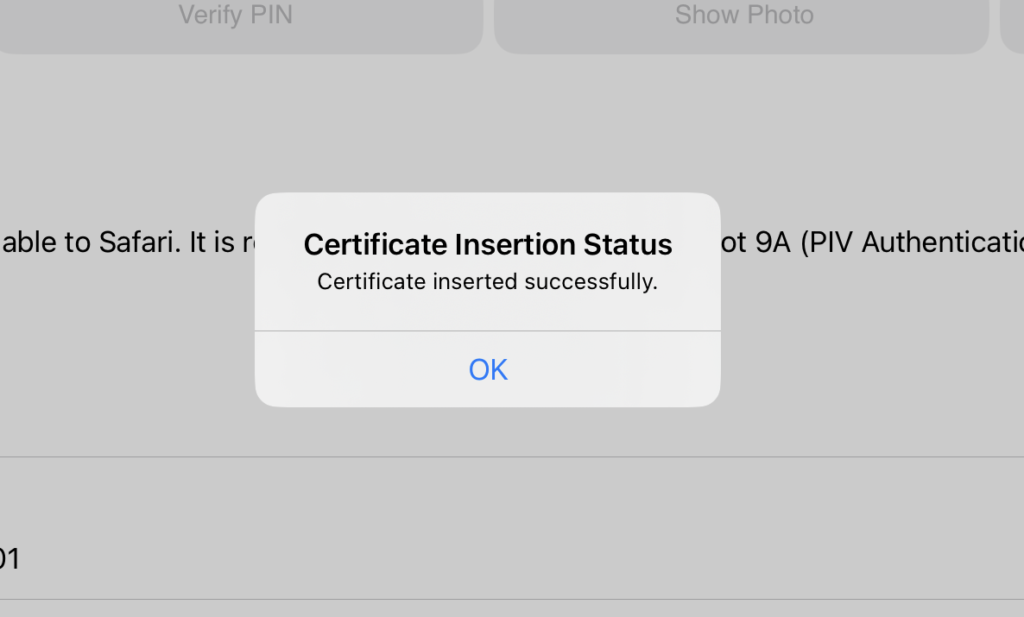
Now that the certificates have been imported, open Safari and navigate to a website that requires your smart card to authenticate.
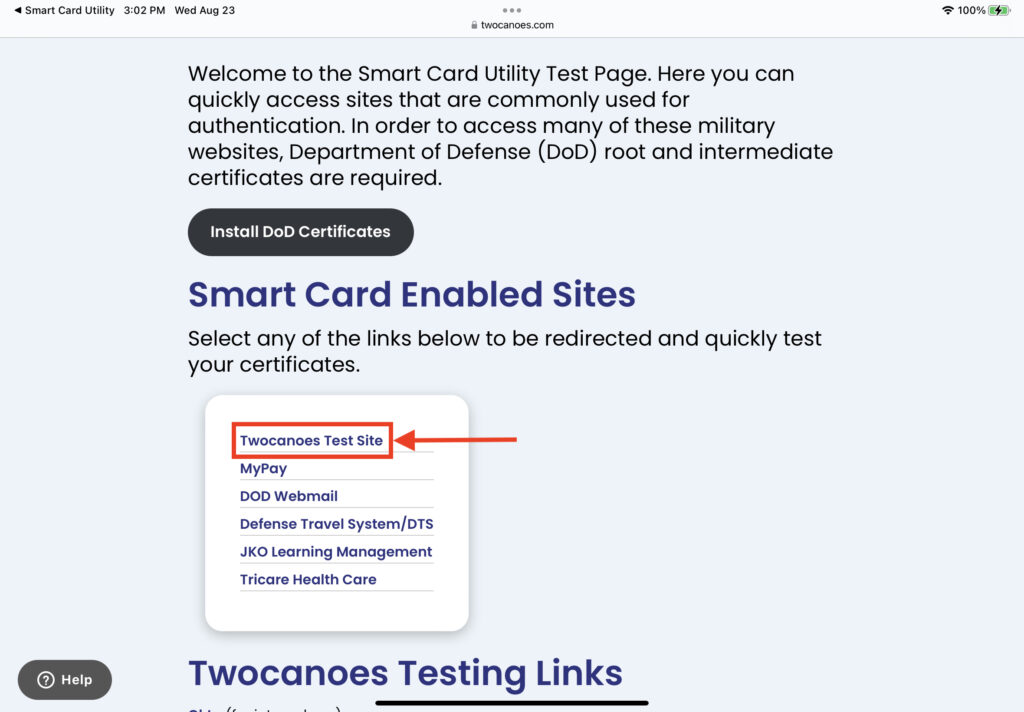
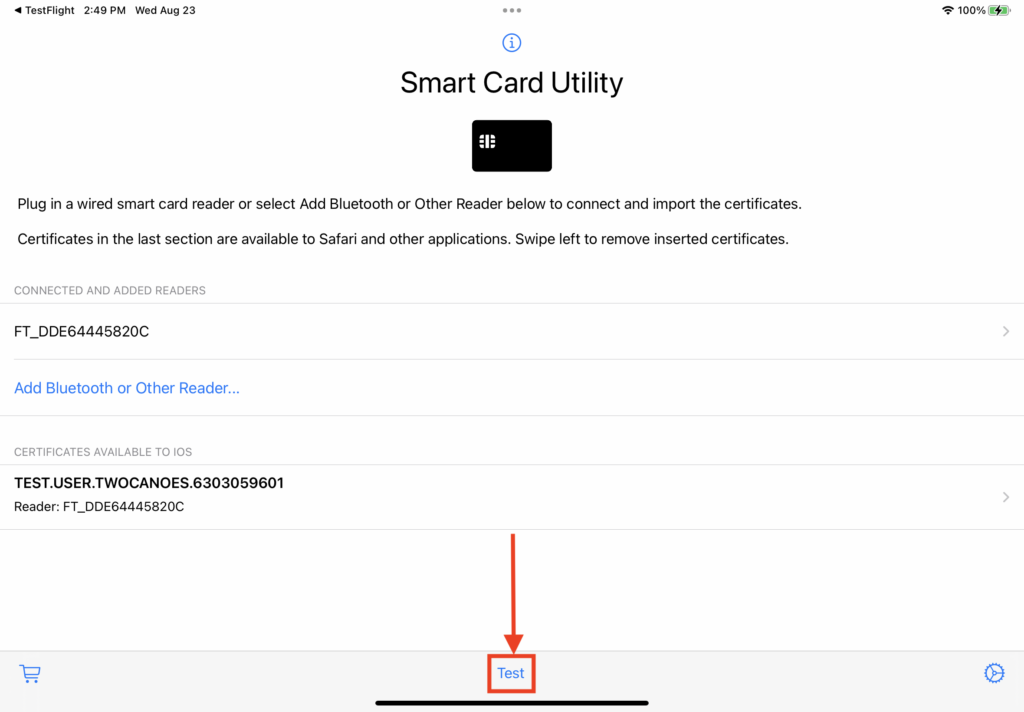
Testing
Use the Test button in the center of the bottom bar of Smart Card Utility, to take you to the”Smart Card Utility Test Links” page.
A list of test links will be shown. Select the first link named Twocanoes Test Site and verify that you can authenticate with that website.